


Abi Coop
Melissa Richard
Kristen Ryan
Creating with a Helios 44-2 Lens | By Ruth Anne Holloway
Creating with a Helios 44-2 Lens
Tips, Tricks, and Some Pretty Pictures
Way back last summer, I was scrolling my recommendations page on Instagram. and seeing all these absolutely amazing bokeh filled images. Nearly every time it turned out to be this unknown-to-me lens: The Helios 44. After a few weeks of this I got curious enough to go try to find one and promptly purchased one. Here are my tips, tricks and some inspiration for creating with the Helios 44-2 lens!
Once I received it (about 6 weeks later, due to international shipping), I pretty much left it on for close to a month.
Because this is a manual focus lens, and a slow-to-focus one at that, I highly recommend starting out with stationary subjects: flowers, other nature items, abstract, or the like. Also, because it’s manual focus, I like to use the live view on my camera with focus peaking turned on.
One more thing to note before we get going, this is a vintage lens, and as amazing as it is, it’s not going to be super tack-sharp like the more modern lenses. You can definitely have an in focus and out of focus image, but even the in-focus ones will be just a tad softer than if you were using a newer lens. Just a reminder to be gentle on yourself and embrace the look.
Bokeh
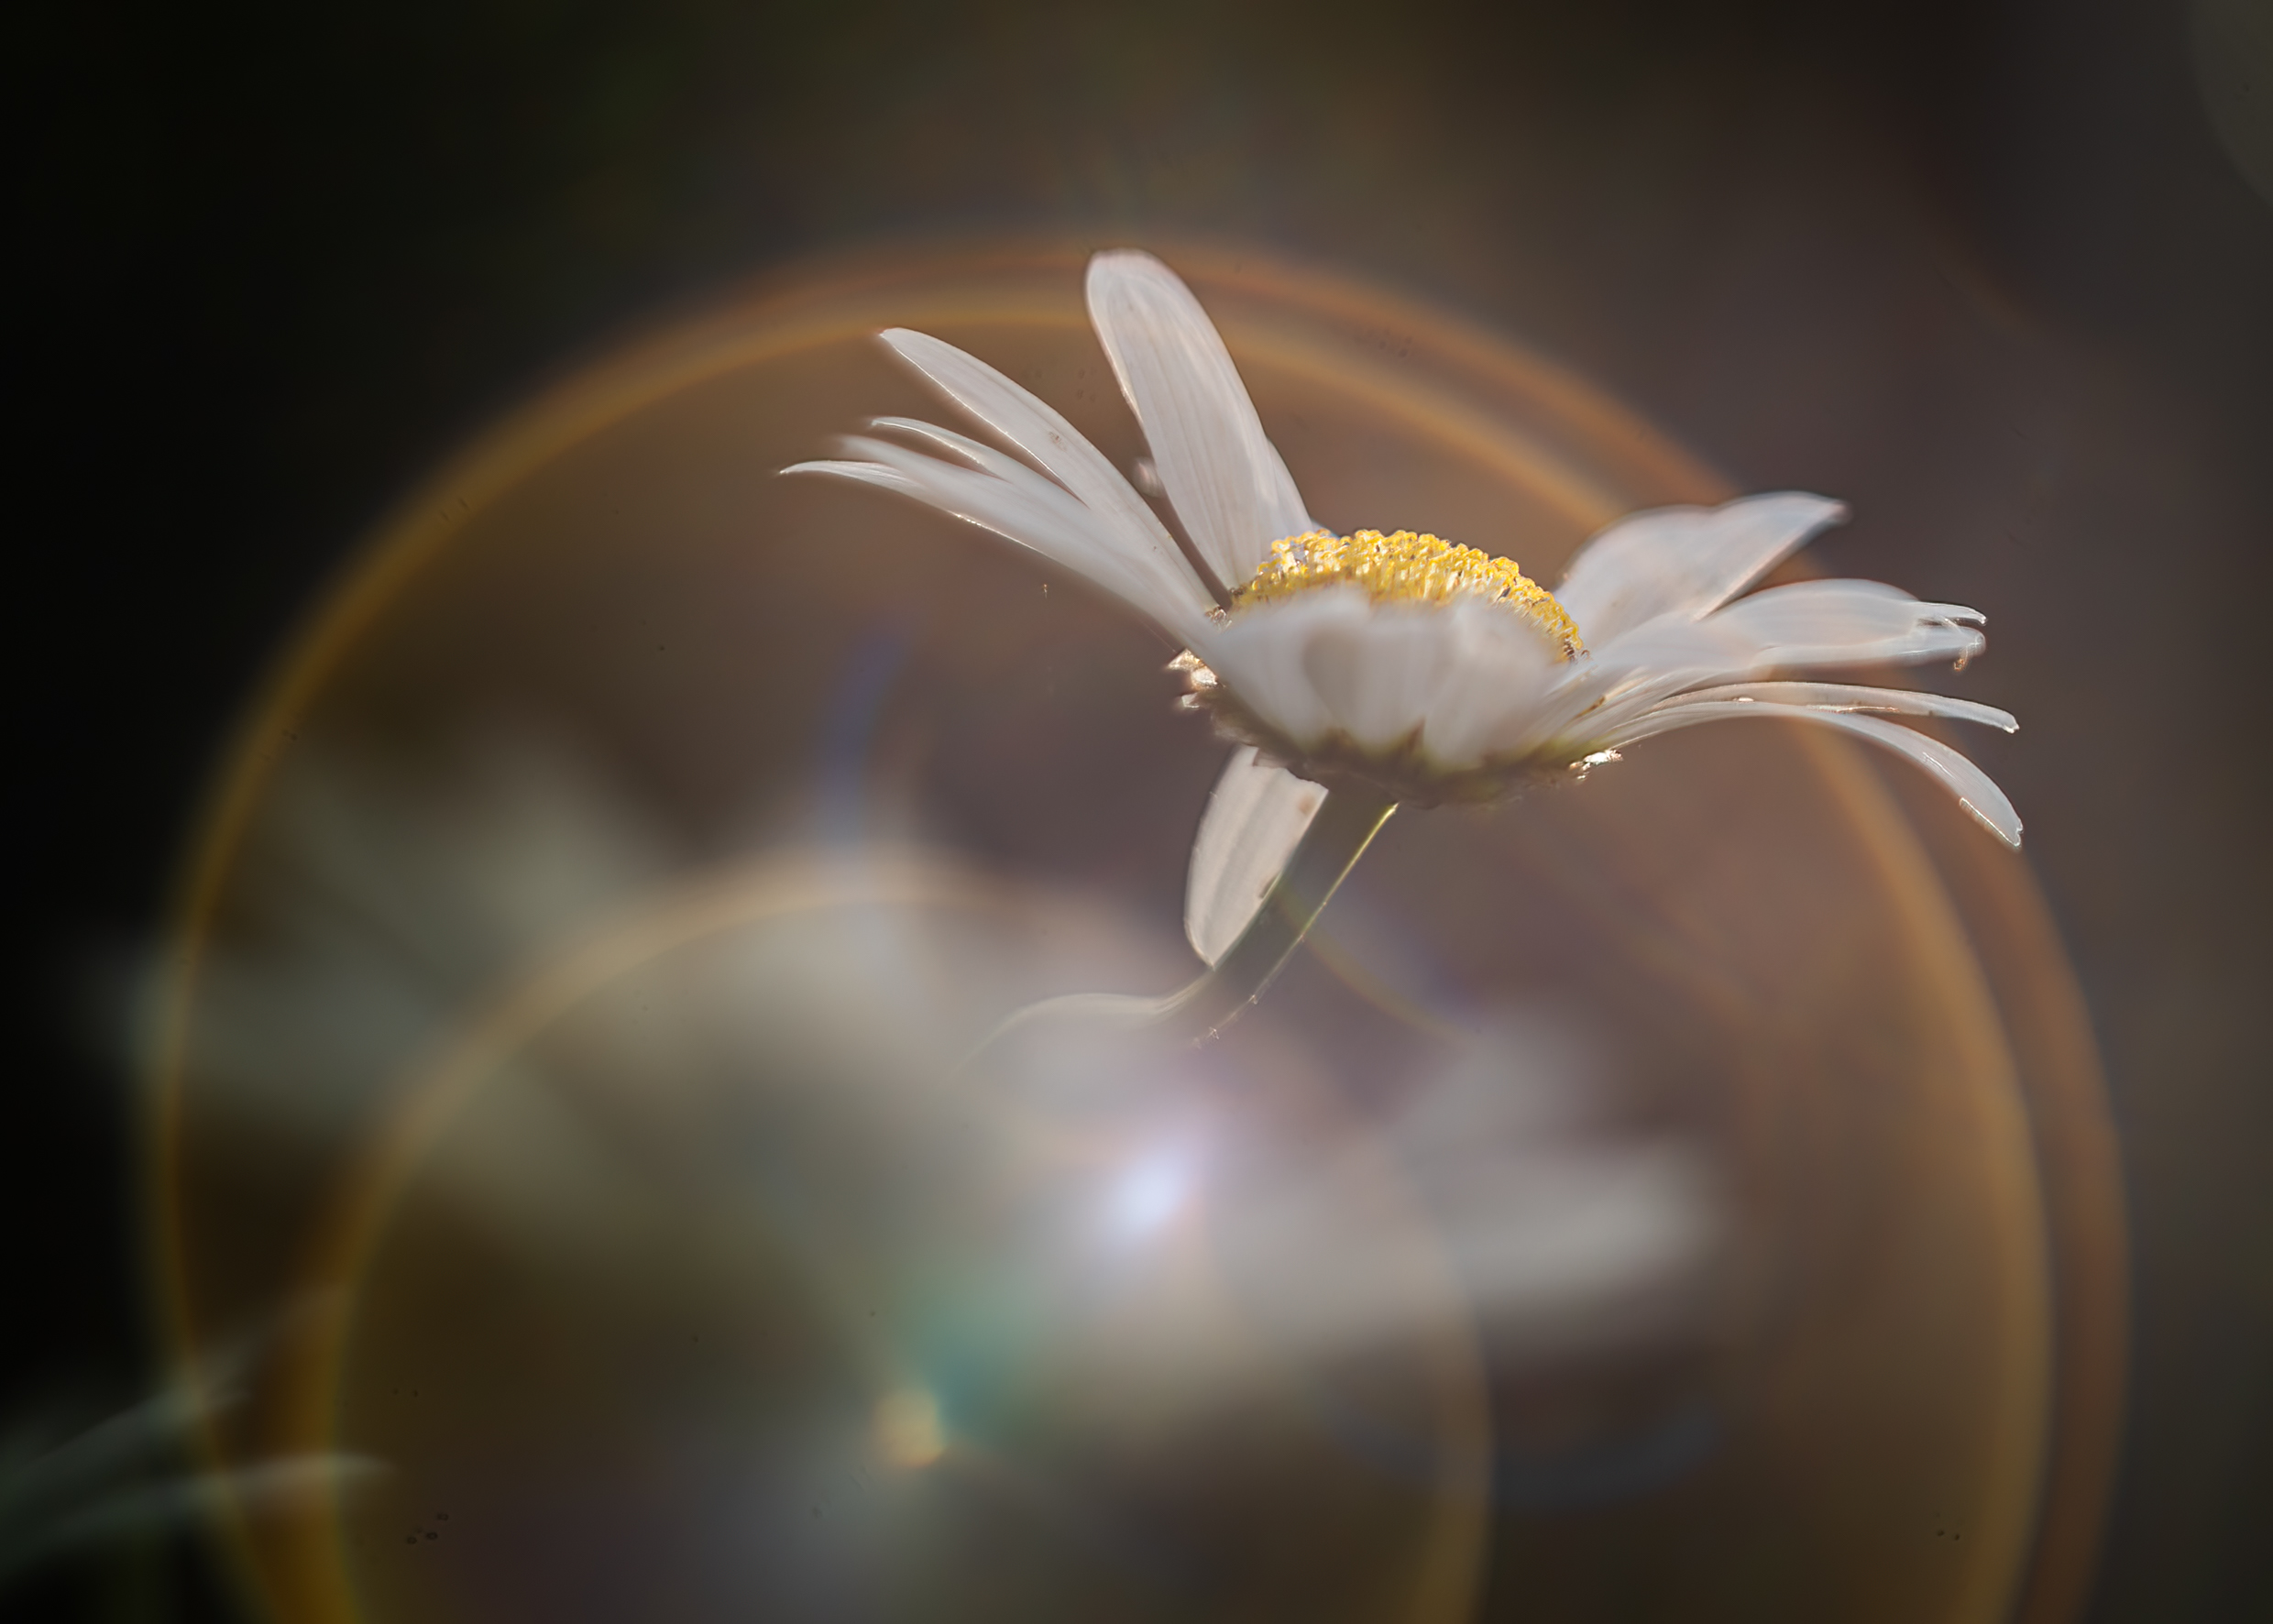
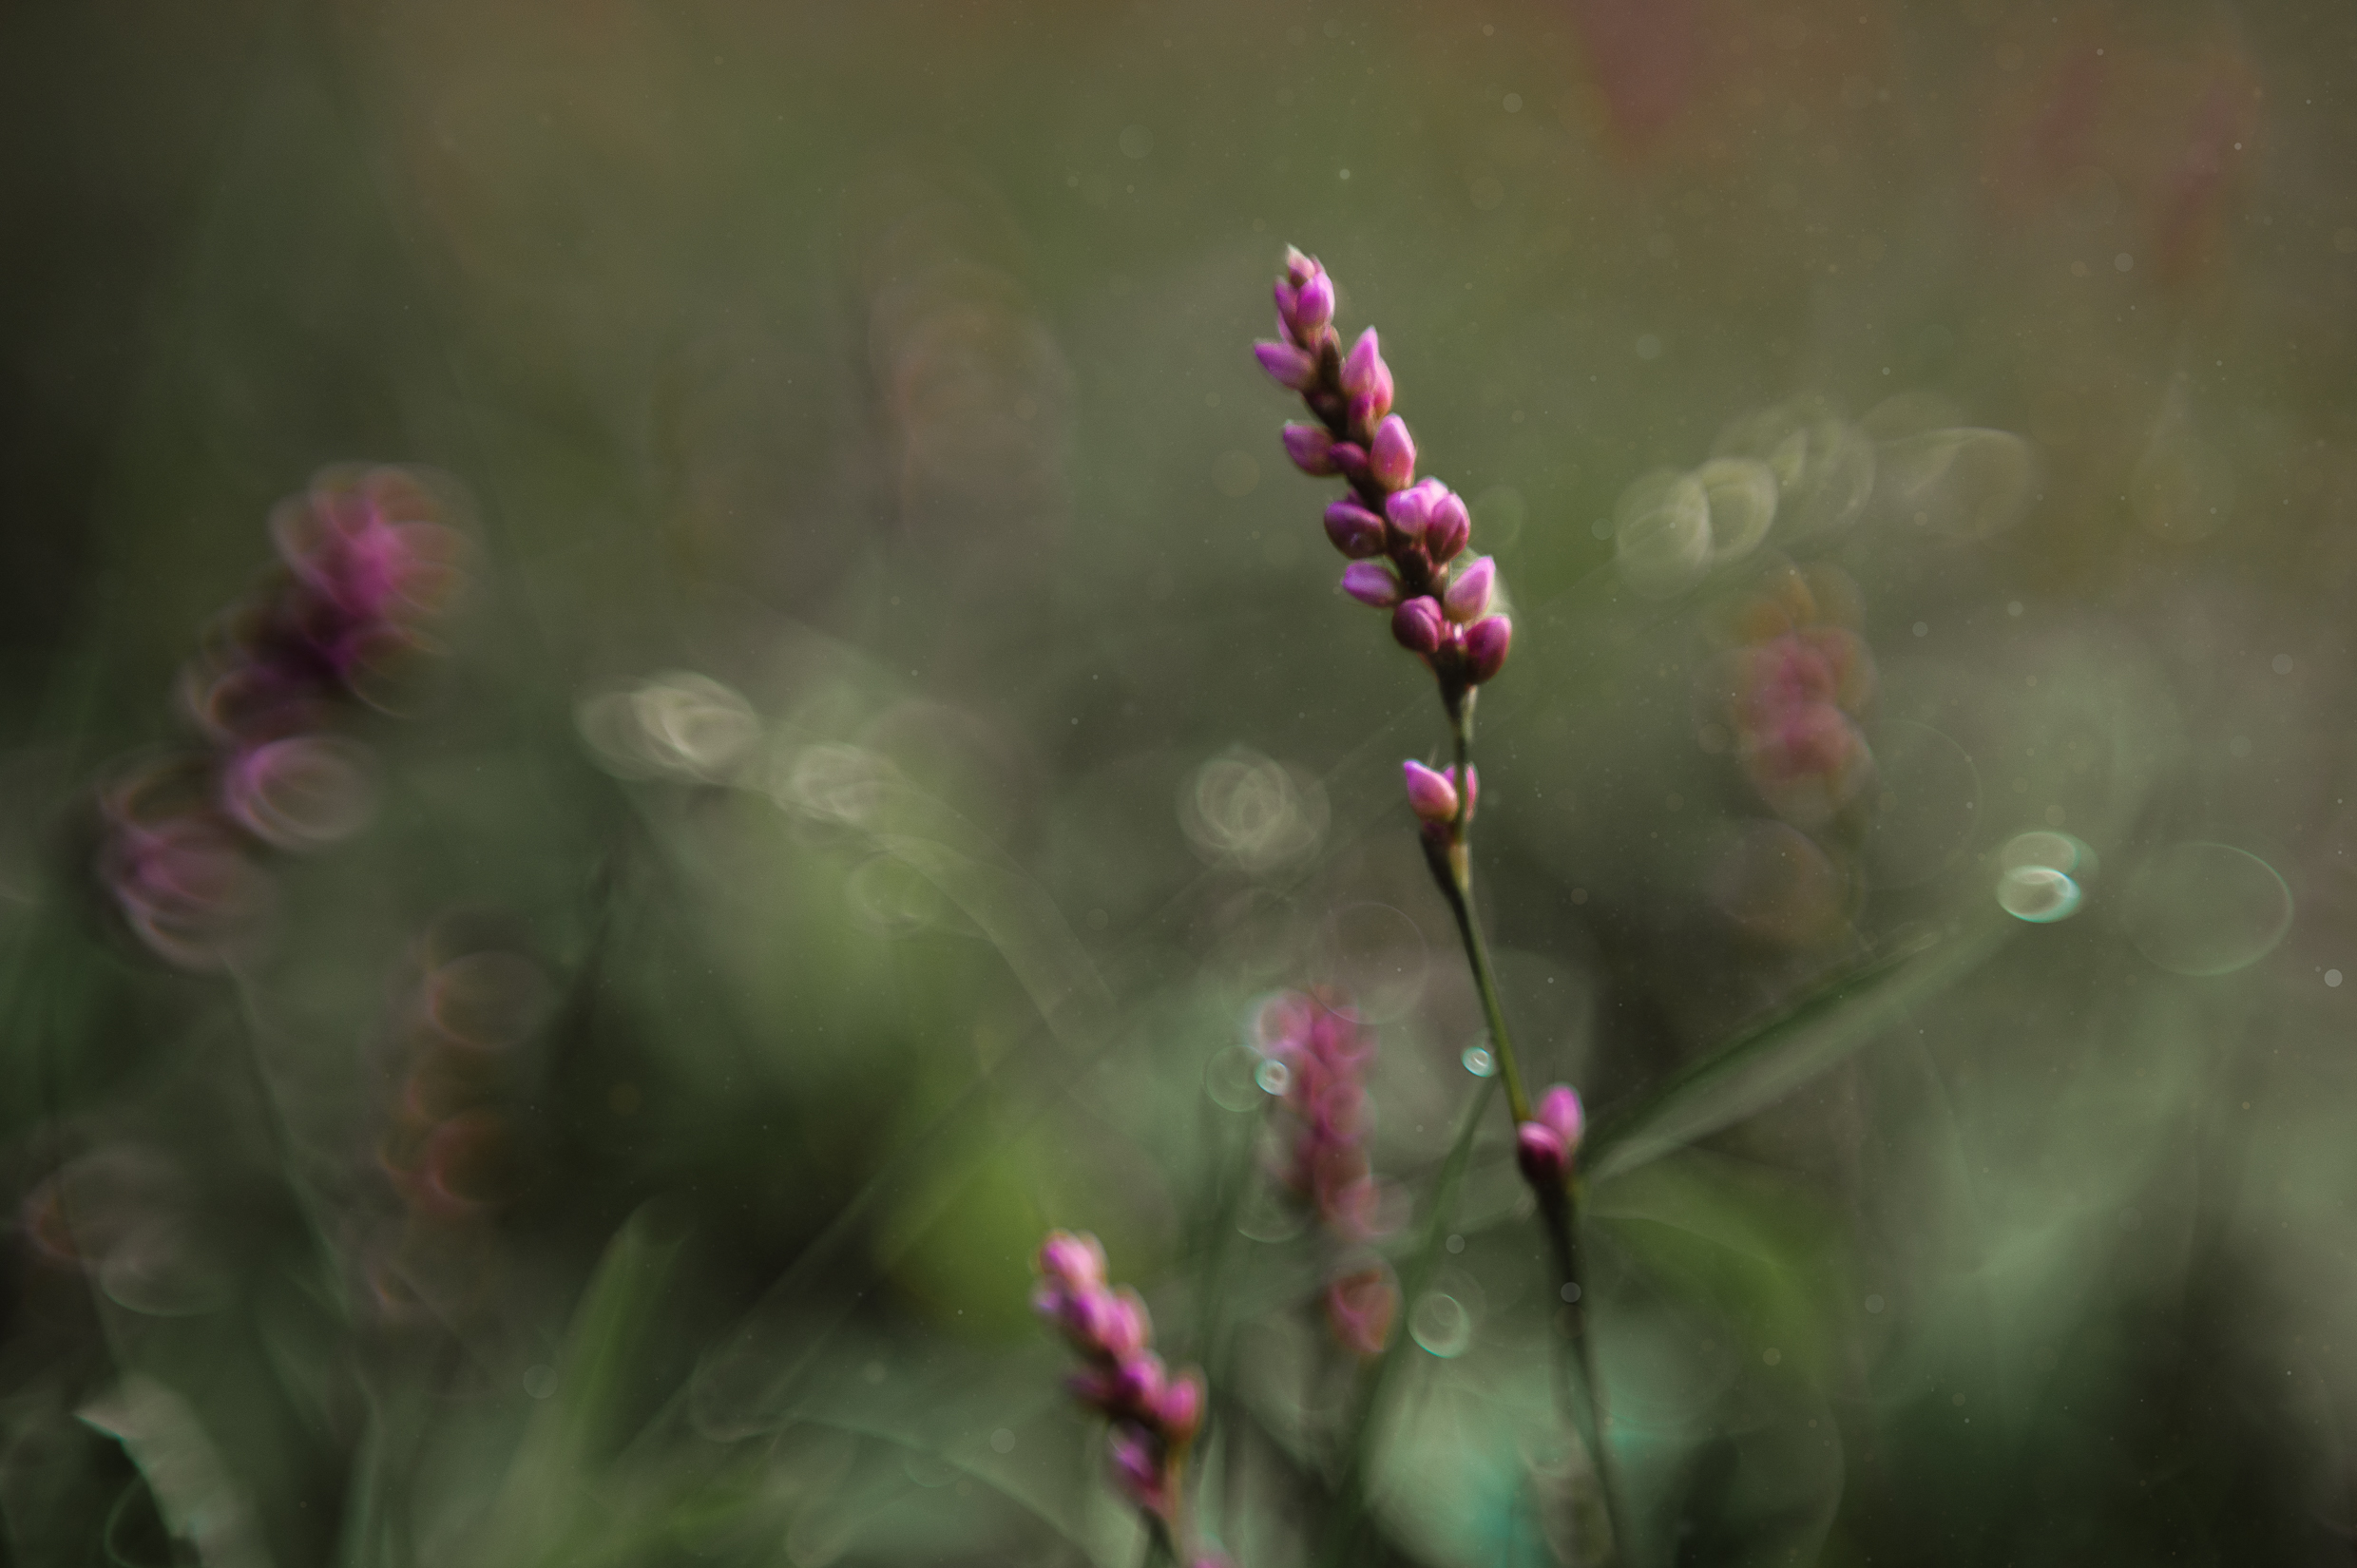
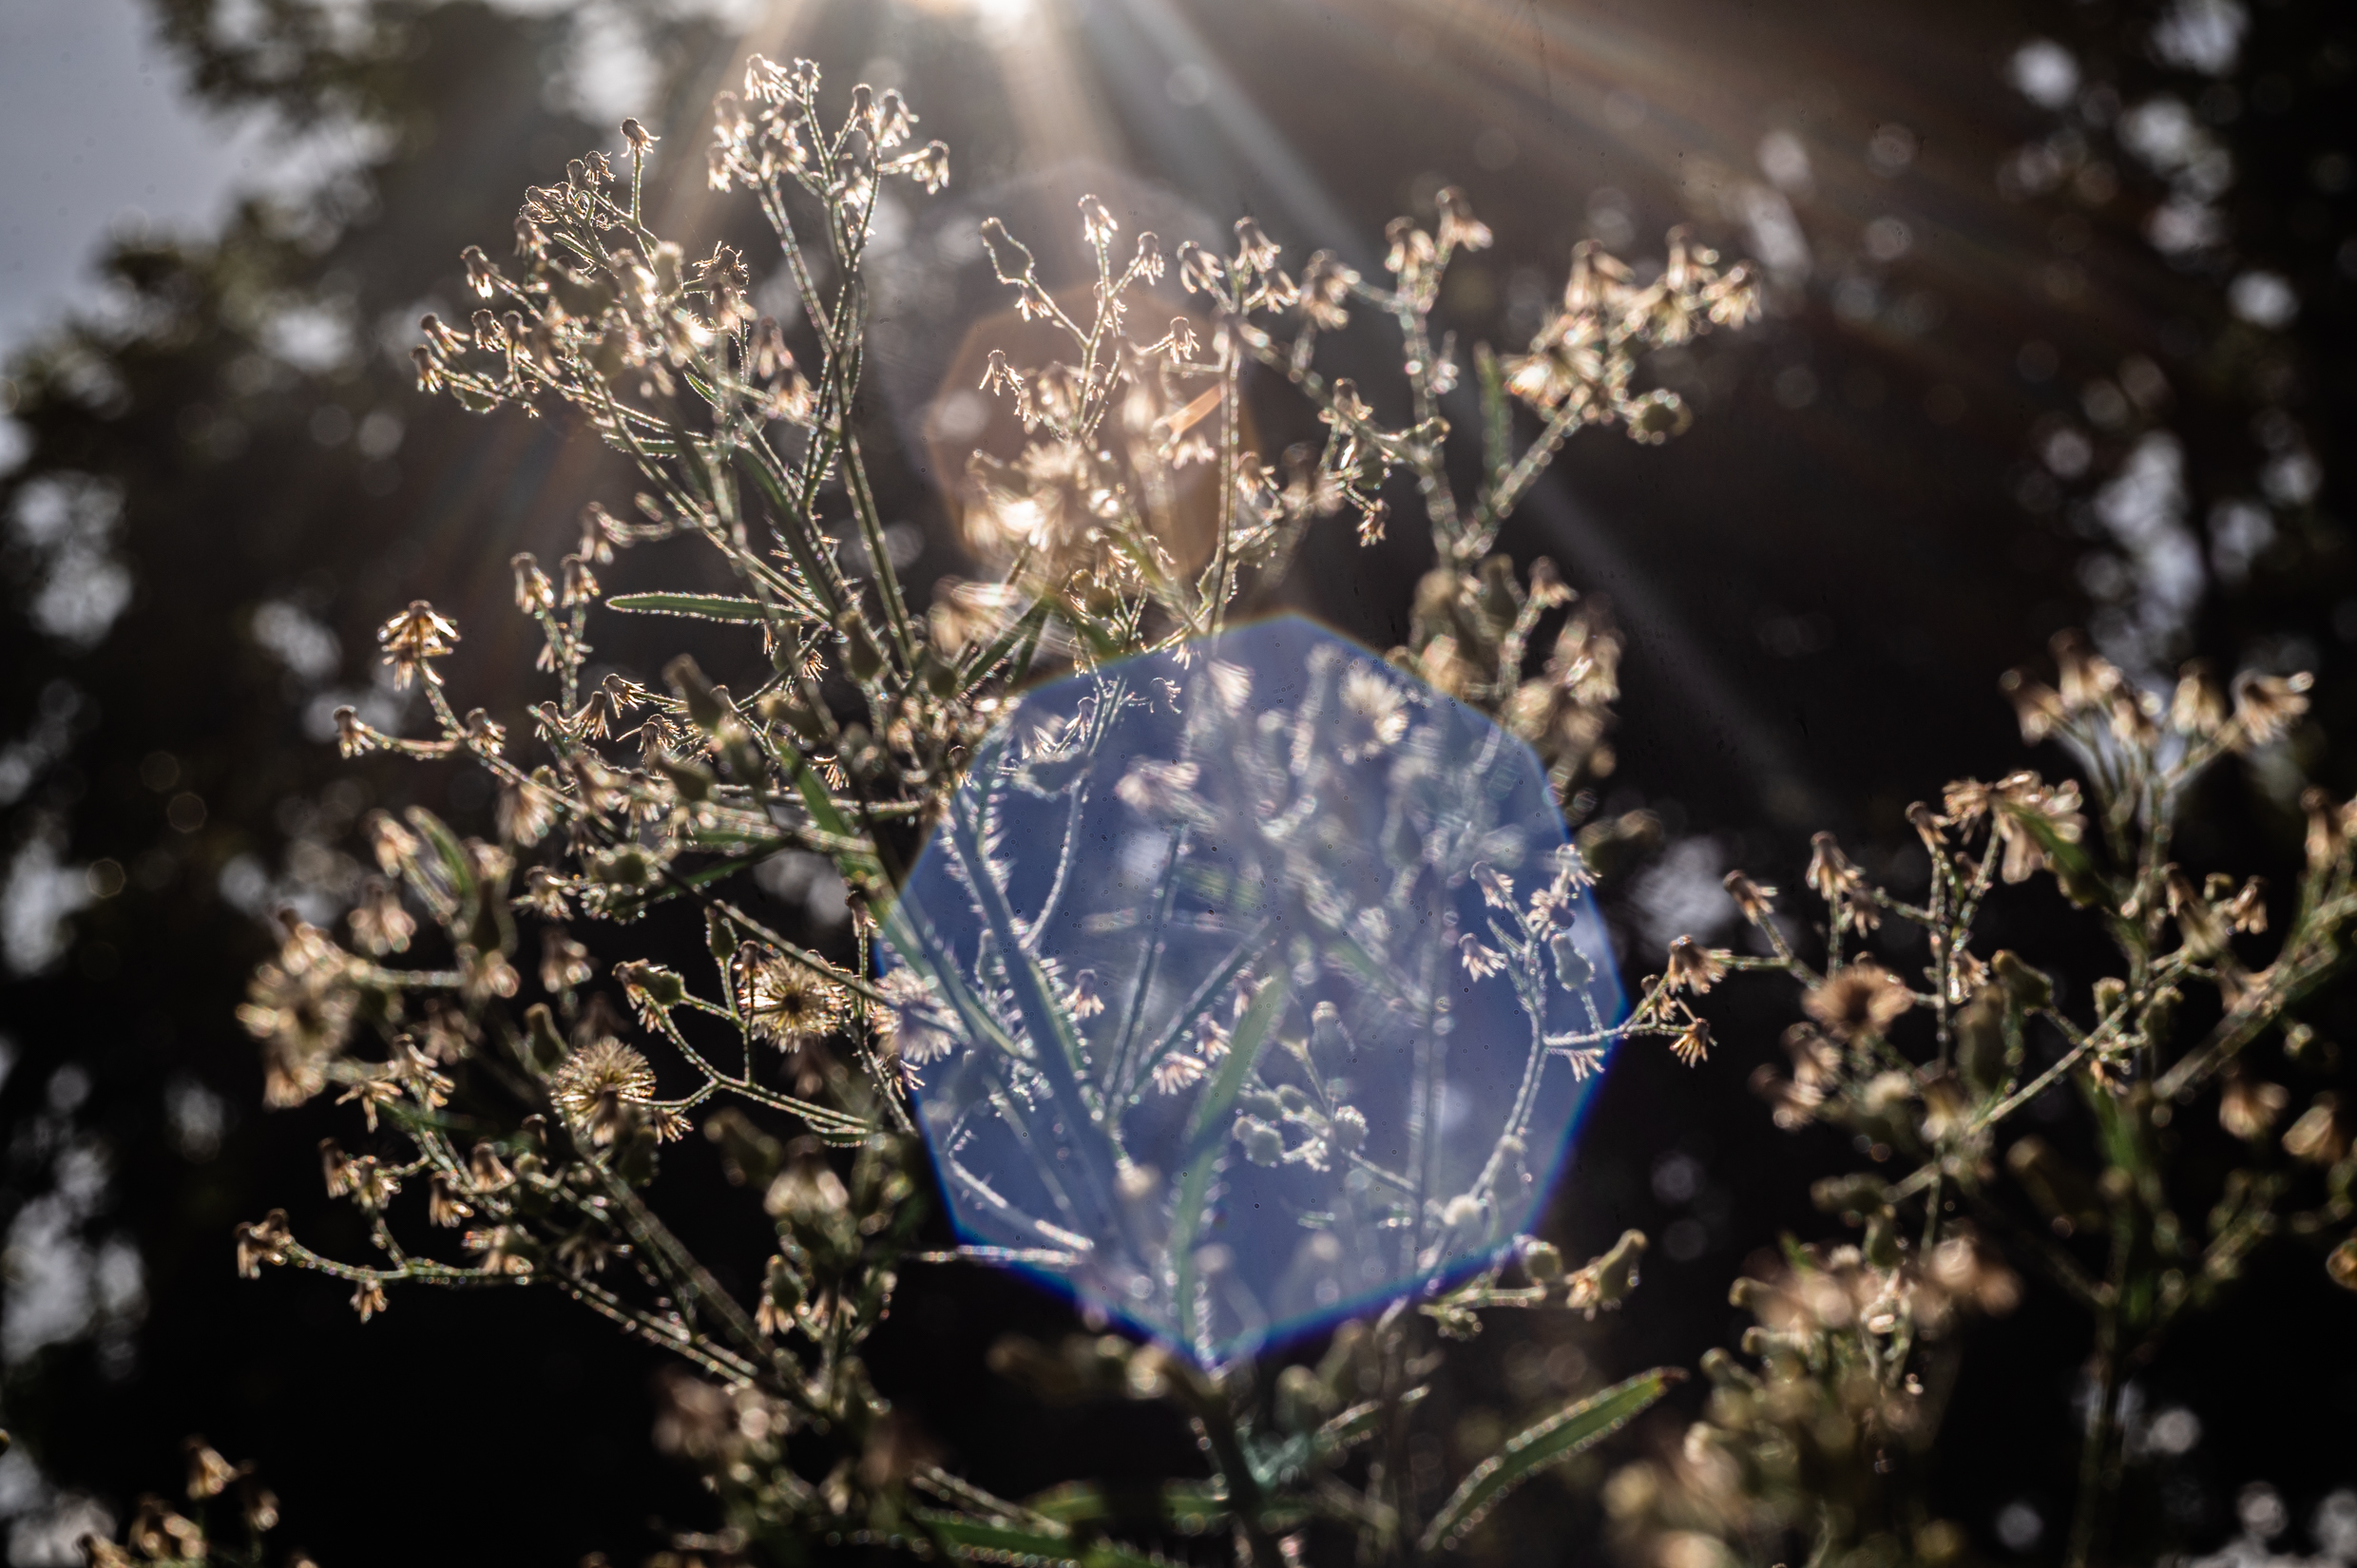
Like I mentioned above, I was first drawn to the bokeh this lens produces. I like to look for backgrounds that will produce good bokeh to begin with: things like water drops, trees with light filtering through the leaves, morning dew, etc. Then I like to place my subject with a little space from the background and focus on the subject. It should toss all those light specks into beautiful circle bokeh.
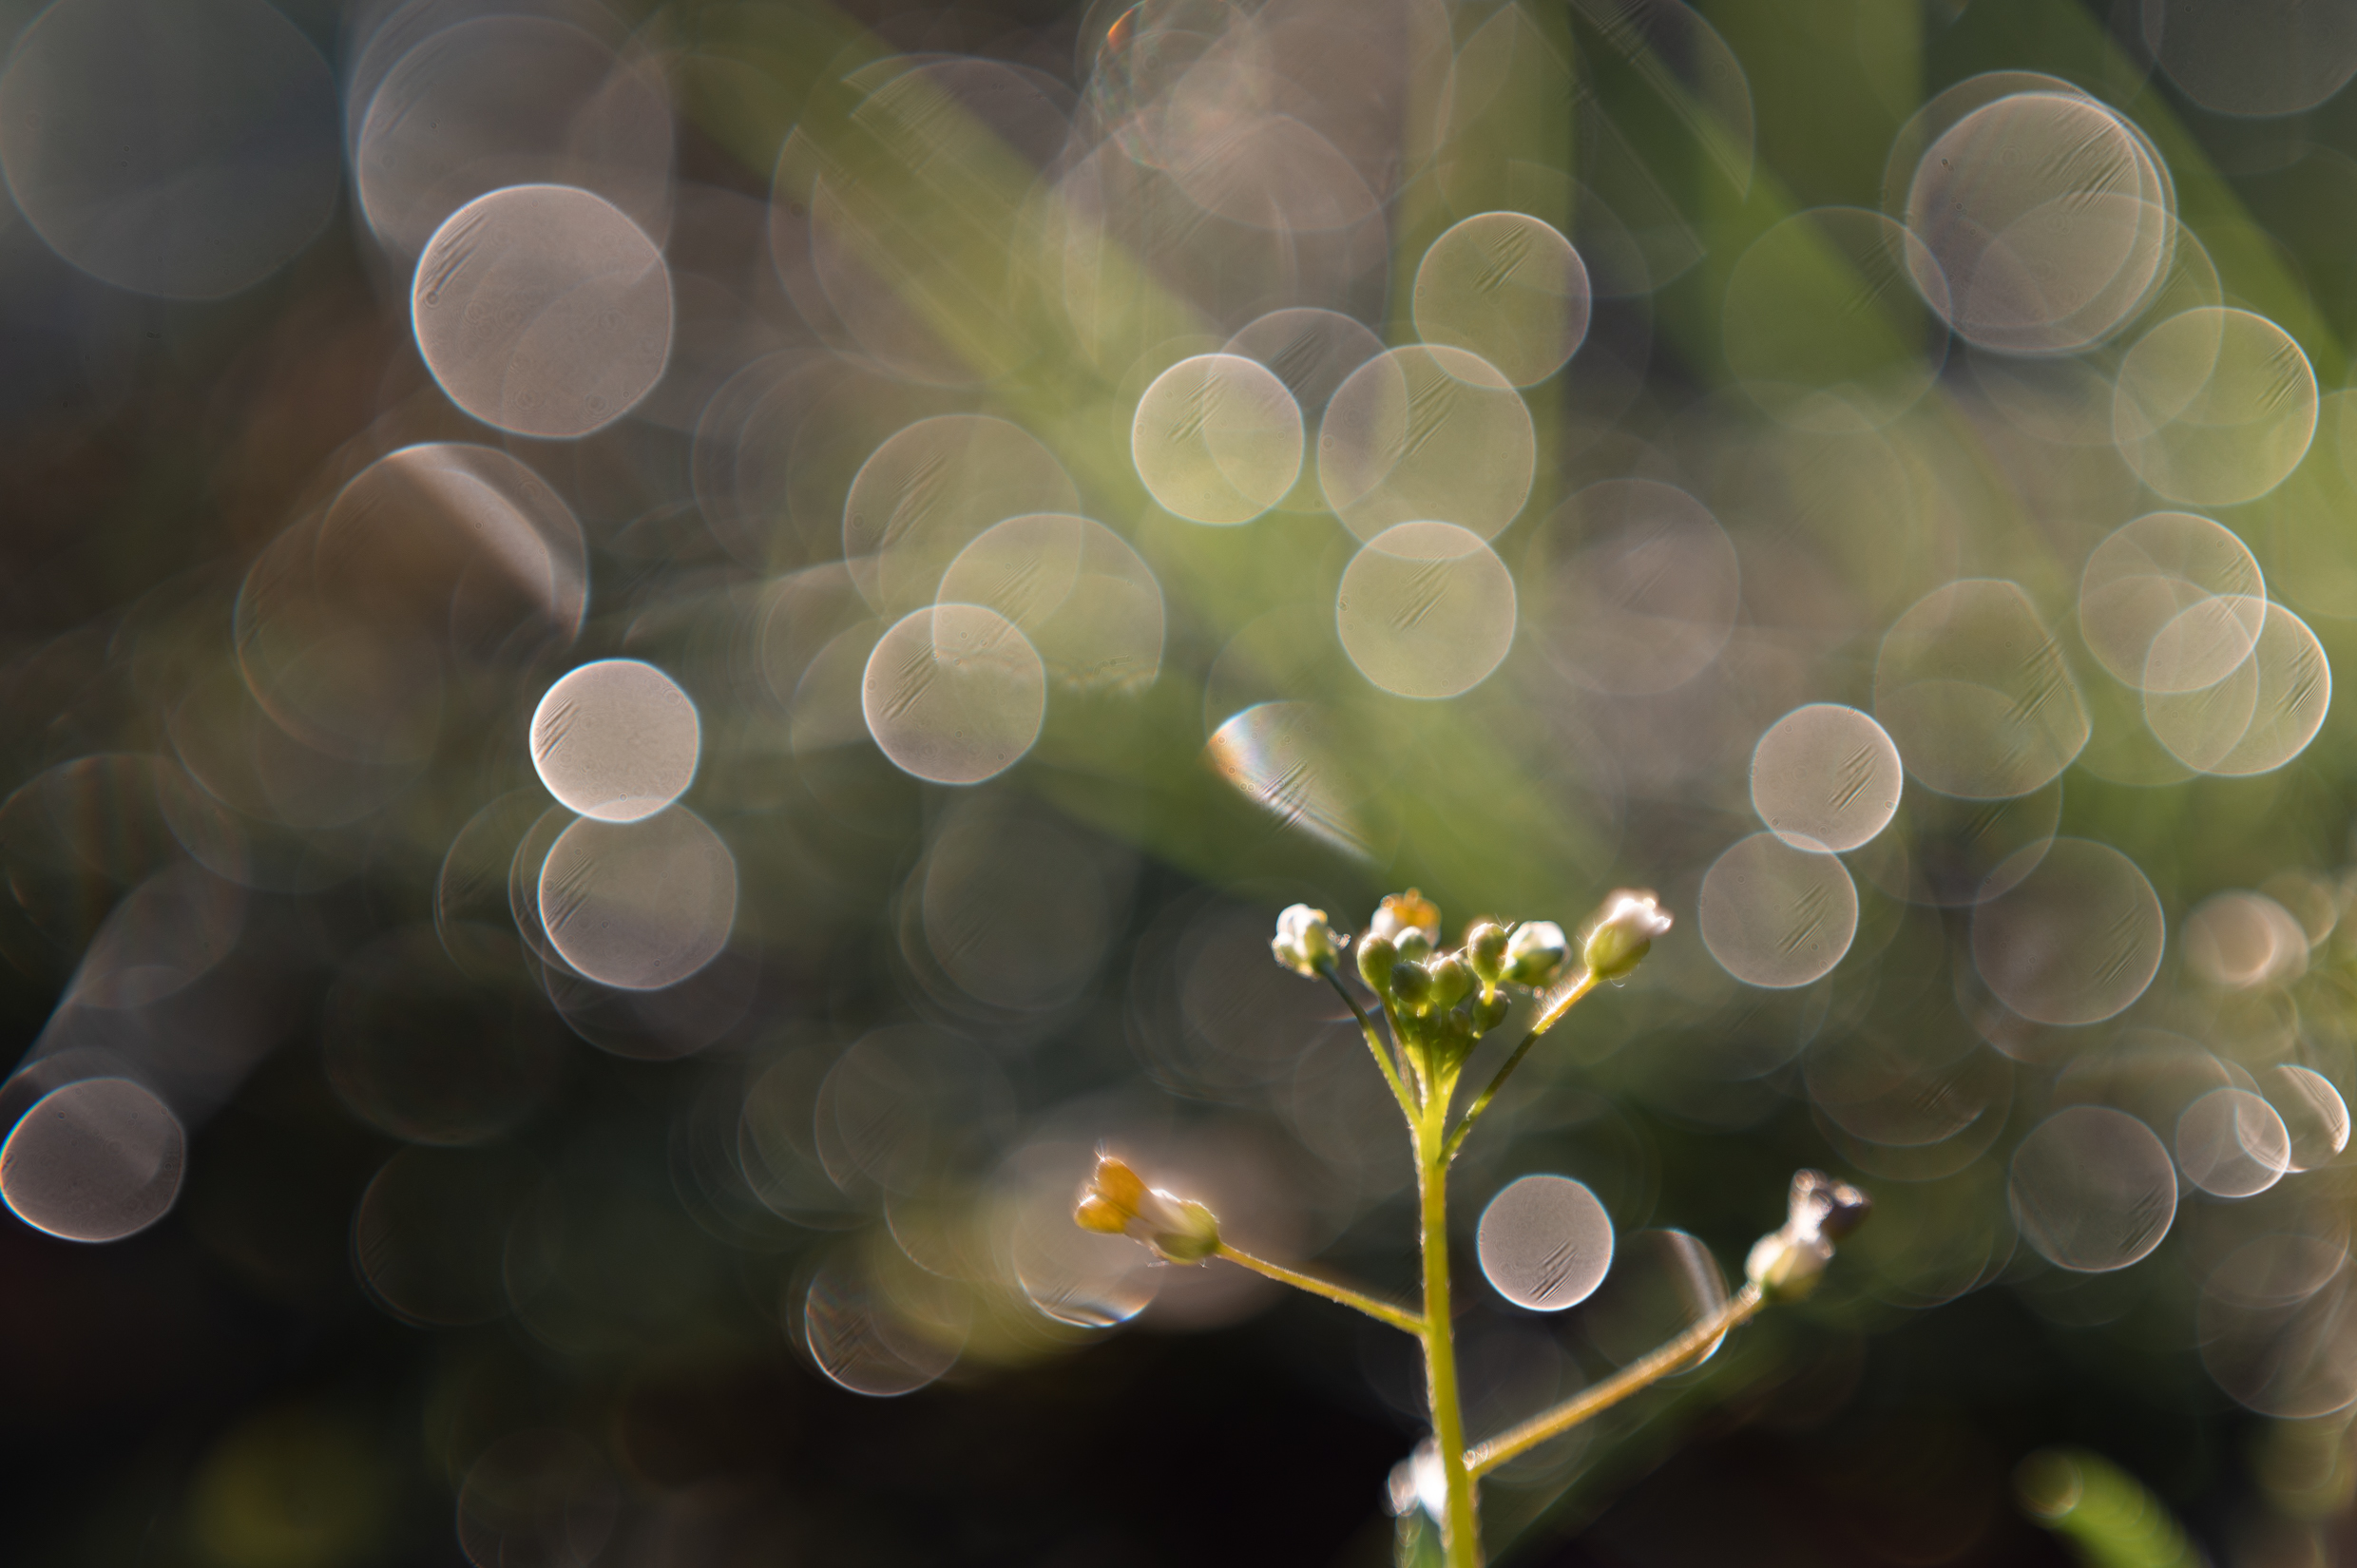
For the image above, it was mid-afternoon in the summer. And this little plant was surrounded by other weeds (honestly, I’m so bad at making sure the garden is weeded, but it DOES make for some nice background every once in a while). I added some water from my spray bottle which caused the background weeds to catch the light, and the smaller foreground bokeh dots is water spray catching the light.
I handheld the camera and squirted the water bottle, but it would totally have been helpful to have someone else spraying or have the camera on a tripod.
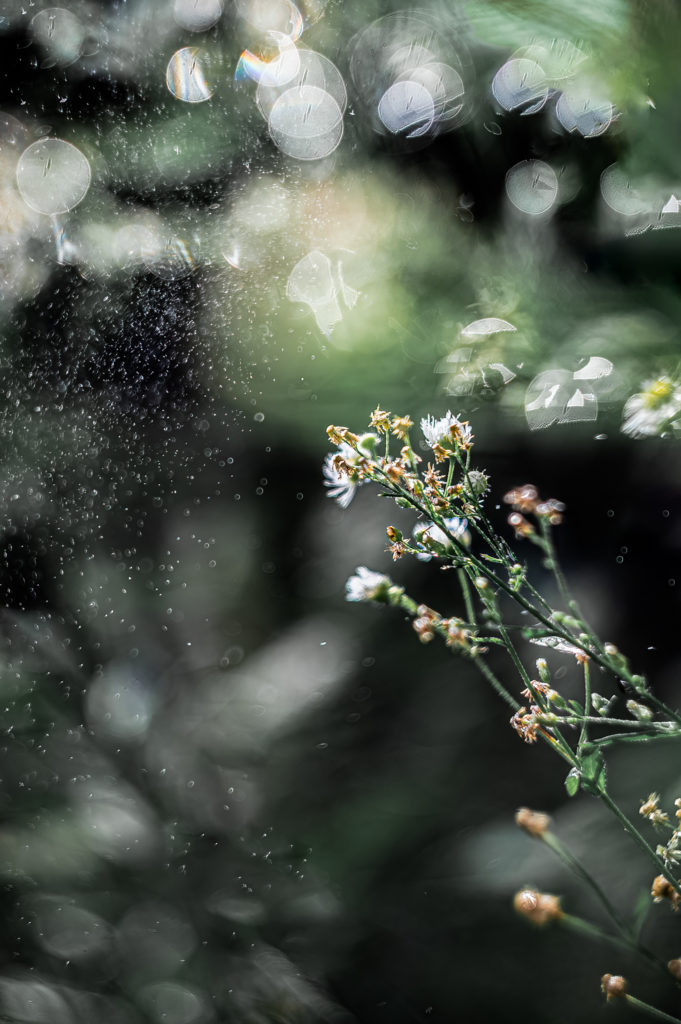
Morning dew. These little flowers are pretty small, and behind them were other flowers and grass with dew drops.
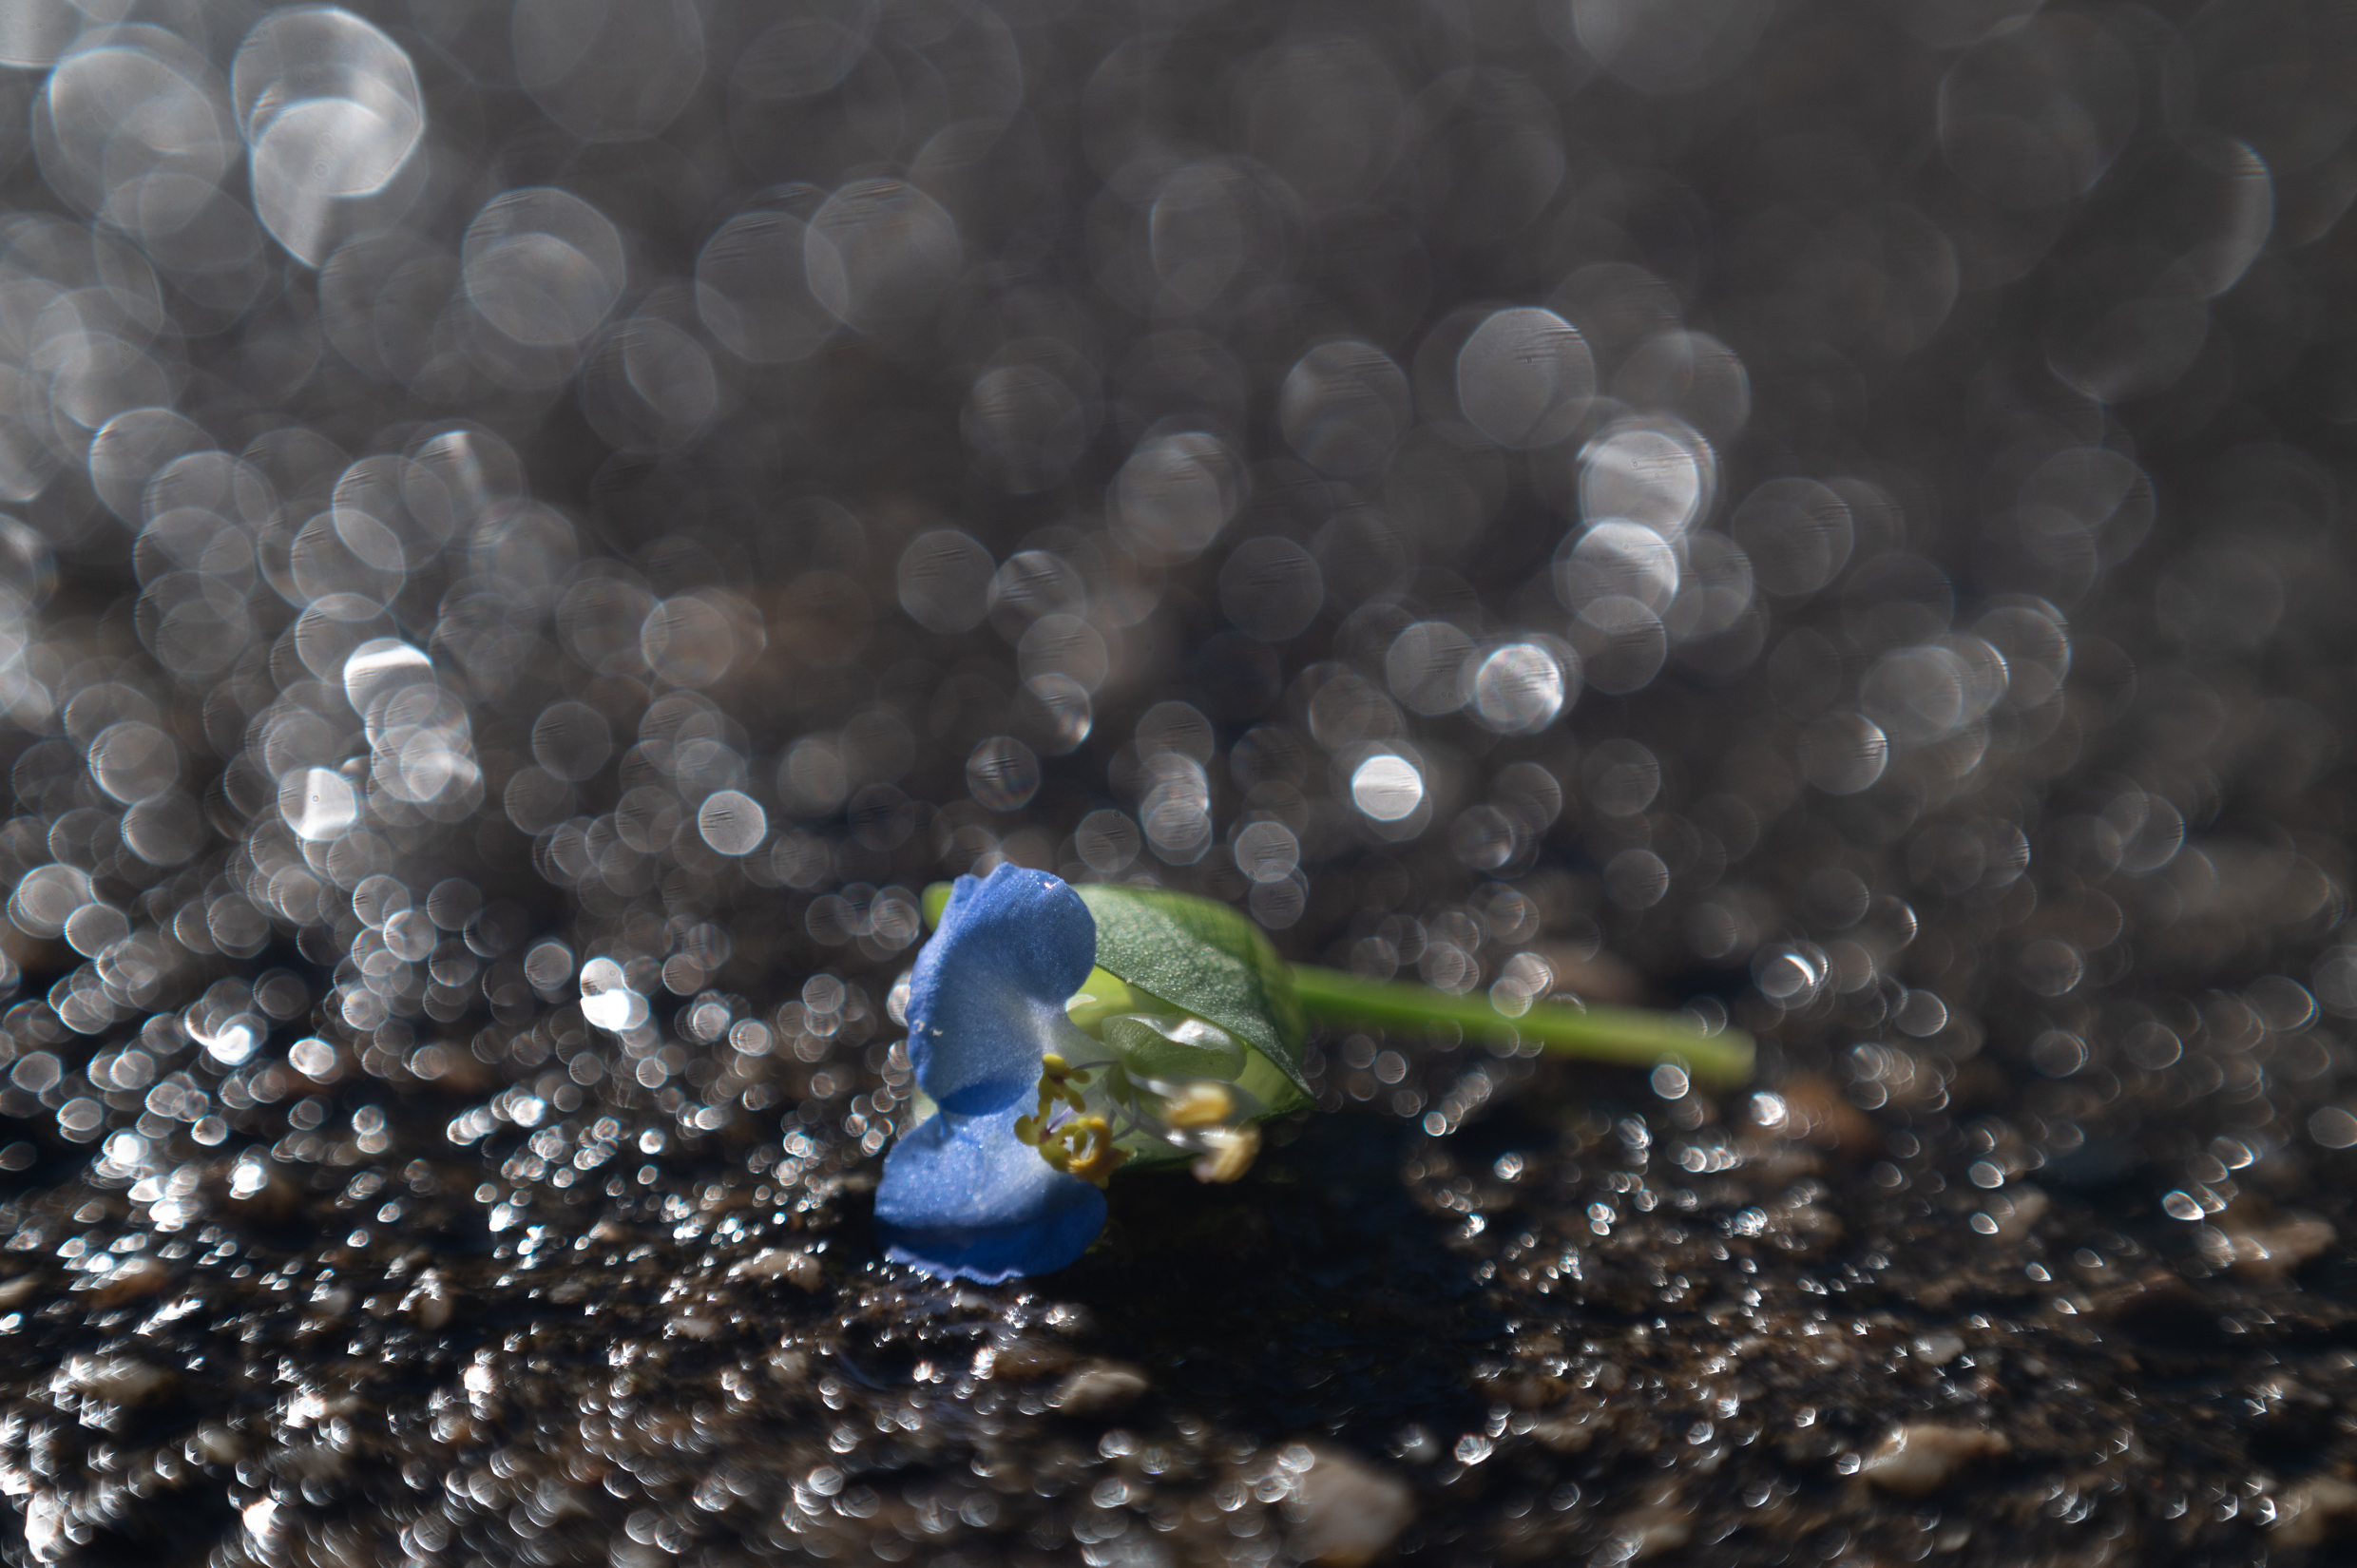
This was a set up image, I picked the blue flower and placed it on some wet pavement. It was mid-morning and the sun was bright on the water. This is an example of where I moved the subject to have the lighting I was looking for.
Check out these courses that will help you get creative with photography!
Language of Lensbaby
Diary of a Creative Storyteller
Magic of Macro
Sun Flare
Pretty early on, while I was trying to get all my bokeh shots, I accidentally turned my lens full on into the sun and found a sun flare. And, oh my goodness, if this isn’t my most favorite sun flare of all my lenses.
Tips: Shoot at a low aperture to get the circle. Shoot at a higher aperture to get different shapes (example below). Place the sun at the edge of your image (or partially block it with a tree, window, wall, or something). Tilt your camera ever so slightly away from the sun so it can “catch” on the lens. Try to freelens (if you’re comfortable doing that). This will allow you to “move” the flare to different areas of your image.
Side note: Not all of these lenses produce the same color sun flare. Mine makes a yellow/orange. I’ve seen others that make a purple, pink, and red.
This was one of my first accidental sun flare images. It was taken mid-afternoon with strong sunlight. It’s not perfect, but I love it.
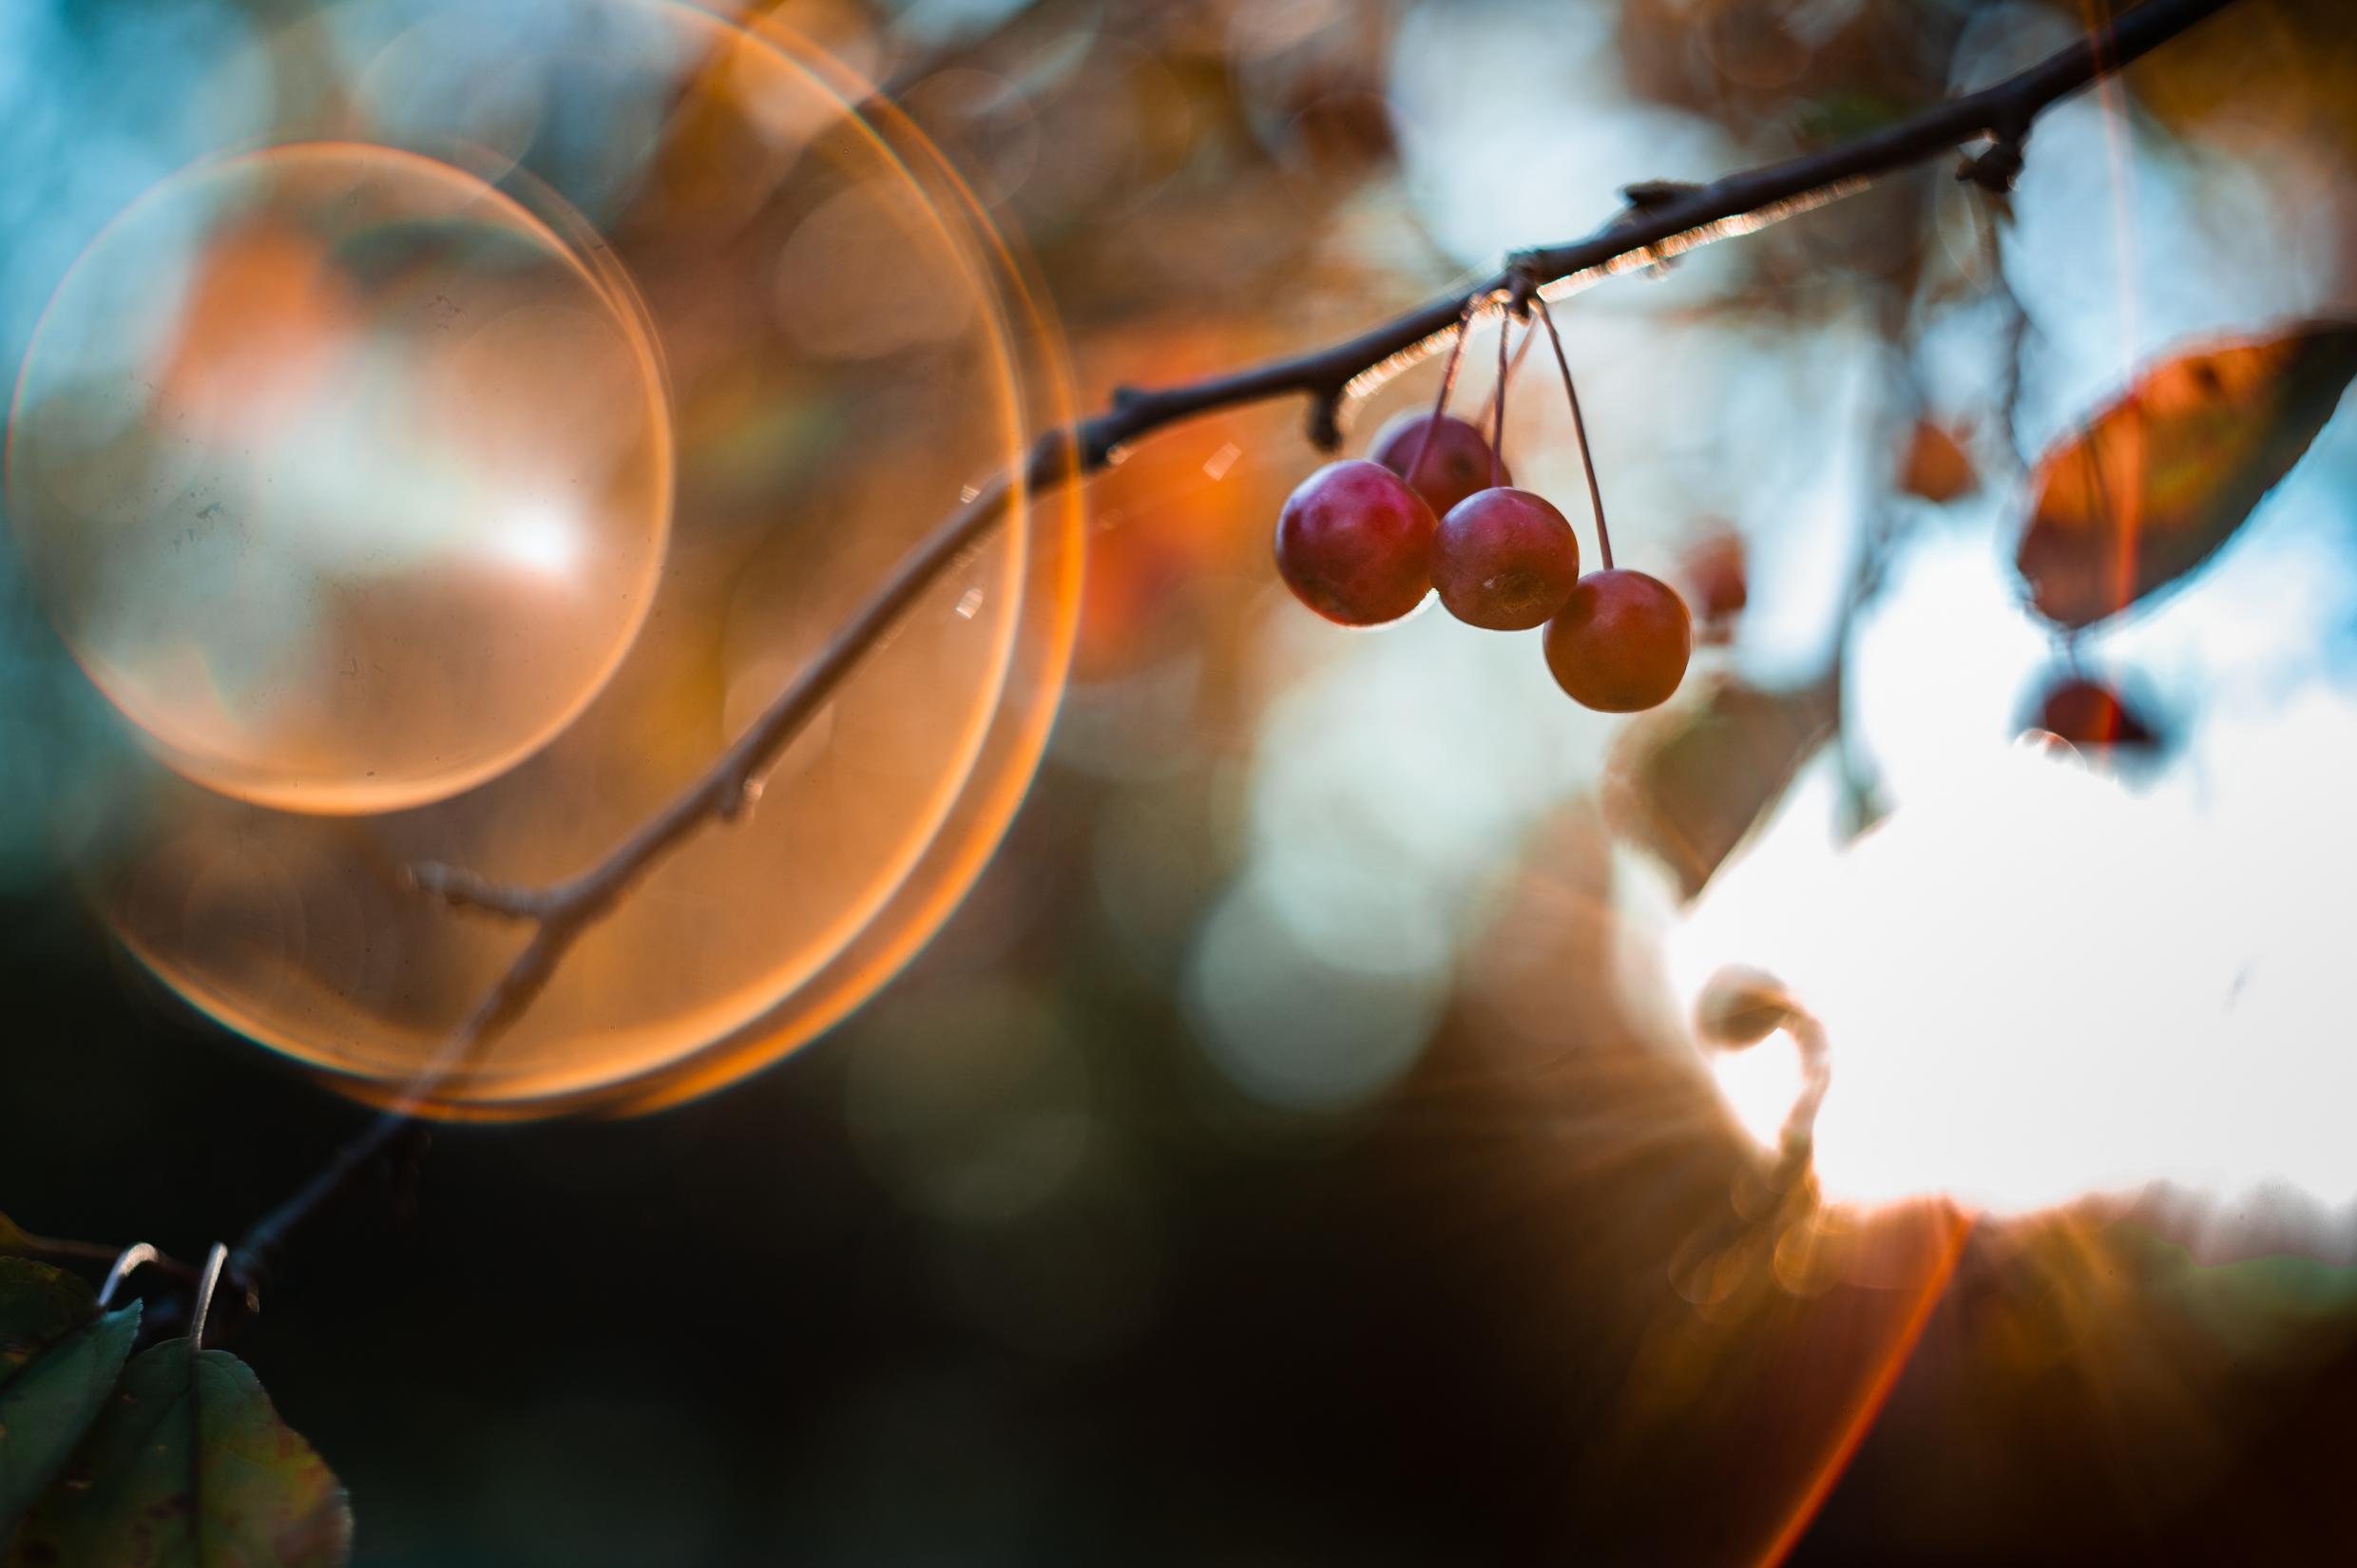
Taken right around golden hour so the sun was low in the sky. It’s just off to the right side of the image. I ended up moving around a bit to get the flare positioned around the cherries.
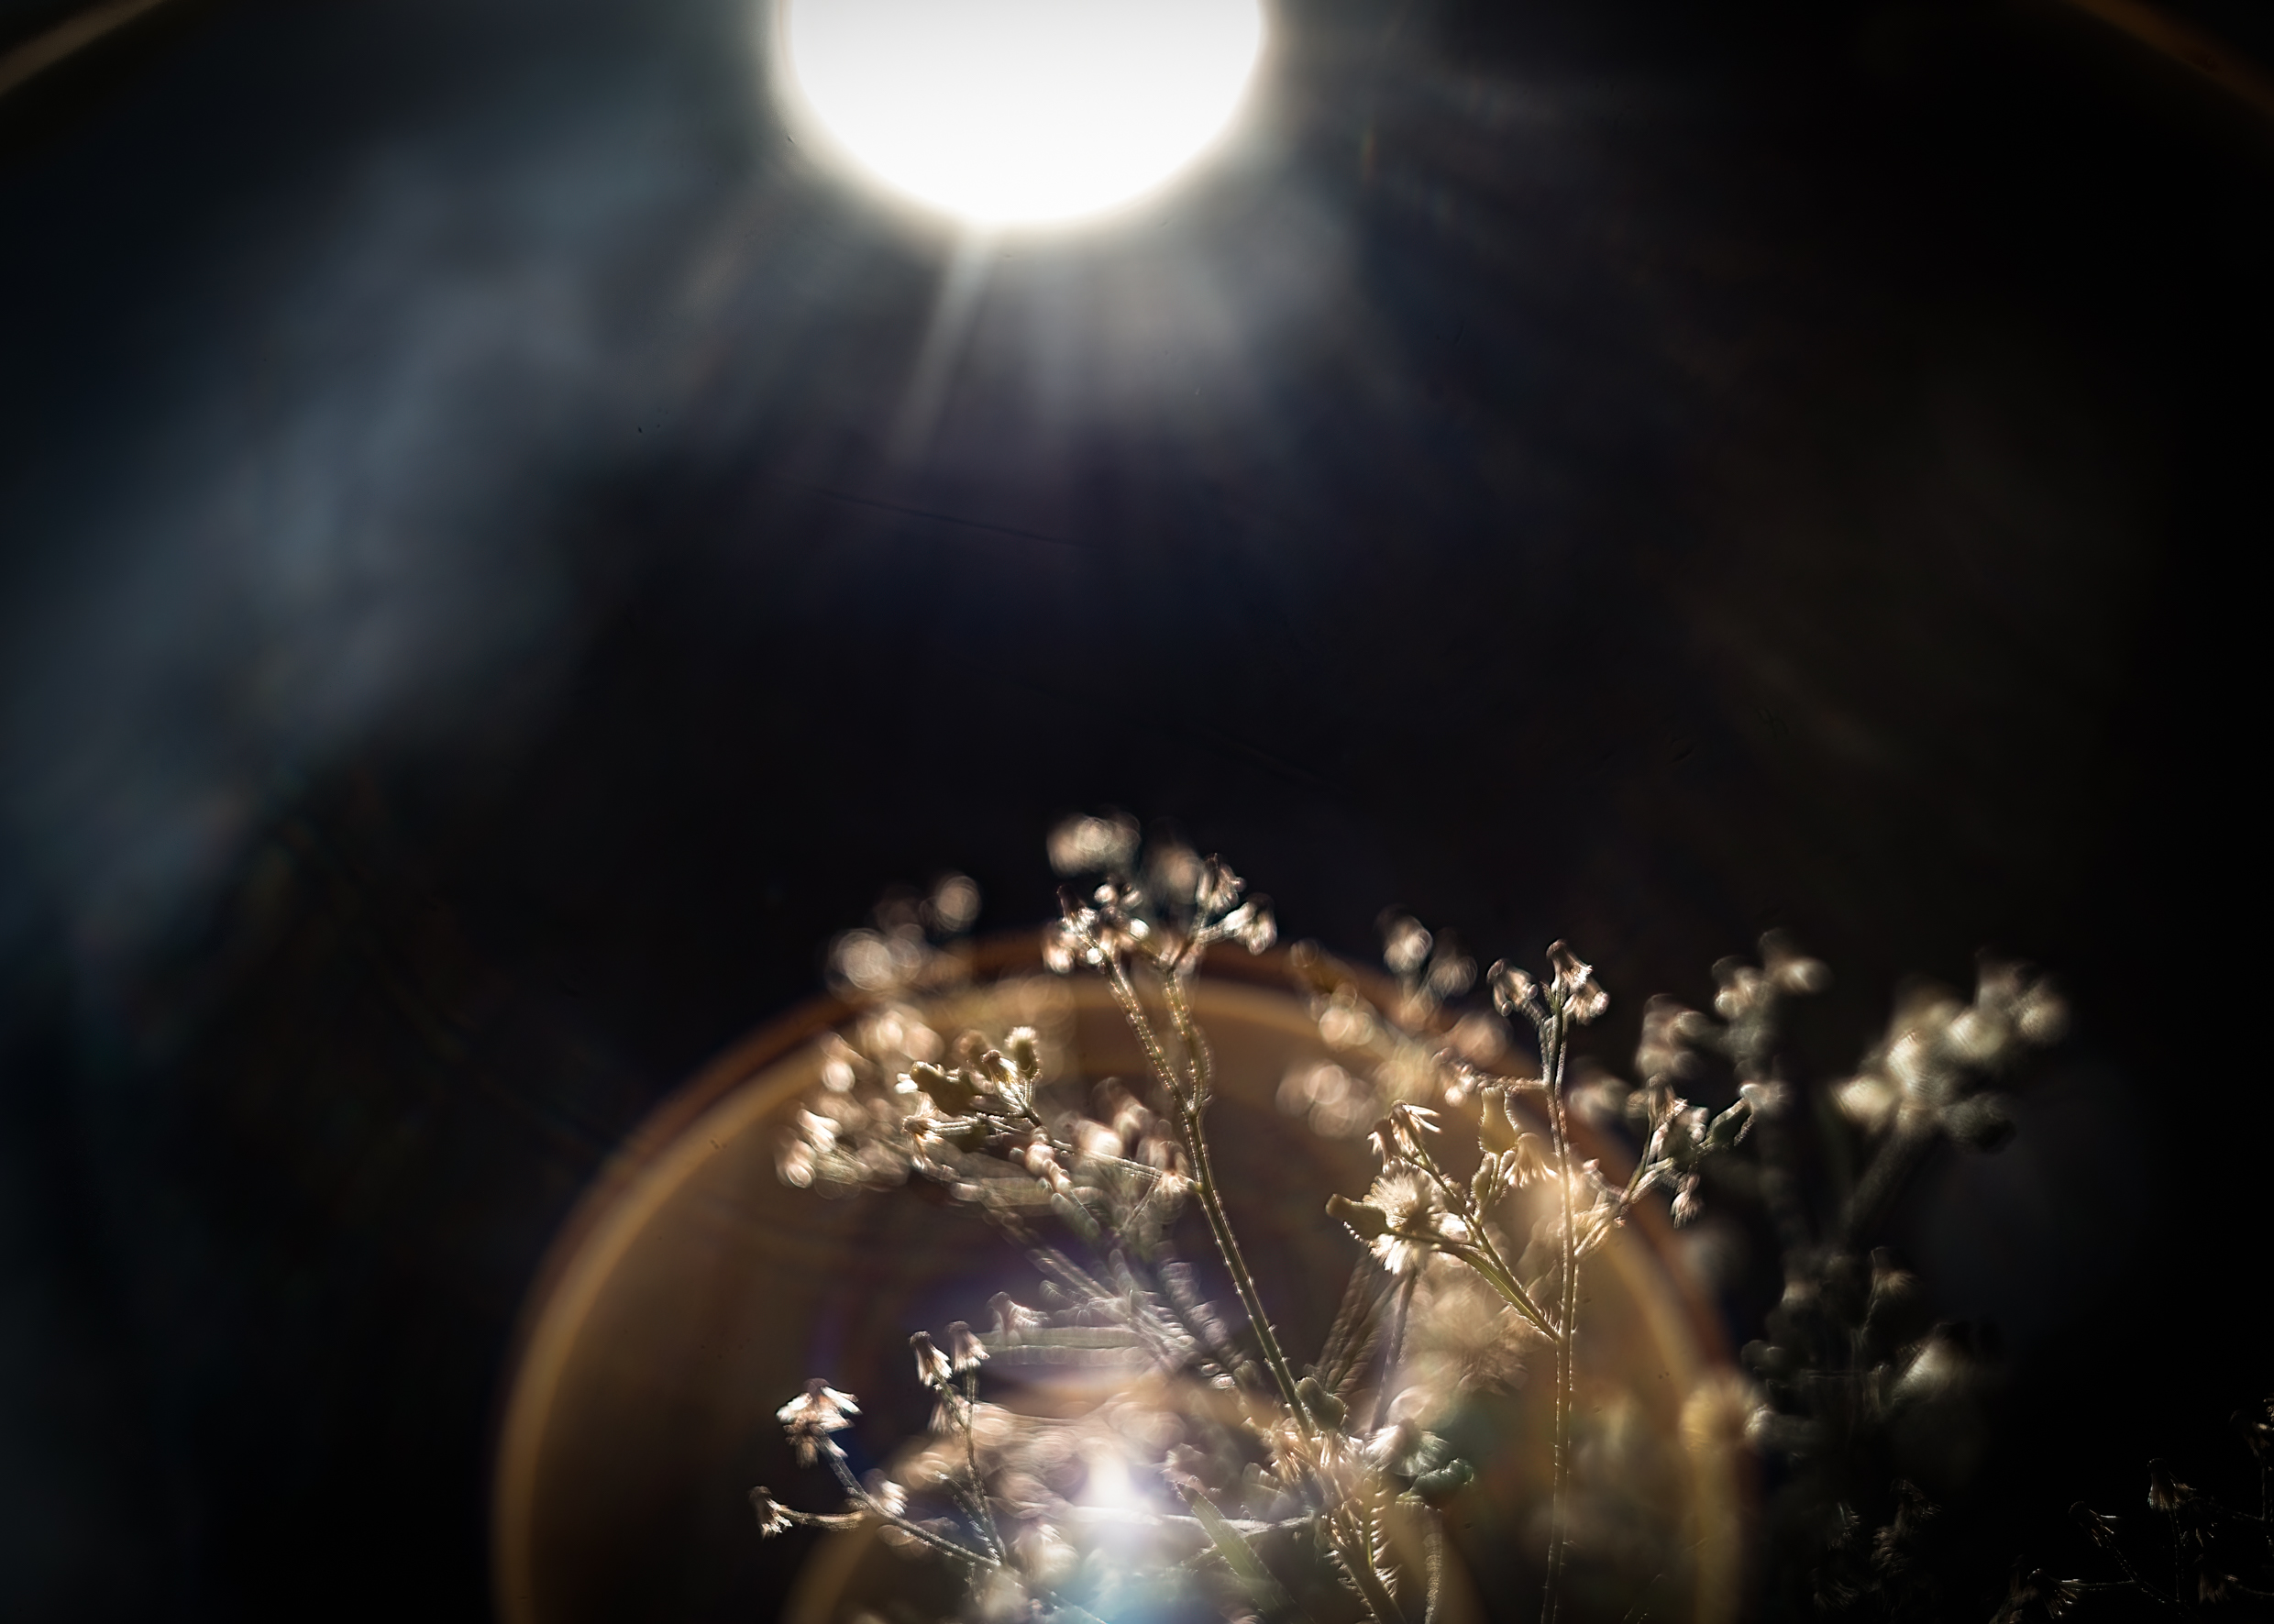
This is an example of a freelensed image. If you notice in the other flare images the flare is right on the edge of the frame. When I detached the lens, I ended up having a bit more control over where the ring was placed. In this image the sun was out of frame, but I was still able to capture the flare without the blown highlight of the sun.
You could also try reverse free lensing (or using a macro converter). I like doing both of these as it allows me to get closer to my subject. Some of the lens flares aren’t as spectacular, but the bokeh is still nice.
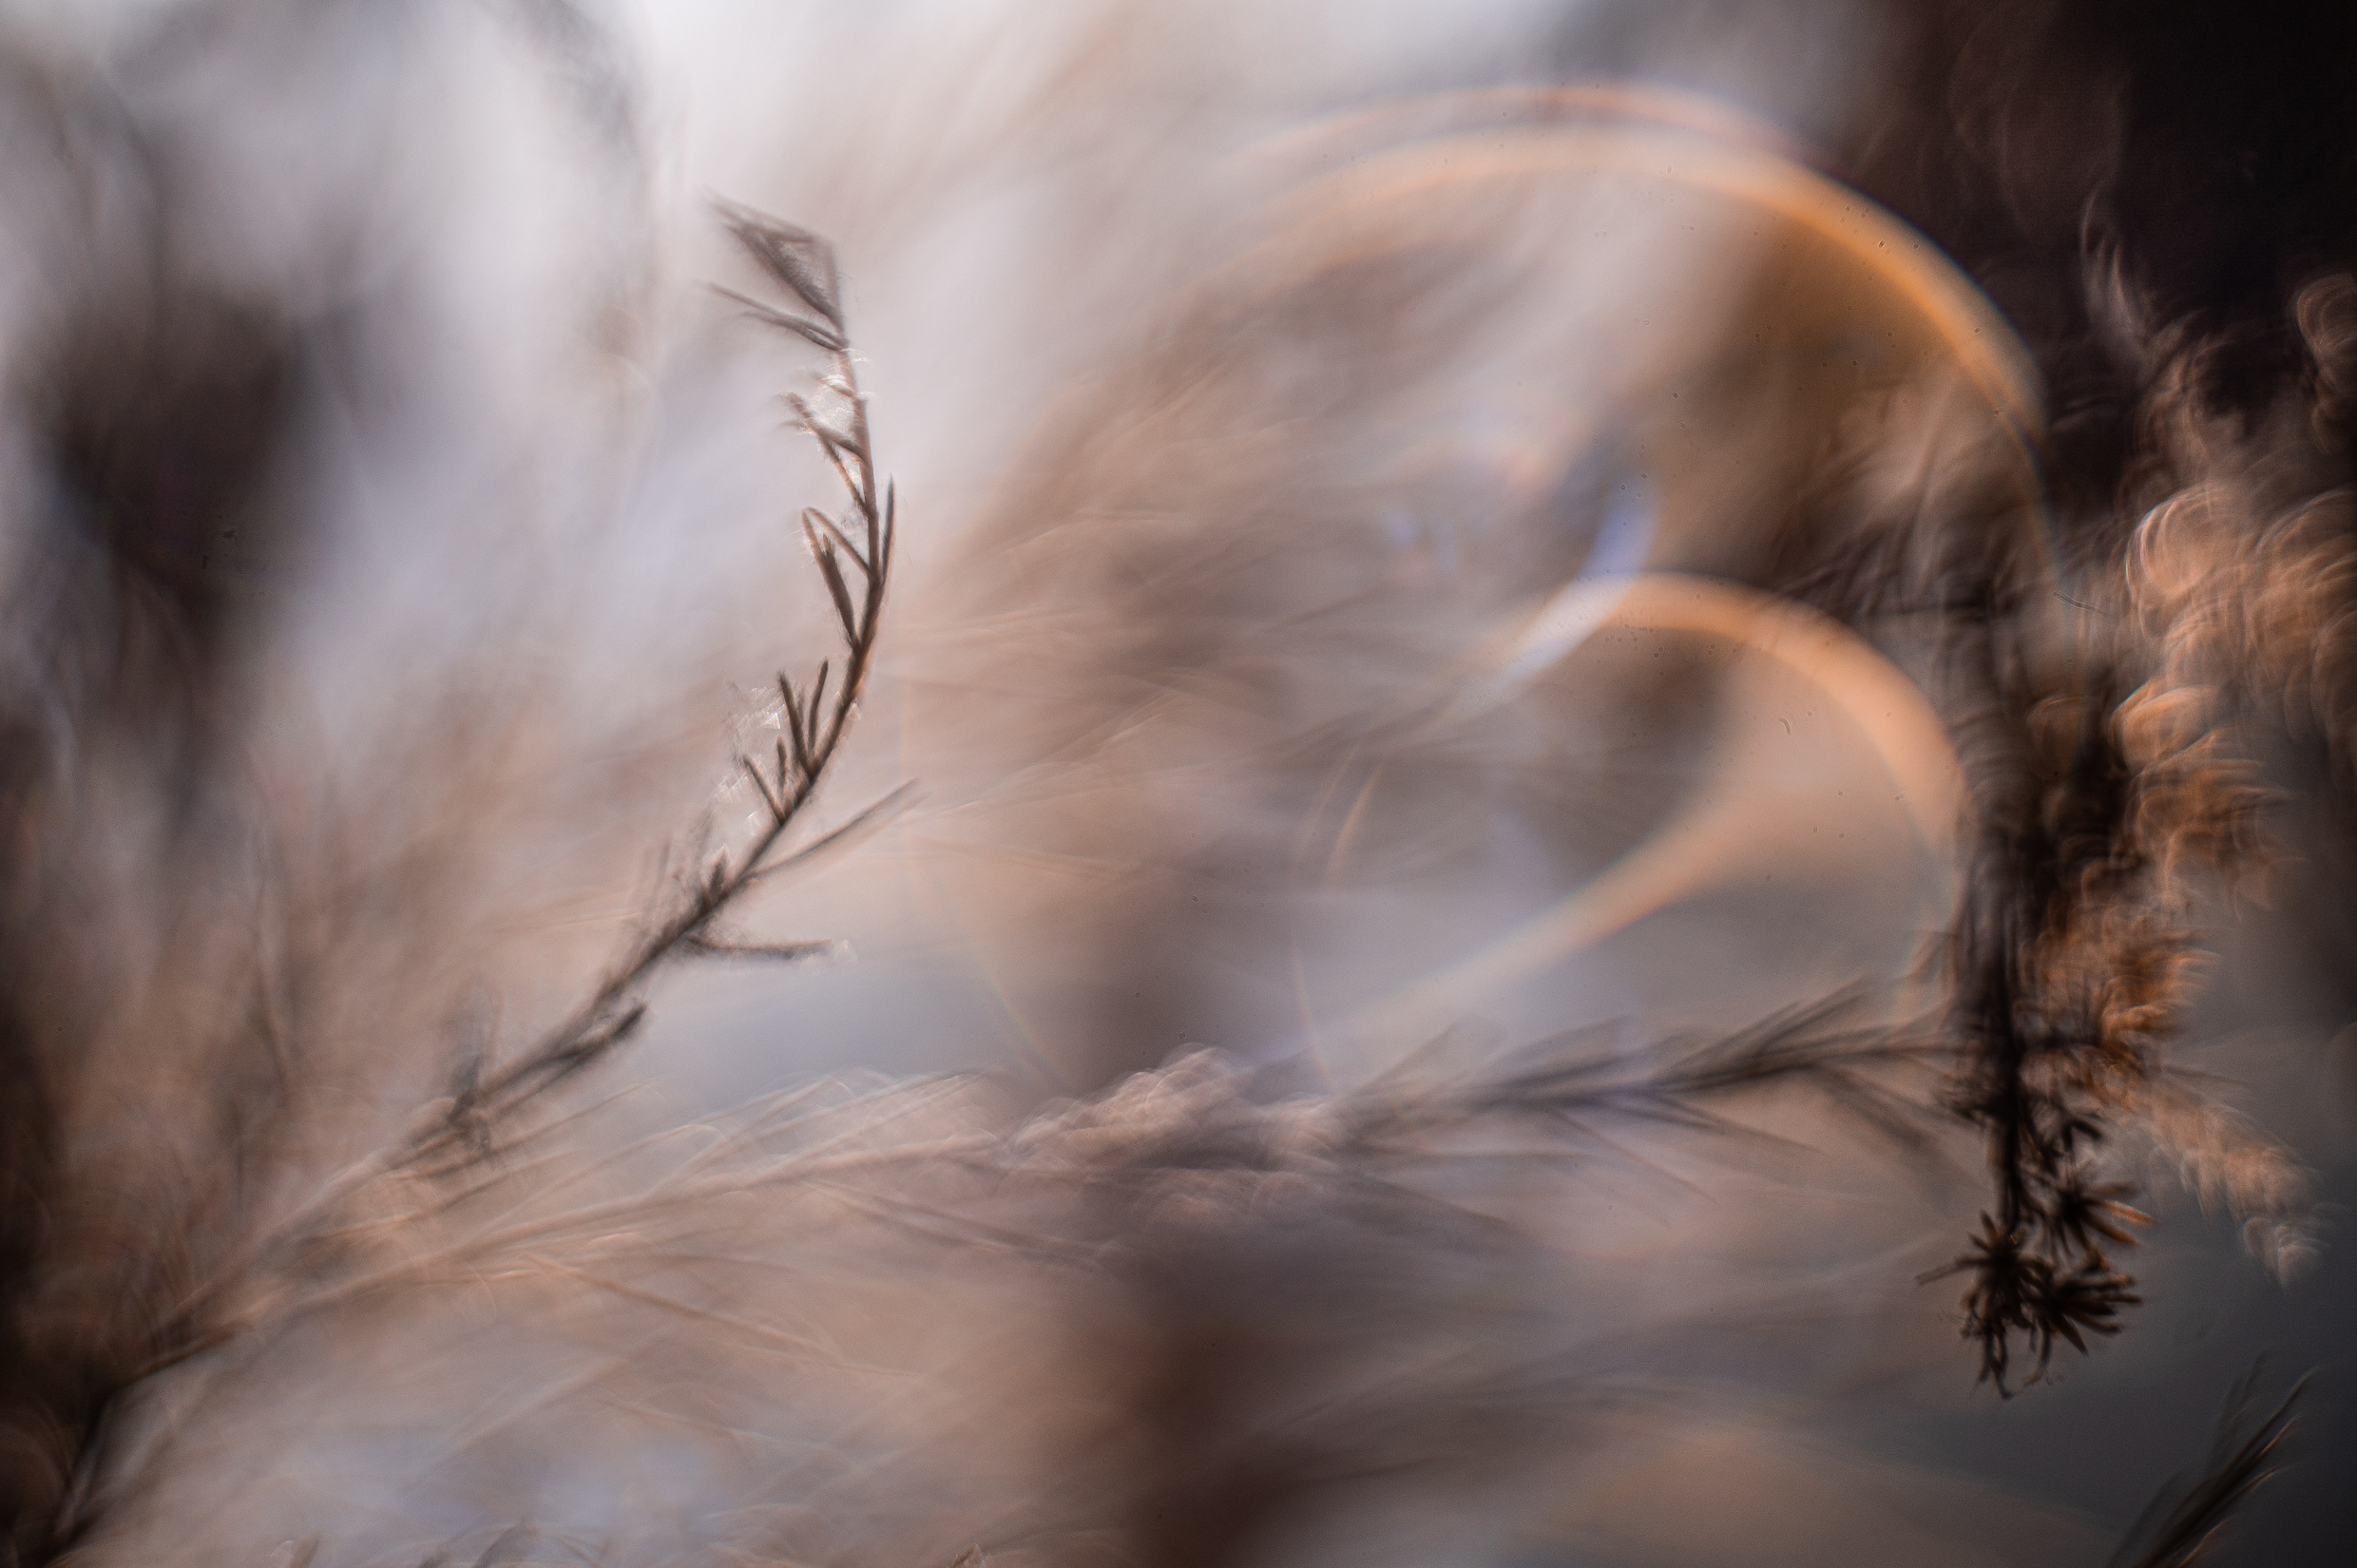
High aperture (f/22) sun flare. It was taken at a similar time of day to my first sun flare image.
Portraits
As noted earlier, portraits are a little trickier with this lens. I found it takes a lot more tries to get them in focus. But it can be done if you have a cooperative/distracted subject.
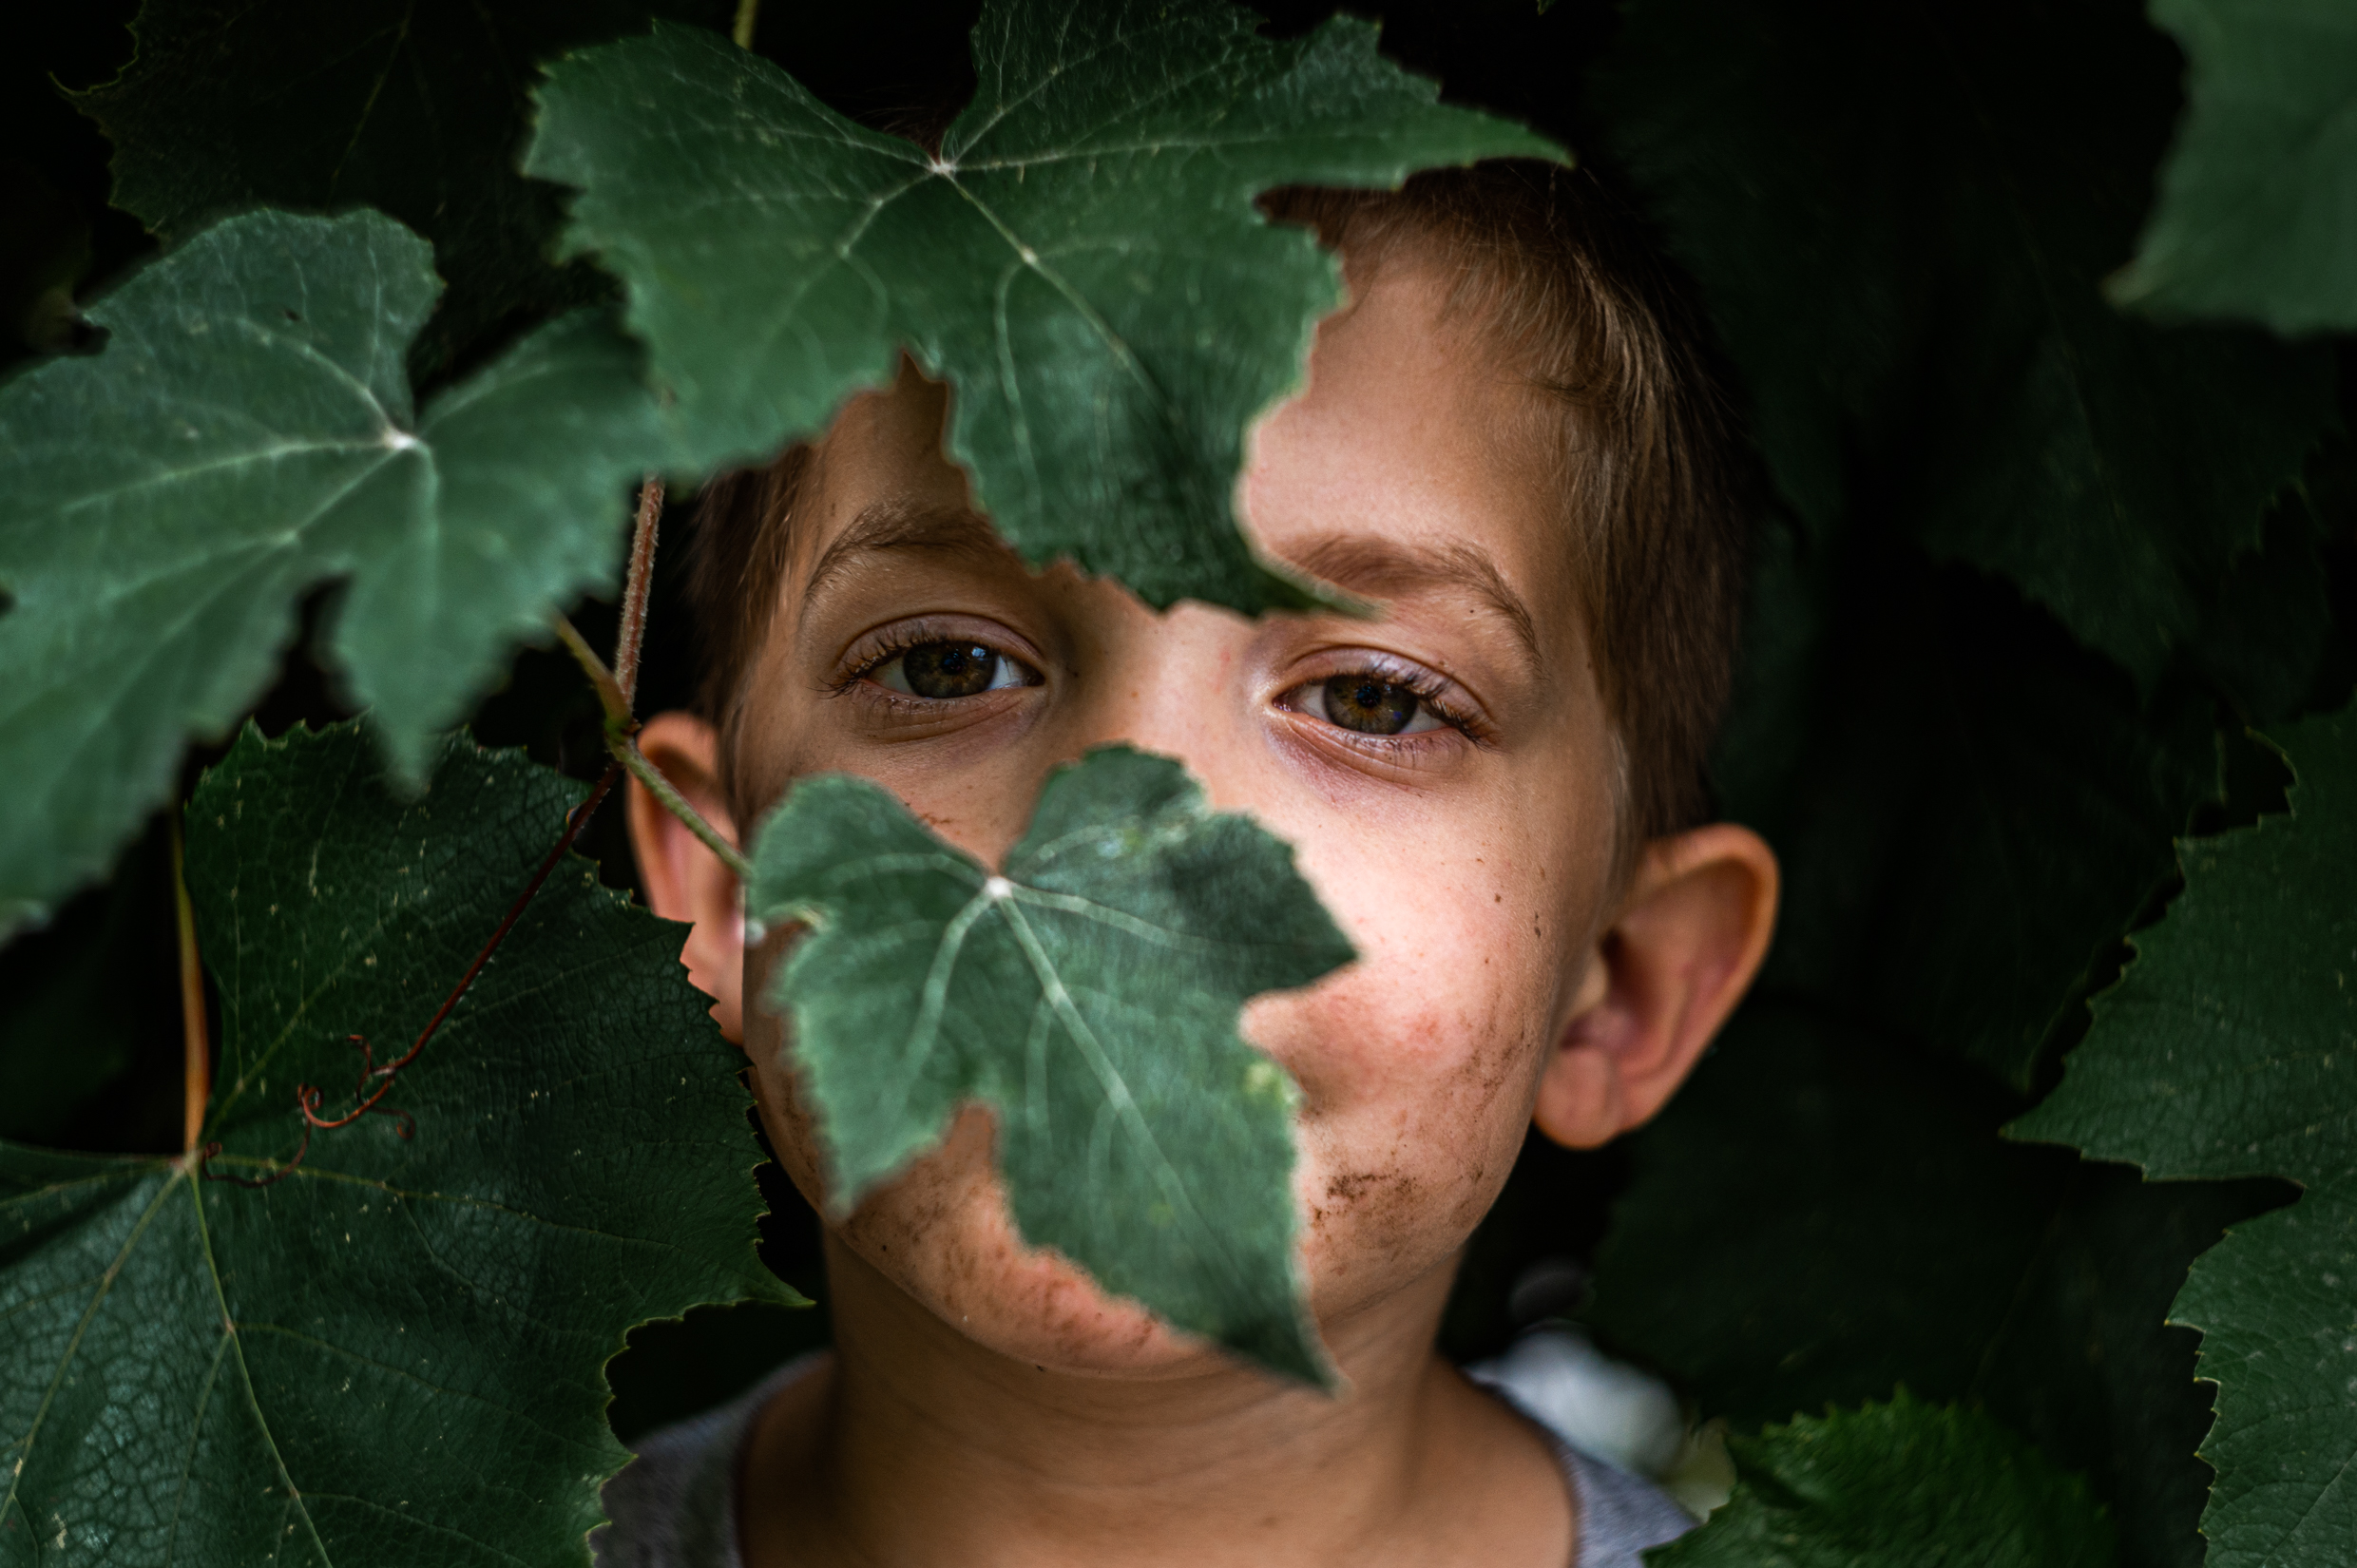
One of the first portraits I attempted. At the time he was one of my most cooperative subjects.

Of course, after I figured out the flare thing, I desperately wanted to try it with people. I had the boys sit in ONE spot and I took probably a million photos to get them in focus enough AND get the flare.
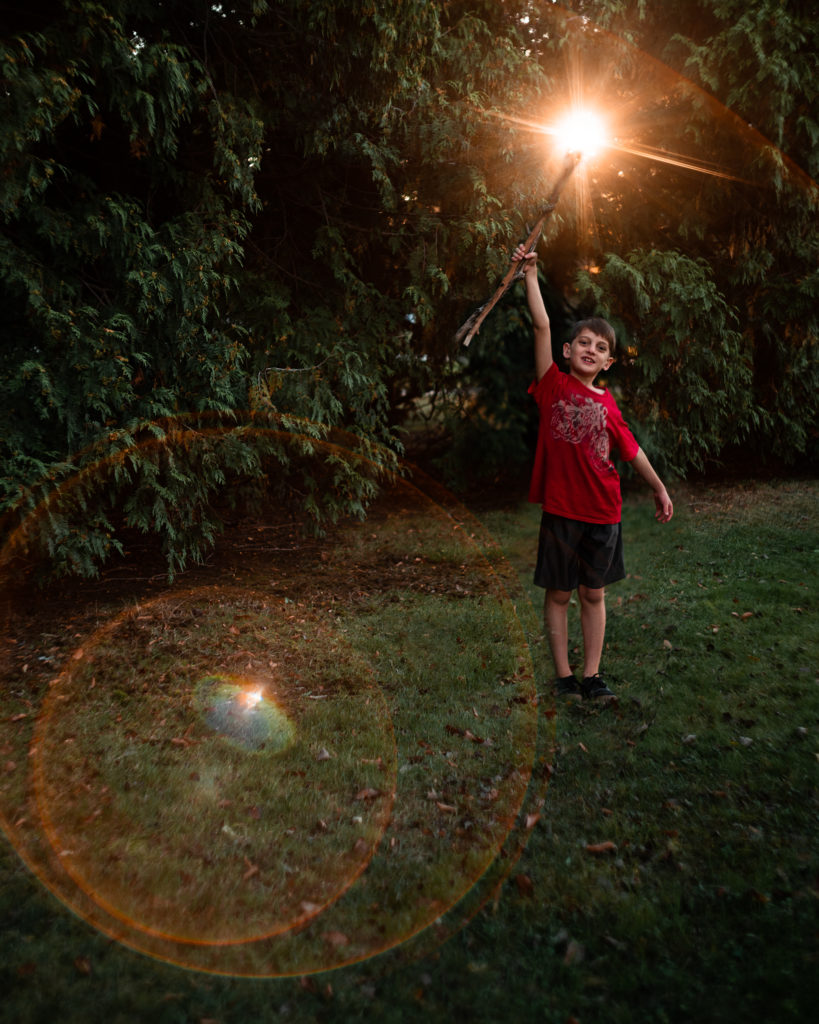
This is actually a composite. Both were taken with the Helios, I just moved my son over from a different image because his stick wasn’t quite in the right spot for the wizard-effect I was going for. This is also an example of hiding the sun behind the trees (it really cuts down on the blown-out sky)
I hope you enjoyed my tips for creating with the Helios 44-2 lens. If you’d like to see more, I post pretty regularly with this lens on my Instagram!
Notes on purchasing:
I purchased mine from Etsy. If you’re interested in the shop leave a comment or send me a message I’m happy to point you to the one I used. I’d highly recommend getting an adaptor from the same company you used to purchase the lens.

Fabulous tips and tricks !! I also bought this lens last year and you’ve inspired me to reach for it more now !!
I love this! I need to get mine out and use it more. Maybe this will give me the boost I need. 🙂 You should write a course on using a Helios lens…it would be so helpful to have someone walk through the exact process of achieving the results you get with all that beautiful sun flare. Thank you for sharing!