Abi Coop
Melissa Richard
Kristen Ryan
Getting Creative with Photography | by Abi Coop
January 18, 2022
Getting Creative with Photography
I love getting creative with photography! I get bored easily doing the same thing over and over. Therefore, I like to experiment with different techniques and creative set ups with unusual equipment. Maybe that describes you too or maybe you fancy trying something new to kick off the new year. The weather might be dismal and you need something to keep yourself amused indoors. Or perhaps you feel in a bit of a rut and need something fun to get your creative juices flowing again. Whatever your situation I hope some of these ideas speak to you and you’ll give them a go.
Shooting Through Things
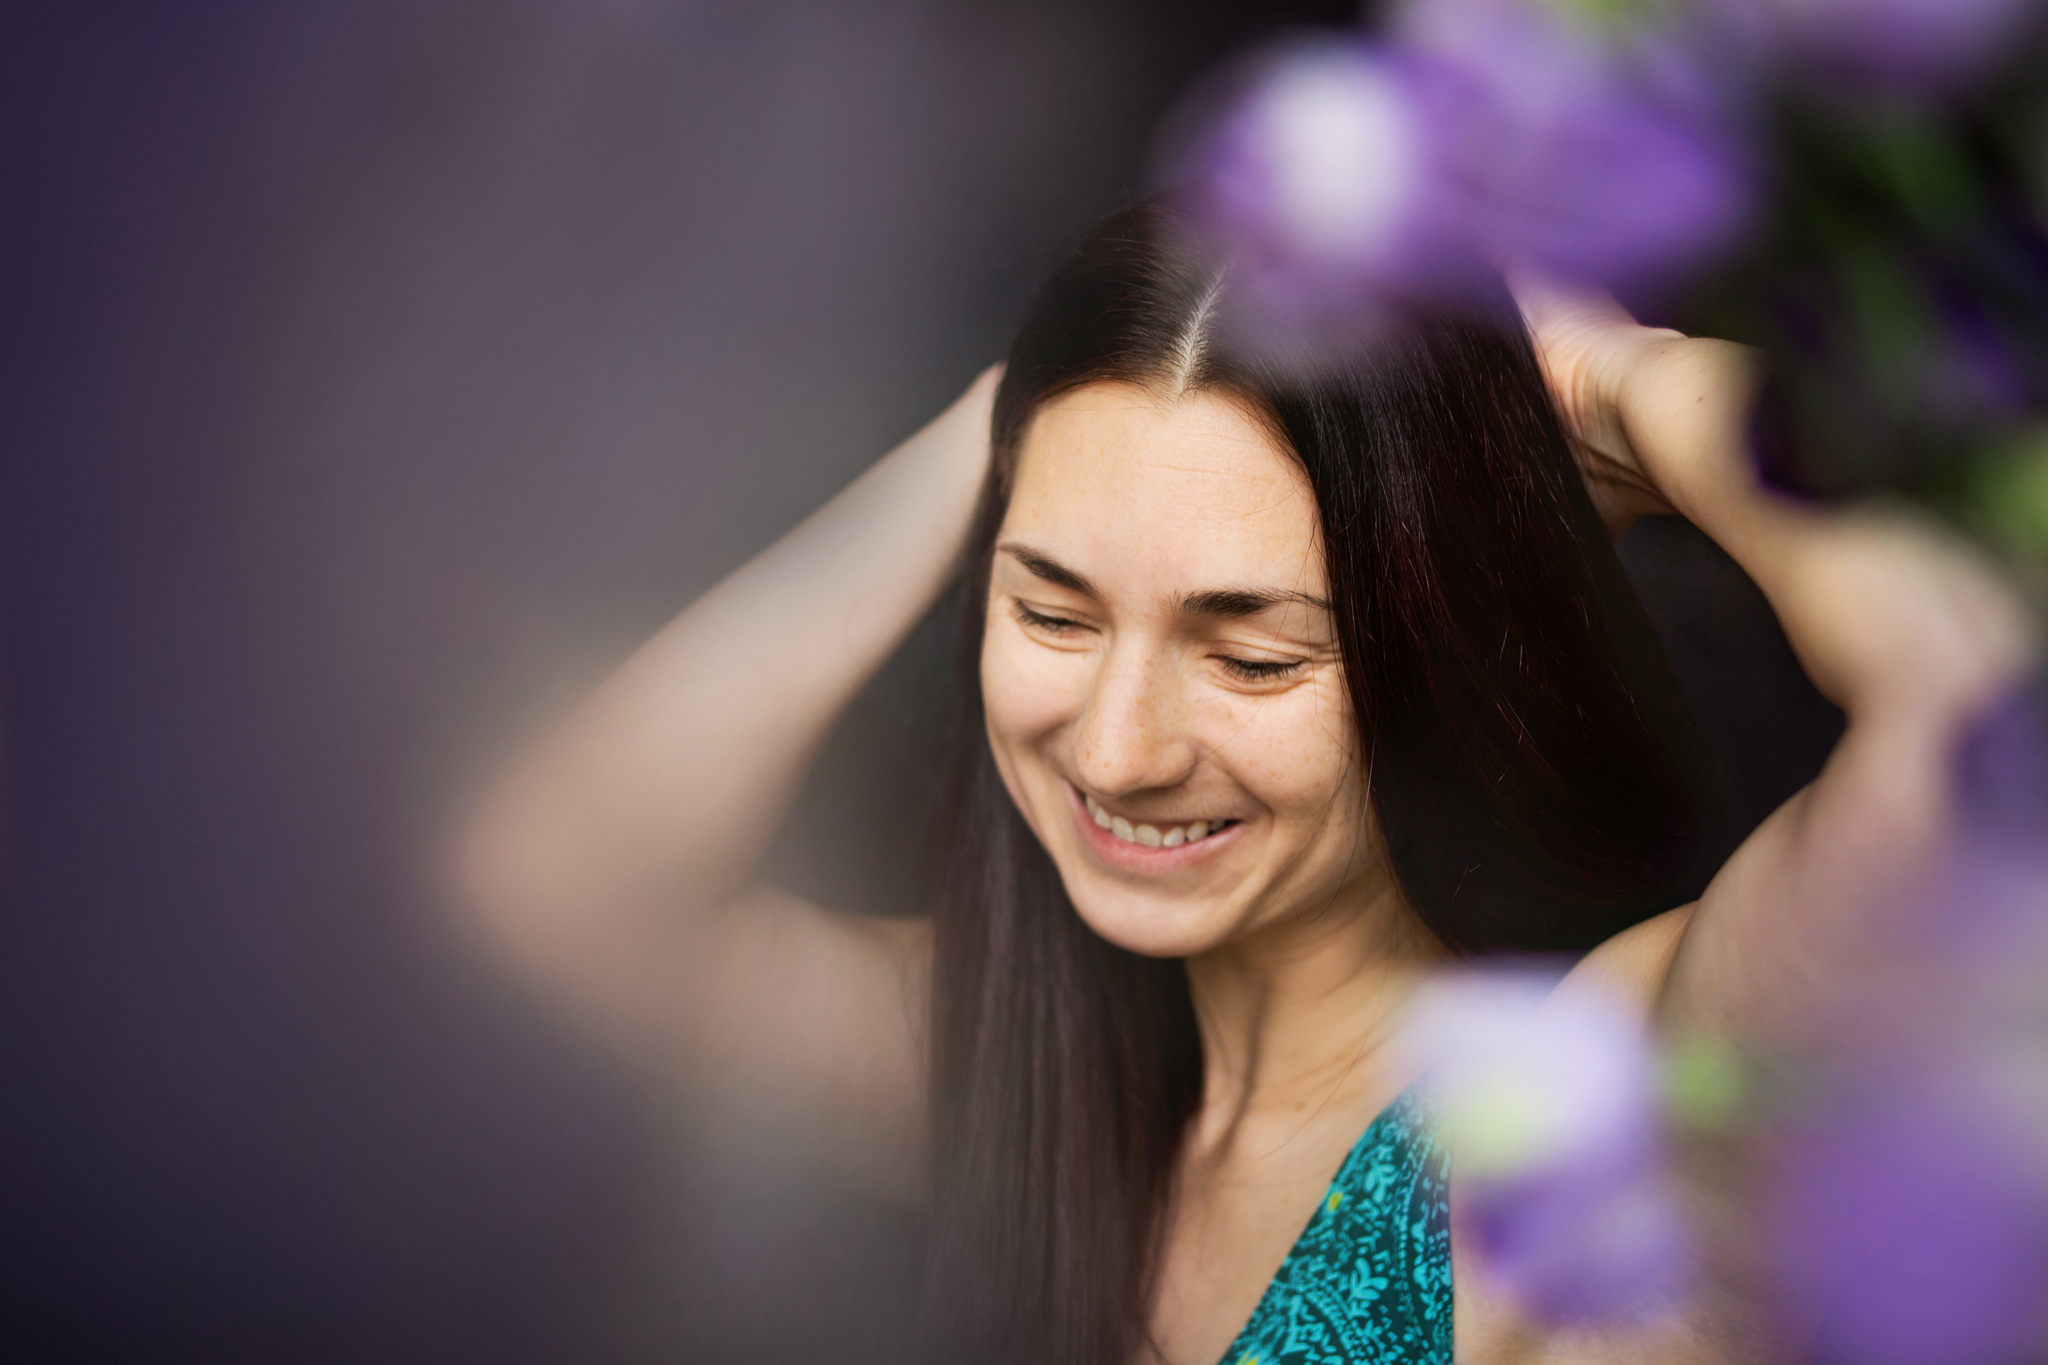
Self portrait shot through bubble wrap and flowers 24mm Sigma Art f/1.4 ISO 100 1/250s
This is literally what it says, shooting through something that is between your camera and your subject to add interest and depth. This could be something you hold in your hand as you shoot, something you attach to your camera, something you place in position or something already in the frame that you make use of.
The effects created will depend on the object used. For example, something that is opaque, translucent or transparent will give different results. Also, how near or far it is from the camera, and the aperture you use changes things. These choices can add reflections, blur, colours, patterns, layers and framing to your image. In the above self portrait, I wrapped bubble wrap around my lens and placed a vase of flowers between myself and the camera. As a result, this created beautiful blur, framing and colour to my image.
Want to learn more about creative photography? Check out these great courses:
Creative Collab
Layered: Creating Depth
Diary of a Creative Storyteller
Language of Lensbaby
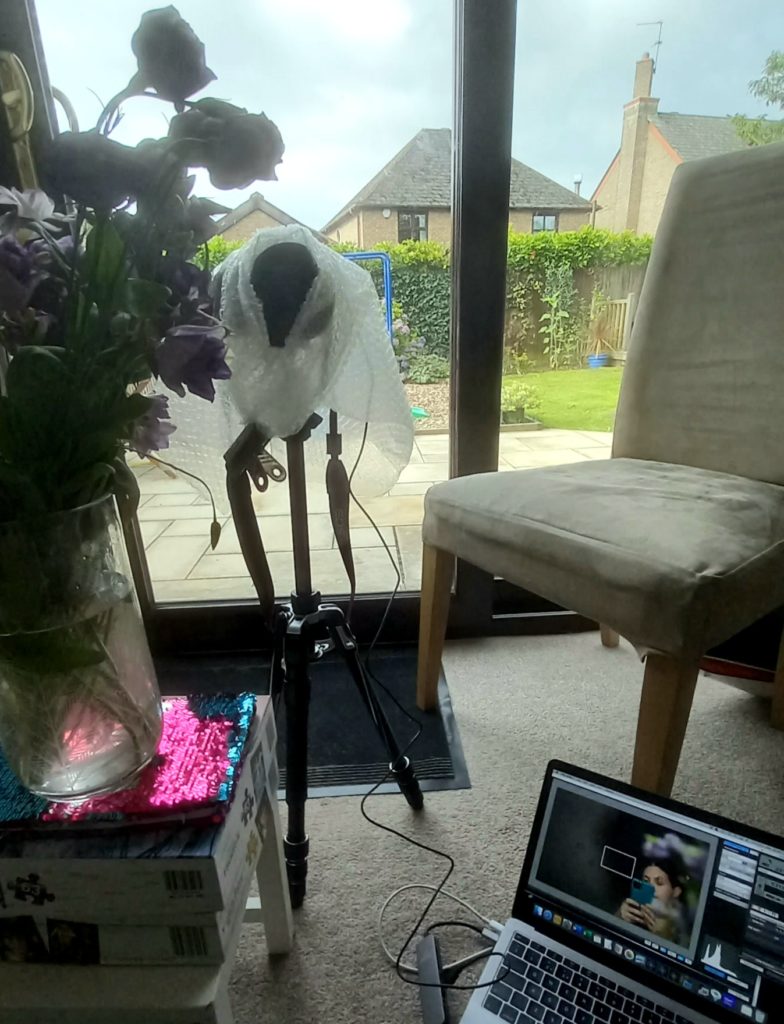
Pull Back of Self Portrait Set Up
Examples of other items you might use are glass prisms, drinking glasses, bottles, plastic bags, tissue paper, straws, copper tubes, toys, railings, leaves, and so on. In this image I held some coloured straws in one hand just in front on my camera. I was using a Lensbaby (they are manual focus) so made sure I had my settings and focus adjusted before I picked up the straws. You could experiment with different colours and holding them in different places to see what dreamy effects you can create.
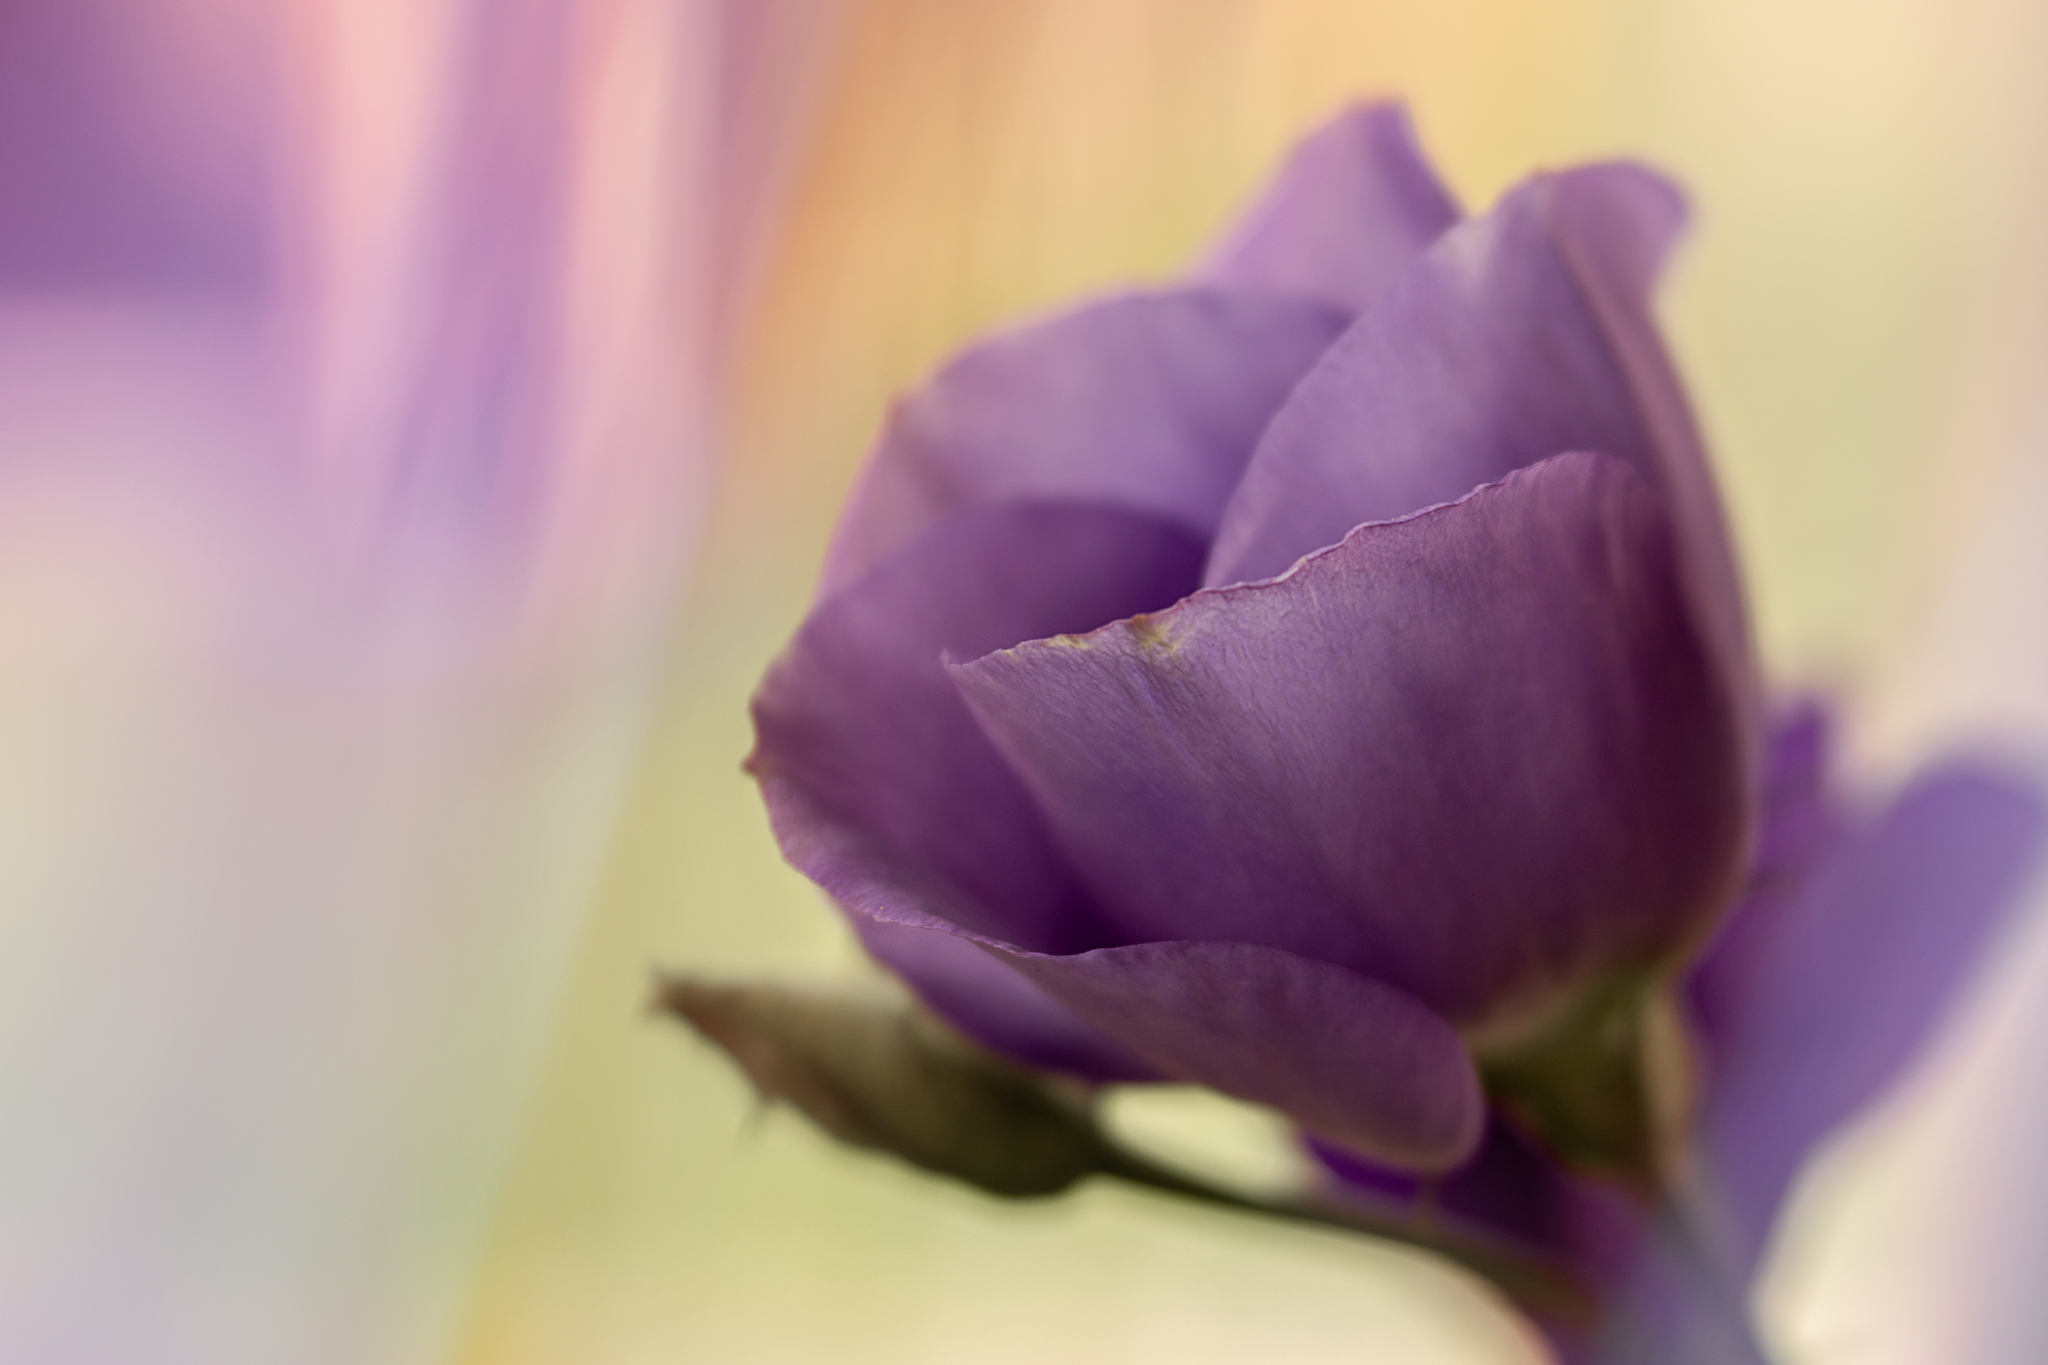
Shooting through colourful straws Lensbaby Velvet 56 f/4 ISO 100 1/100s
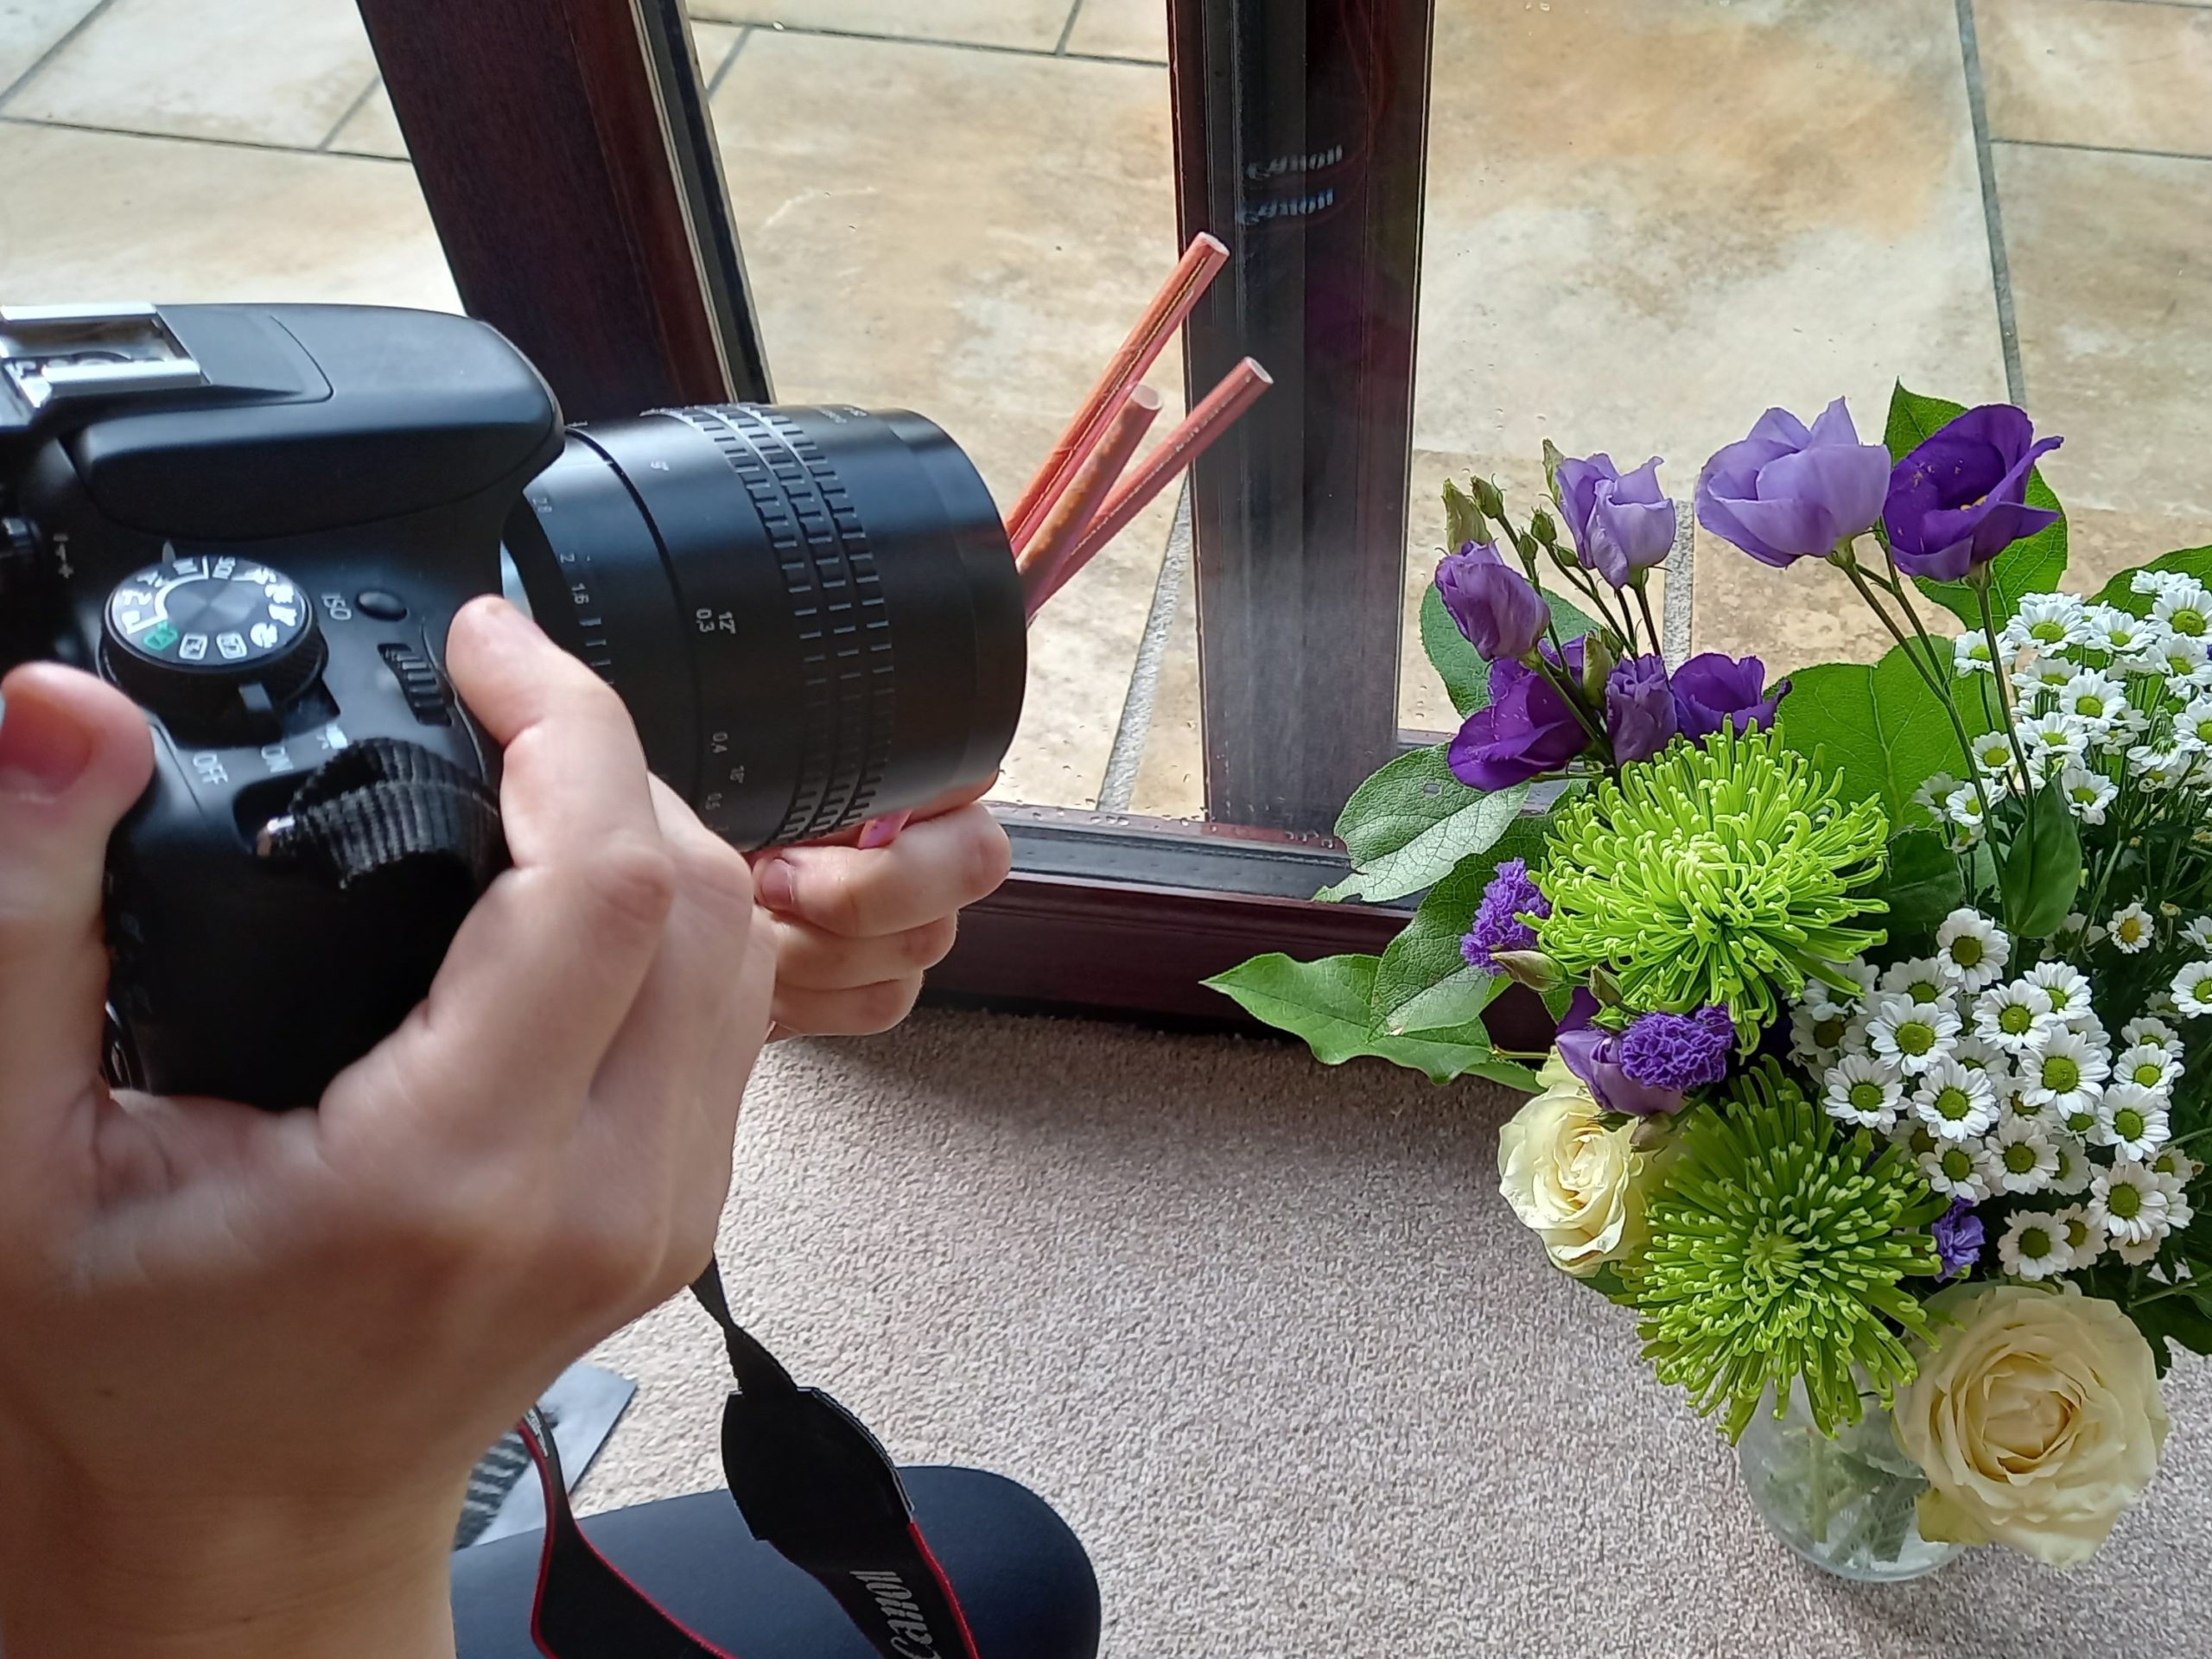
Pull Back of shooting through straws
For Halloween I created this image by holding a small piece of copper pipe (about 1 inch diameter and 2 inches long) in front of my lens to create a ring of fire from the candle light. I wiggled it around until it perfectly framed my daughter.
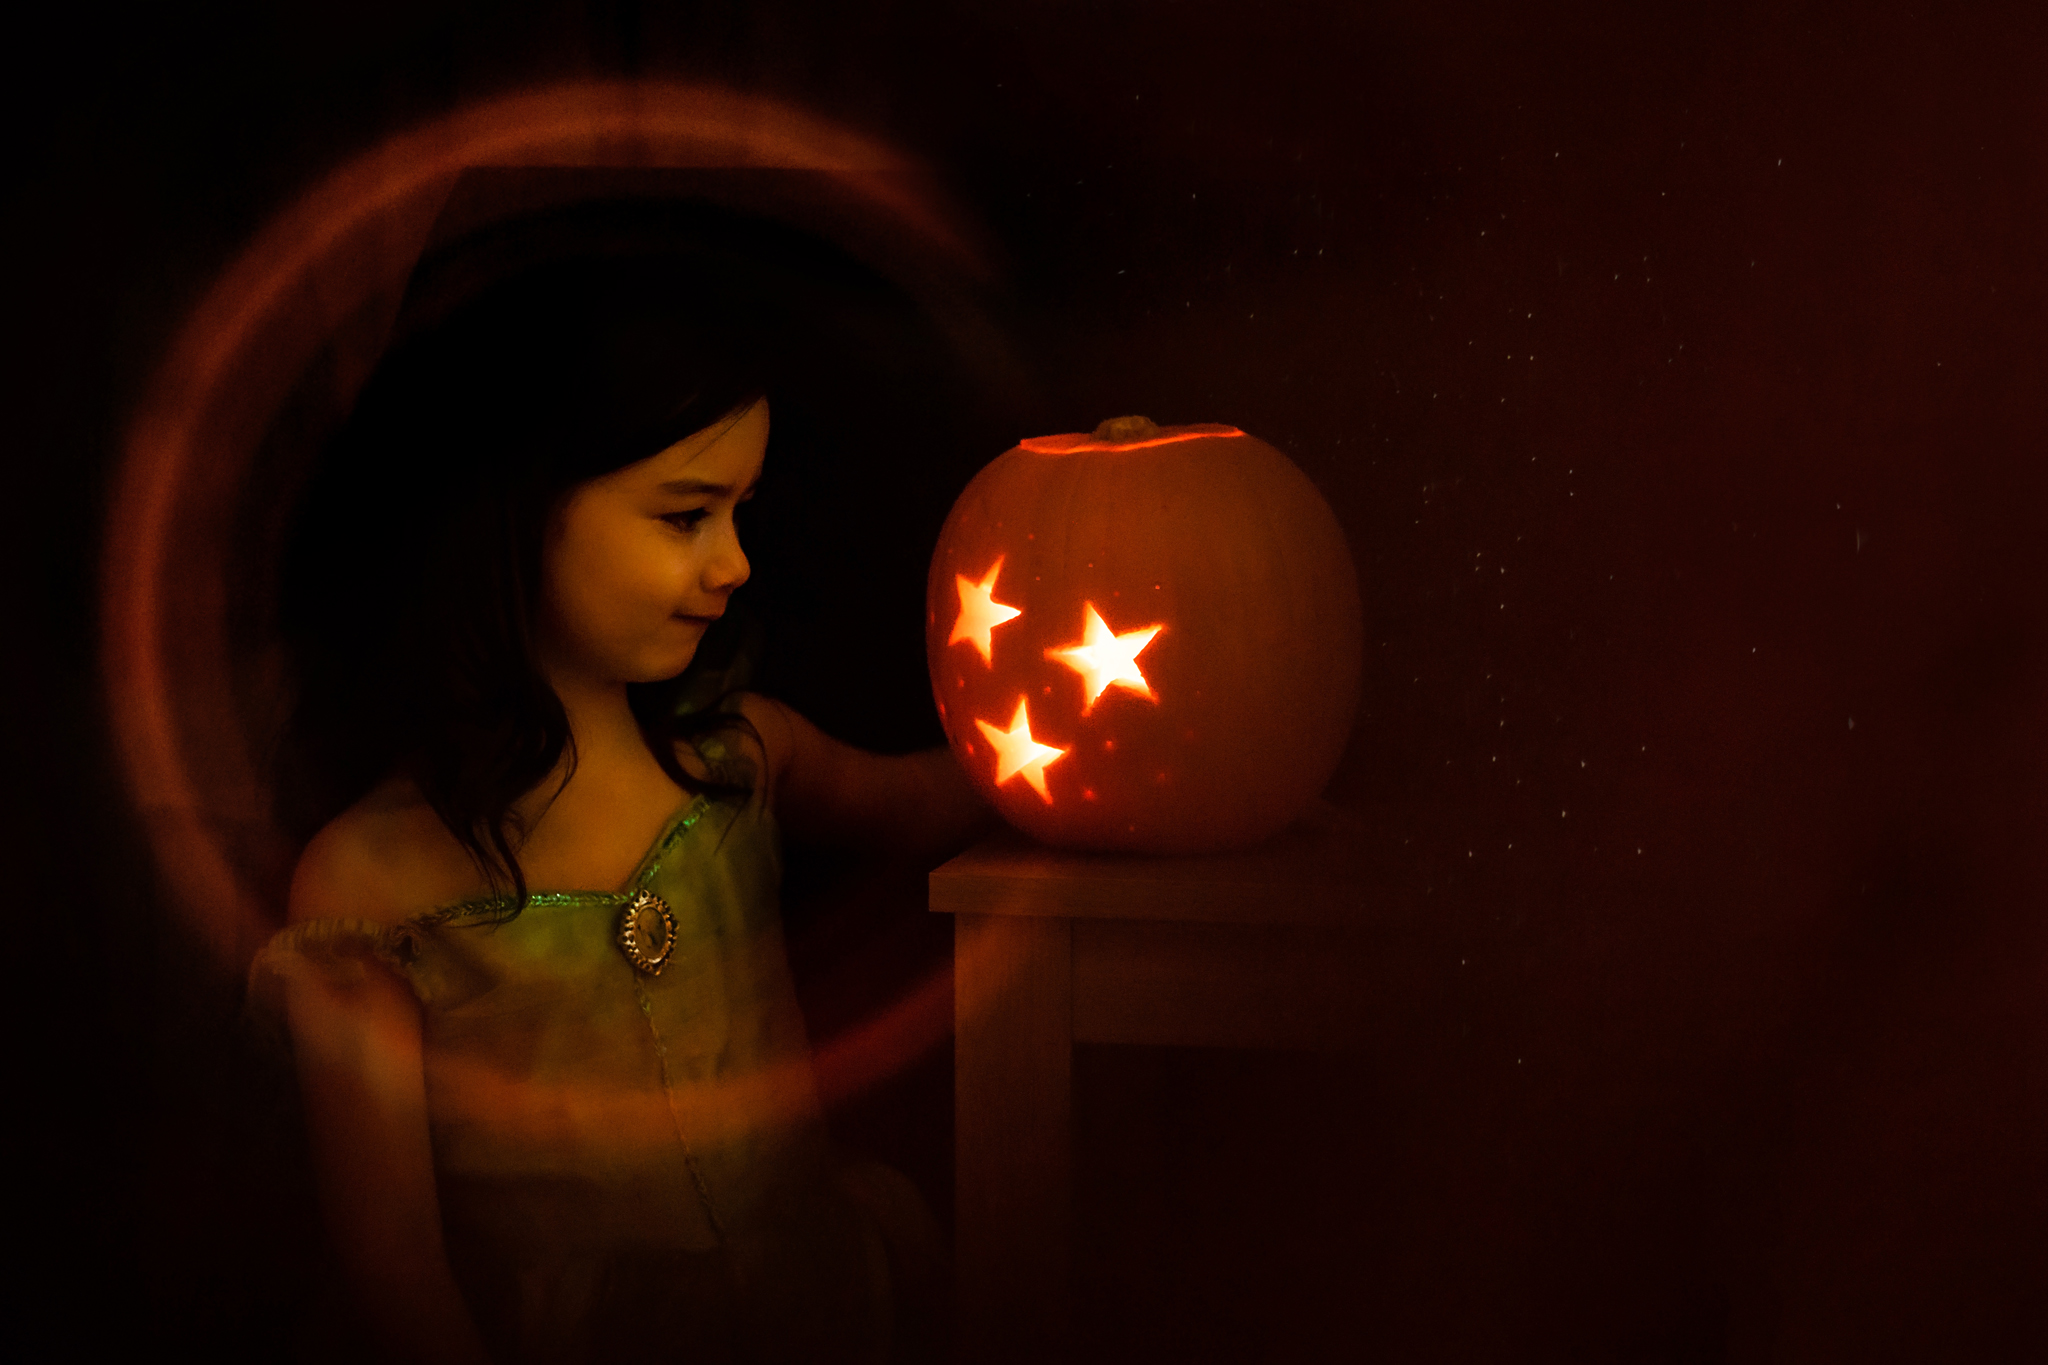
Shooting through a copper pipe 50mm f/1.8 ISO 6400 1/125s
Refractions
When light passes from air through to an object of denser mass, the light is bent. You can use this effect to create some fun images with things like lens balls, glass marbles, wine glasses and water droplets. You find naturally occurring water droplets from dew in the morning or after it’s been raining, or you can set up something on which to spray or syringe water droplets.
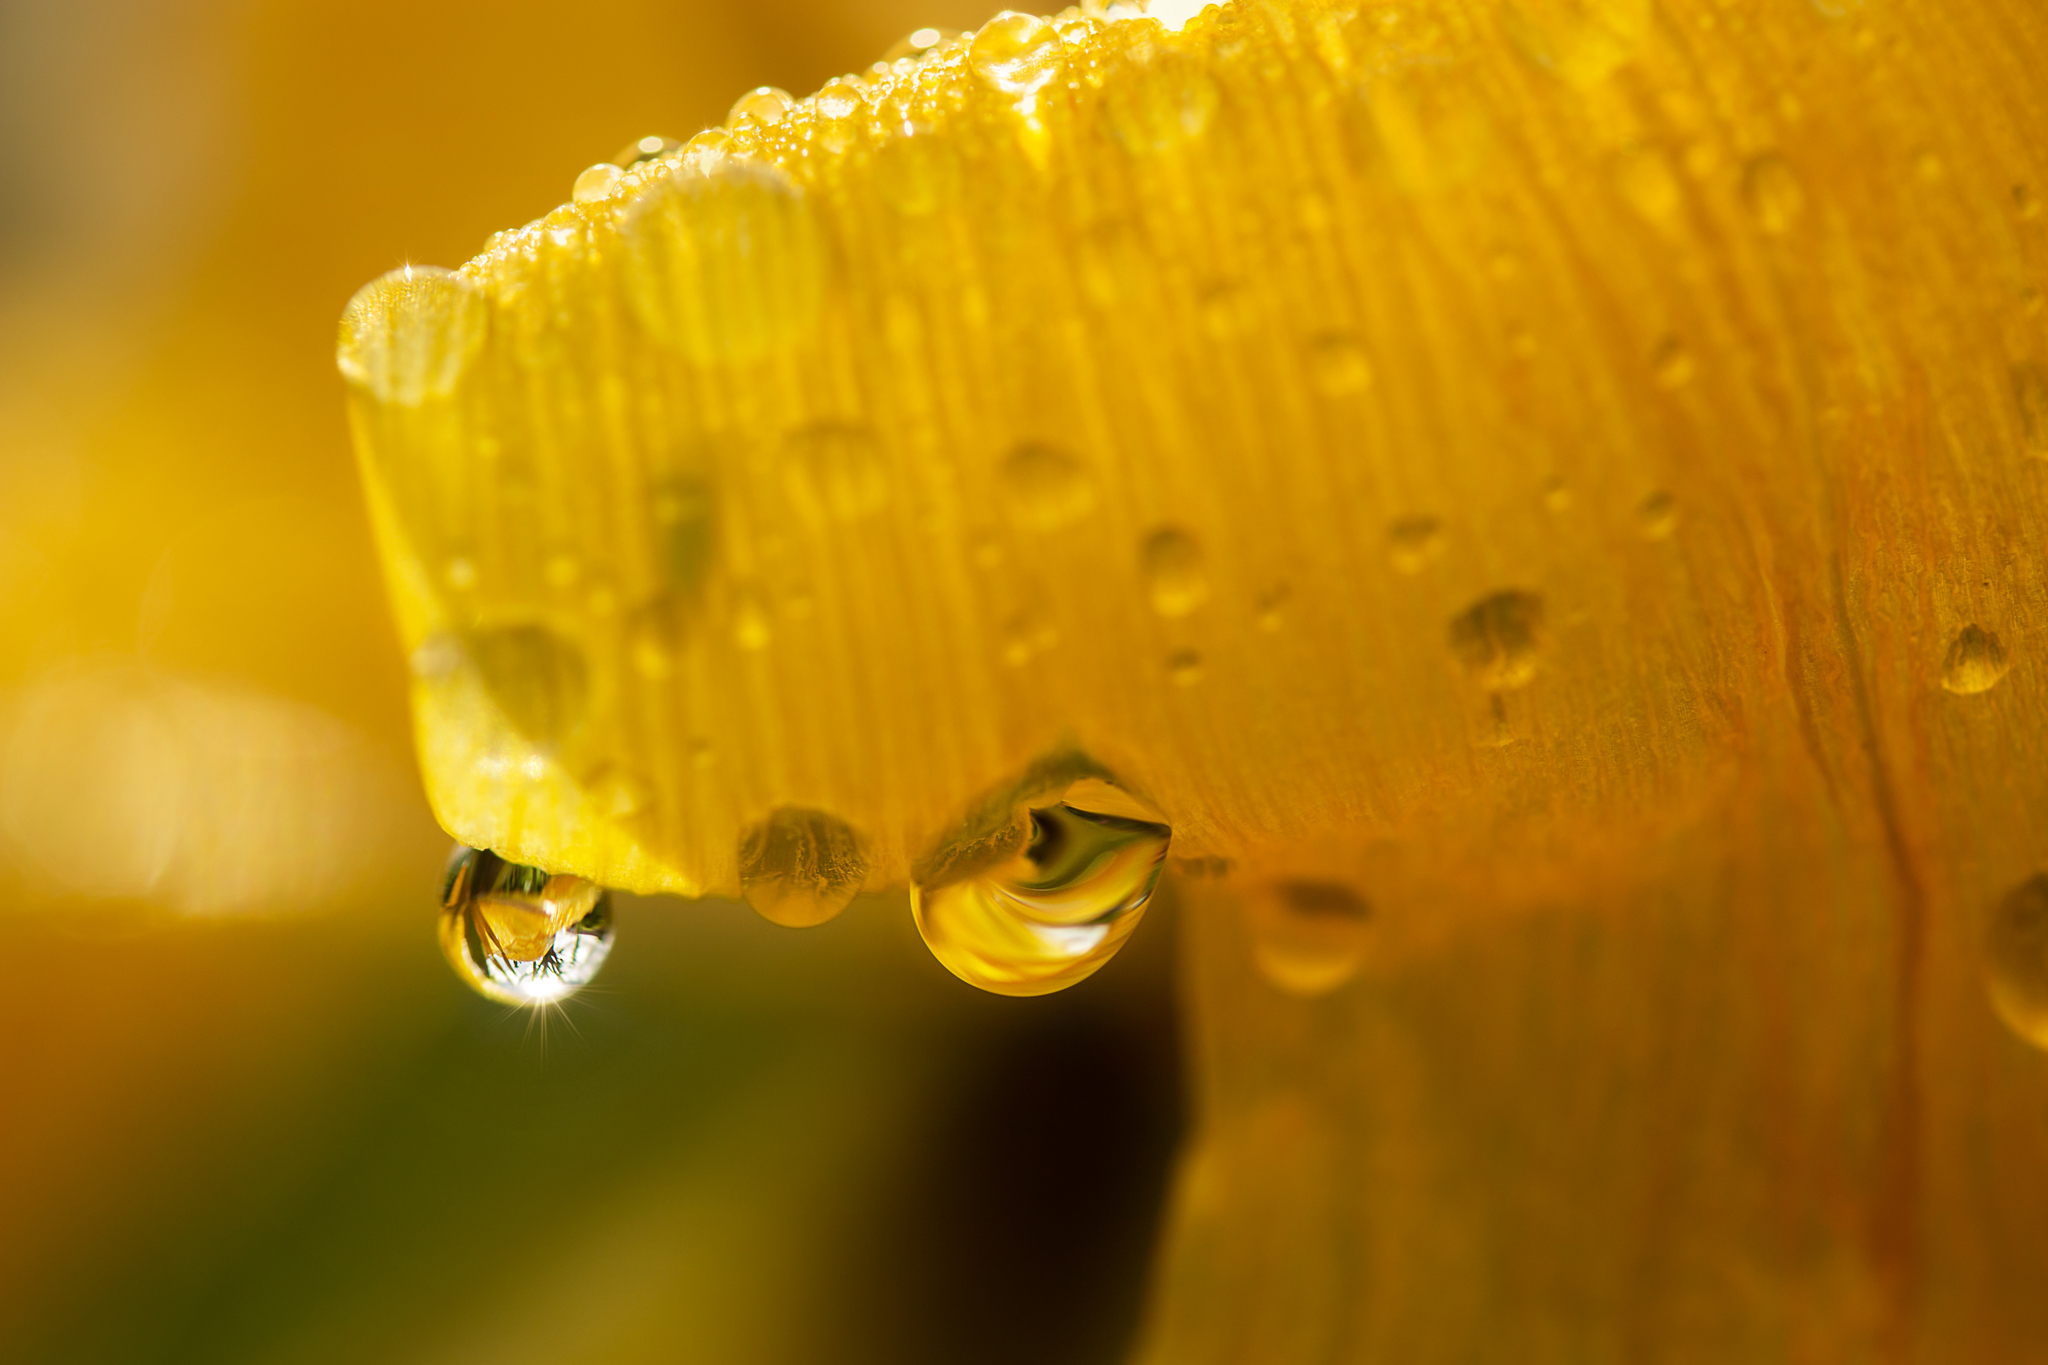
Refractions in raindrops on a tulip 60mm macro f/4 ISO 100 1/500s
For this image I took apart a ball-point pen and used a photo clip holder to place the spring in front of a flower, then used a water spray bottle to squirt lots of droplets onto the spring (adding corn syrup or glycerin can help the droplets stick). Play around with the angles and the aperture until you get some beautiful refractions in the droplets and a dreamy blurred background. For shots like these, as with a lot of macro, I use manual focus. Auto-focus gets very confused about where within the droplet to focus, so you can be a lot more precise with manual.
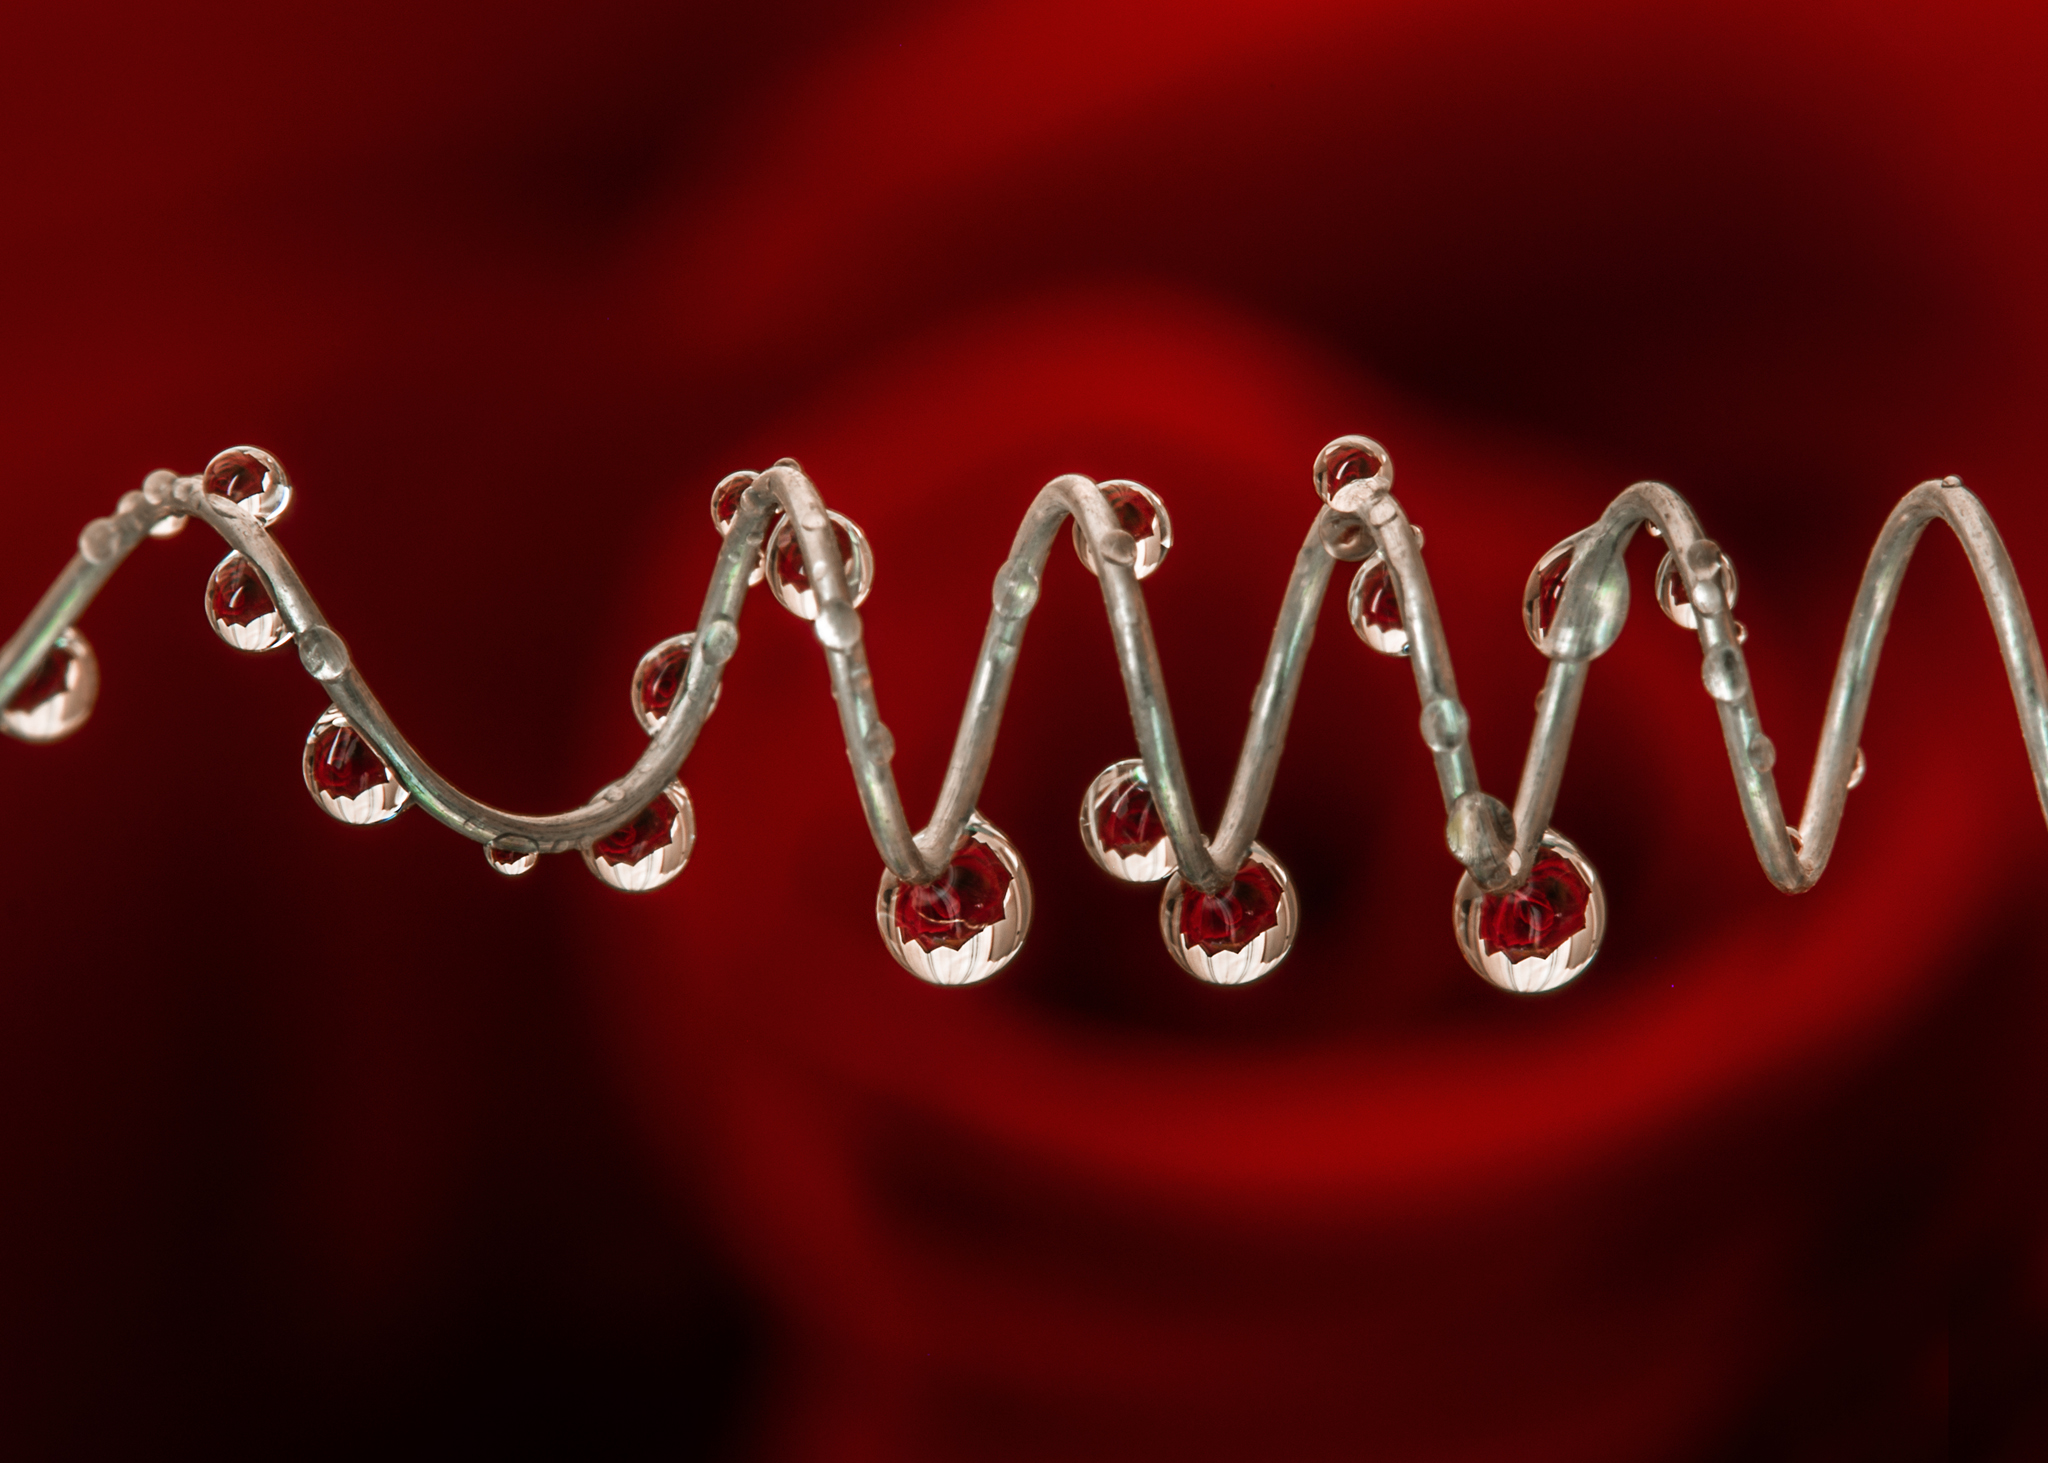
Refractions in droplets on a spring 60mm Macro f/13 ISO 100 10s
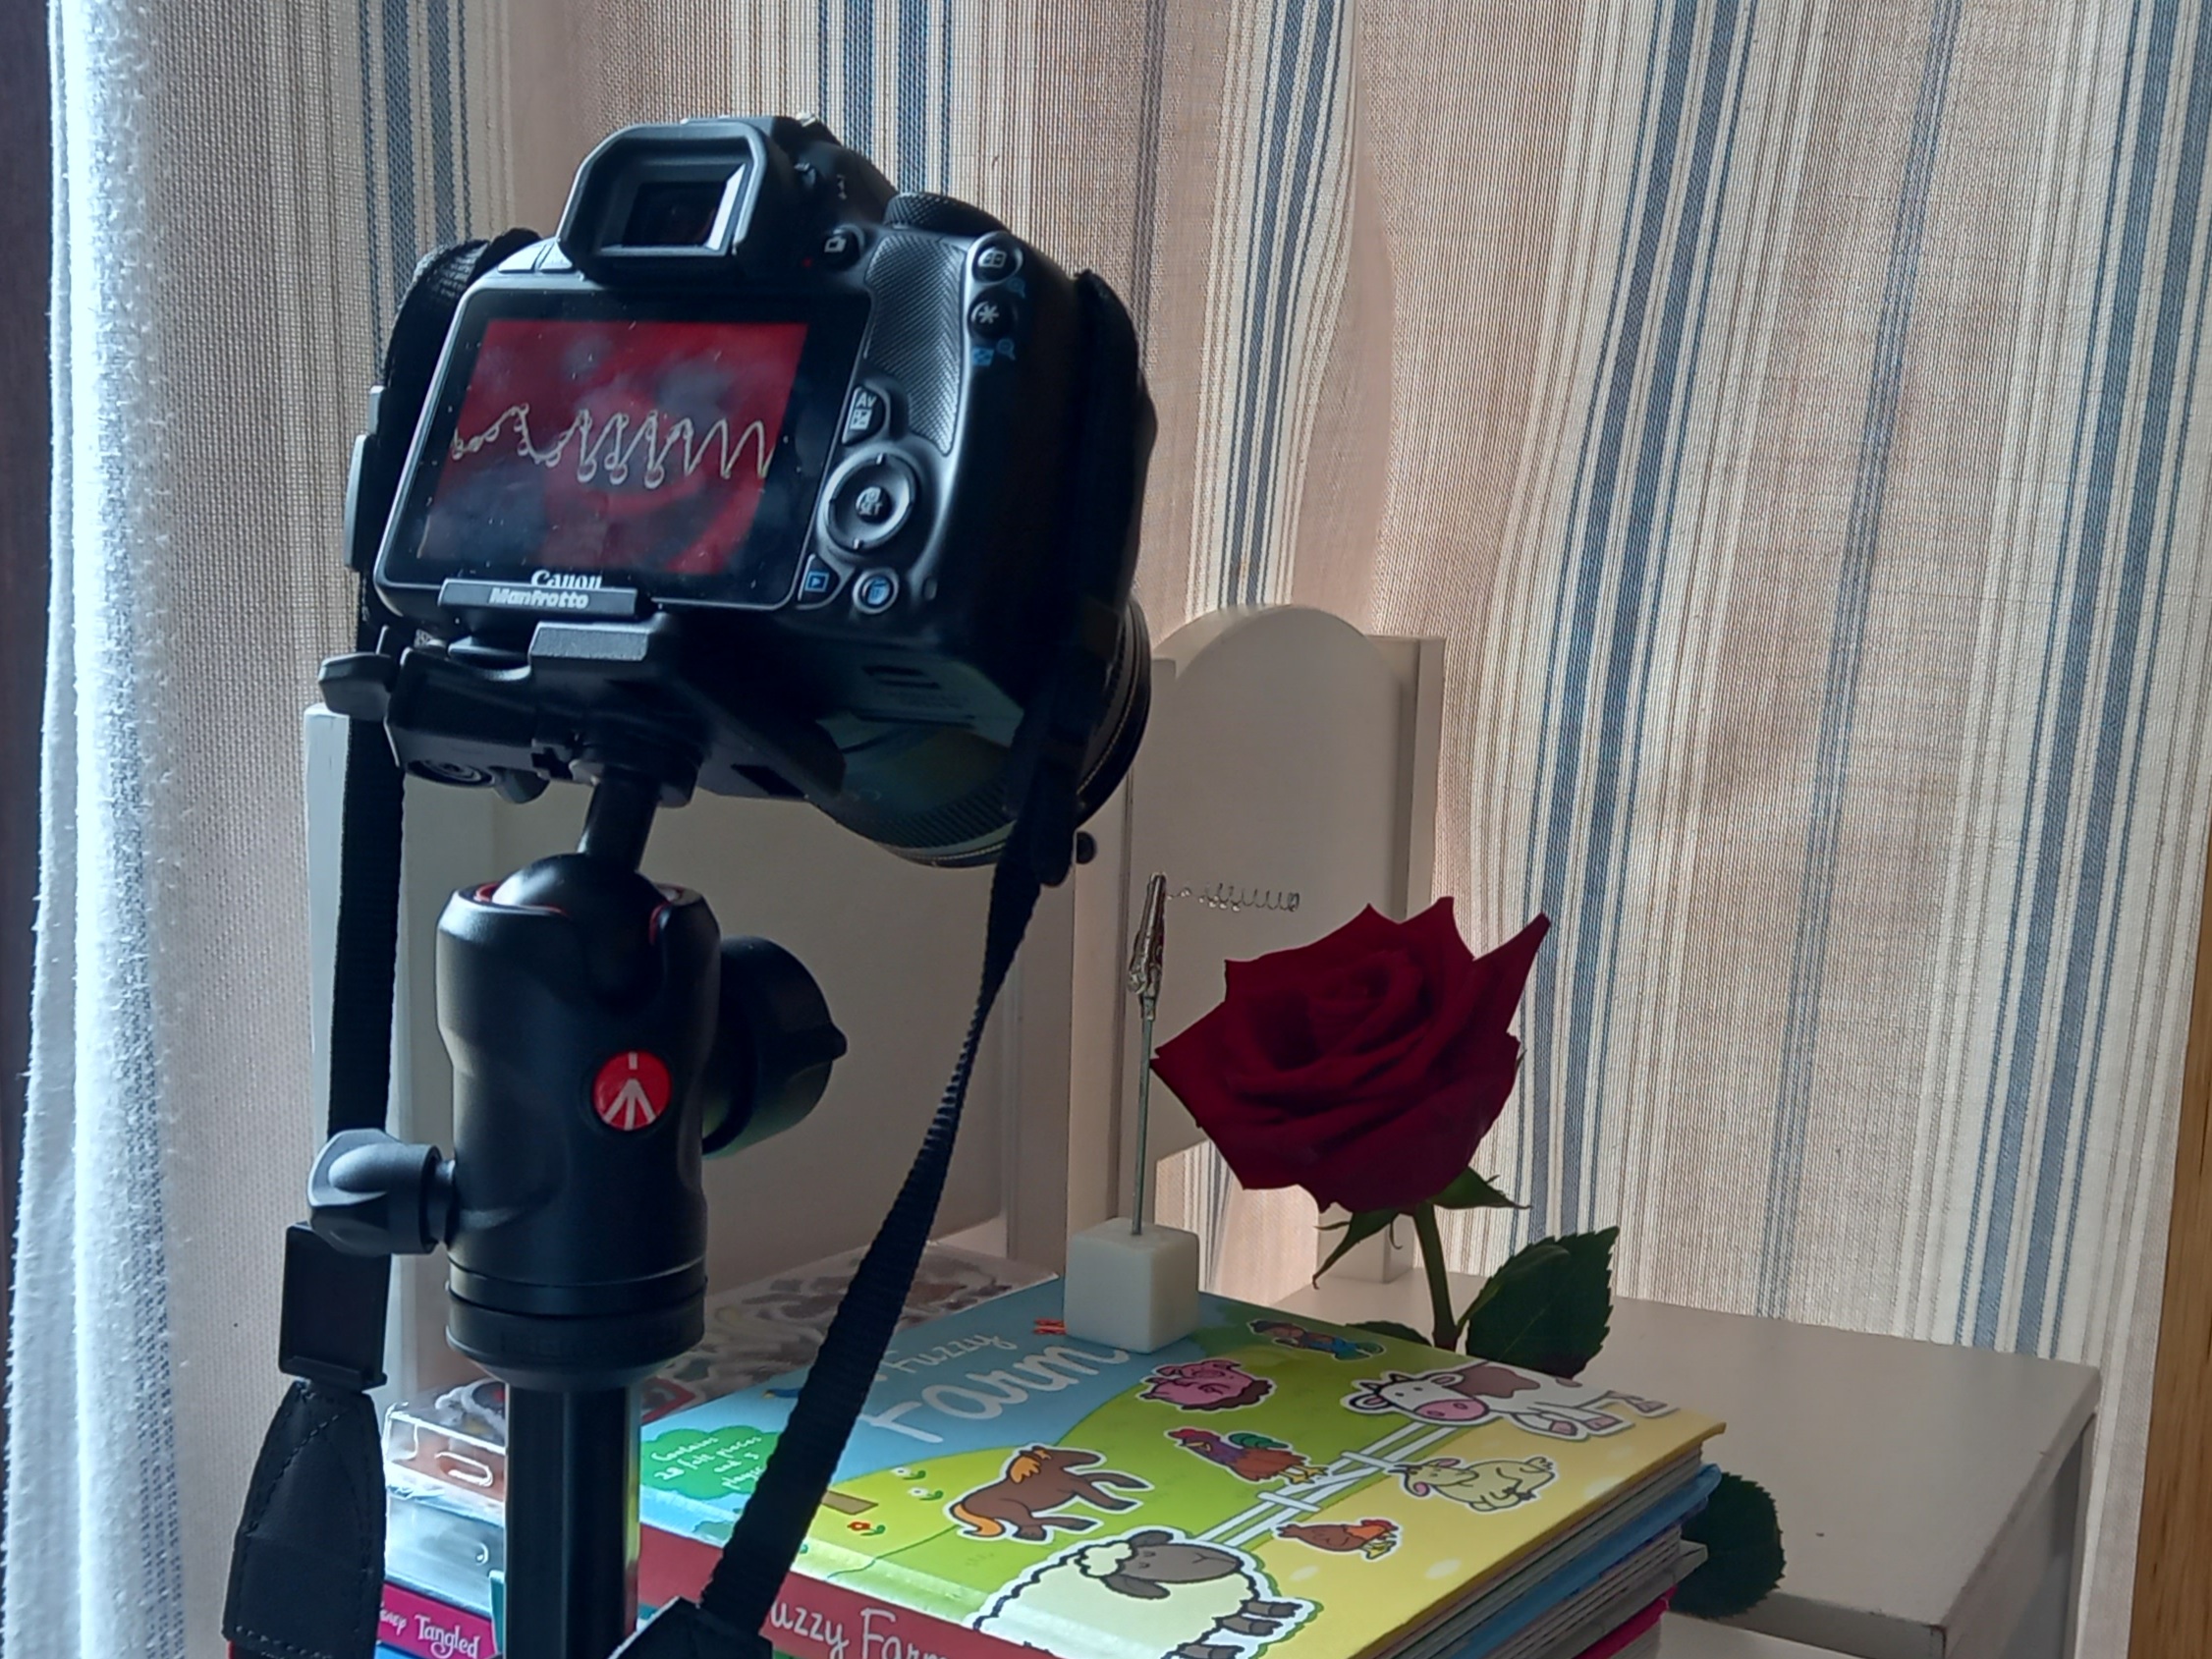
Pullback of Rose Refraction set up
Sparkling Water
Another fun, indoor set up is to use sparkling water to create bubbles around your subject.
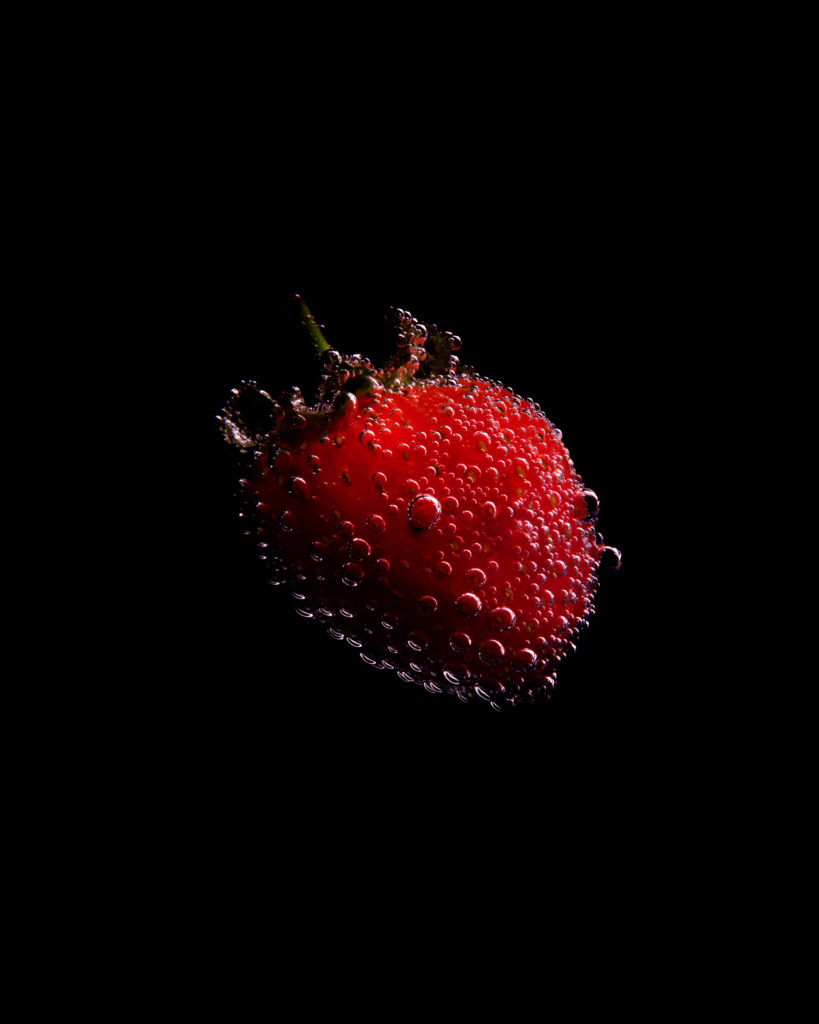
Strawberry in sparkling water 60mm Macro f/16 ISO 100 2s
I used cheap sparkling grocery store water, mixed 1:1 with regular tap water, but any clear fizzy drink would work – just be aware the sugar content might make things sticky. Have your camera and any lighting you want to use set up before adding the water or it will lose some of it’s fizziness. Select a clear container, like a glass dish, a fish tank, even a wine glass – though a curved surface will cause some distortion. Also, make sure your container is clean or you’ll be photoshopping out tons of dust and scratches. Your subject could be flowers, fruit, shells, anything bright and colourful. You may find that some things don’t work as well and the bubbles don’t stick, but part of the fun is in the experimenting!
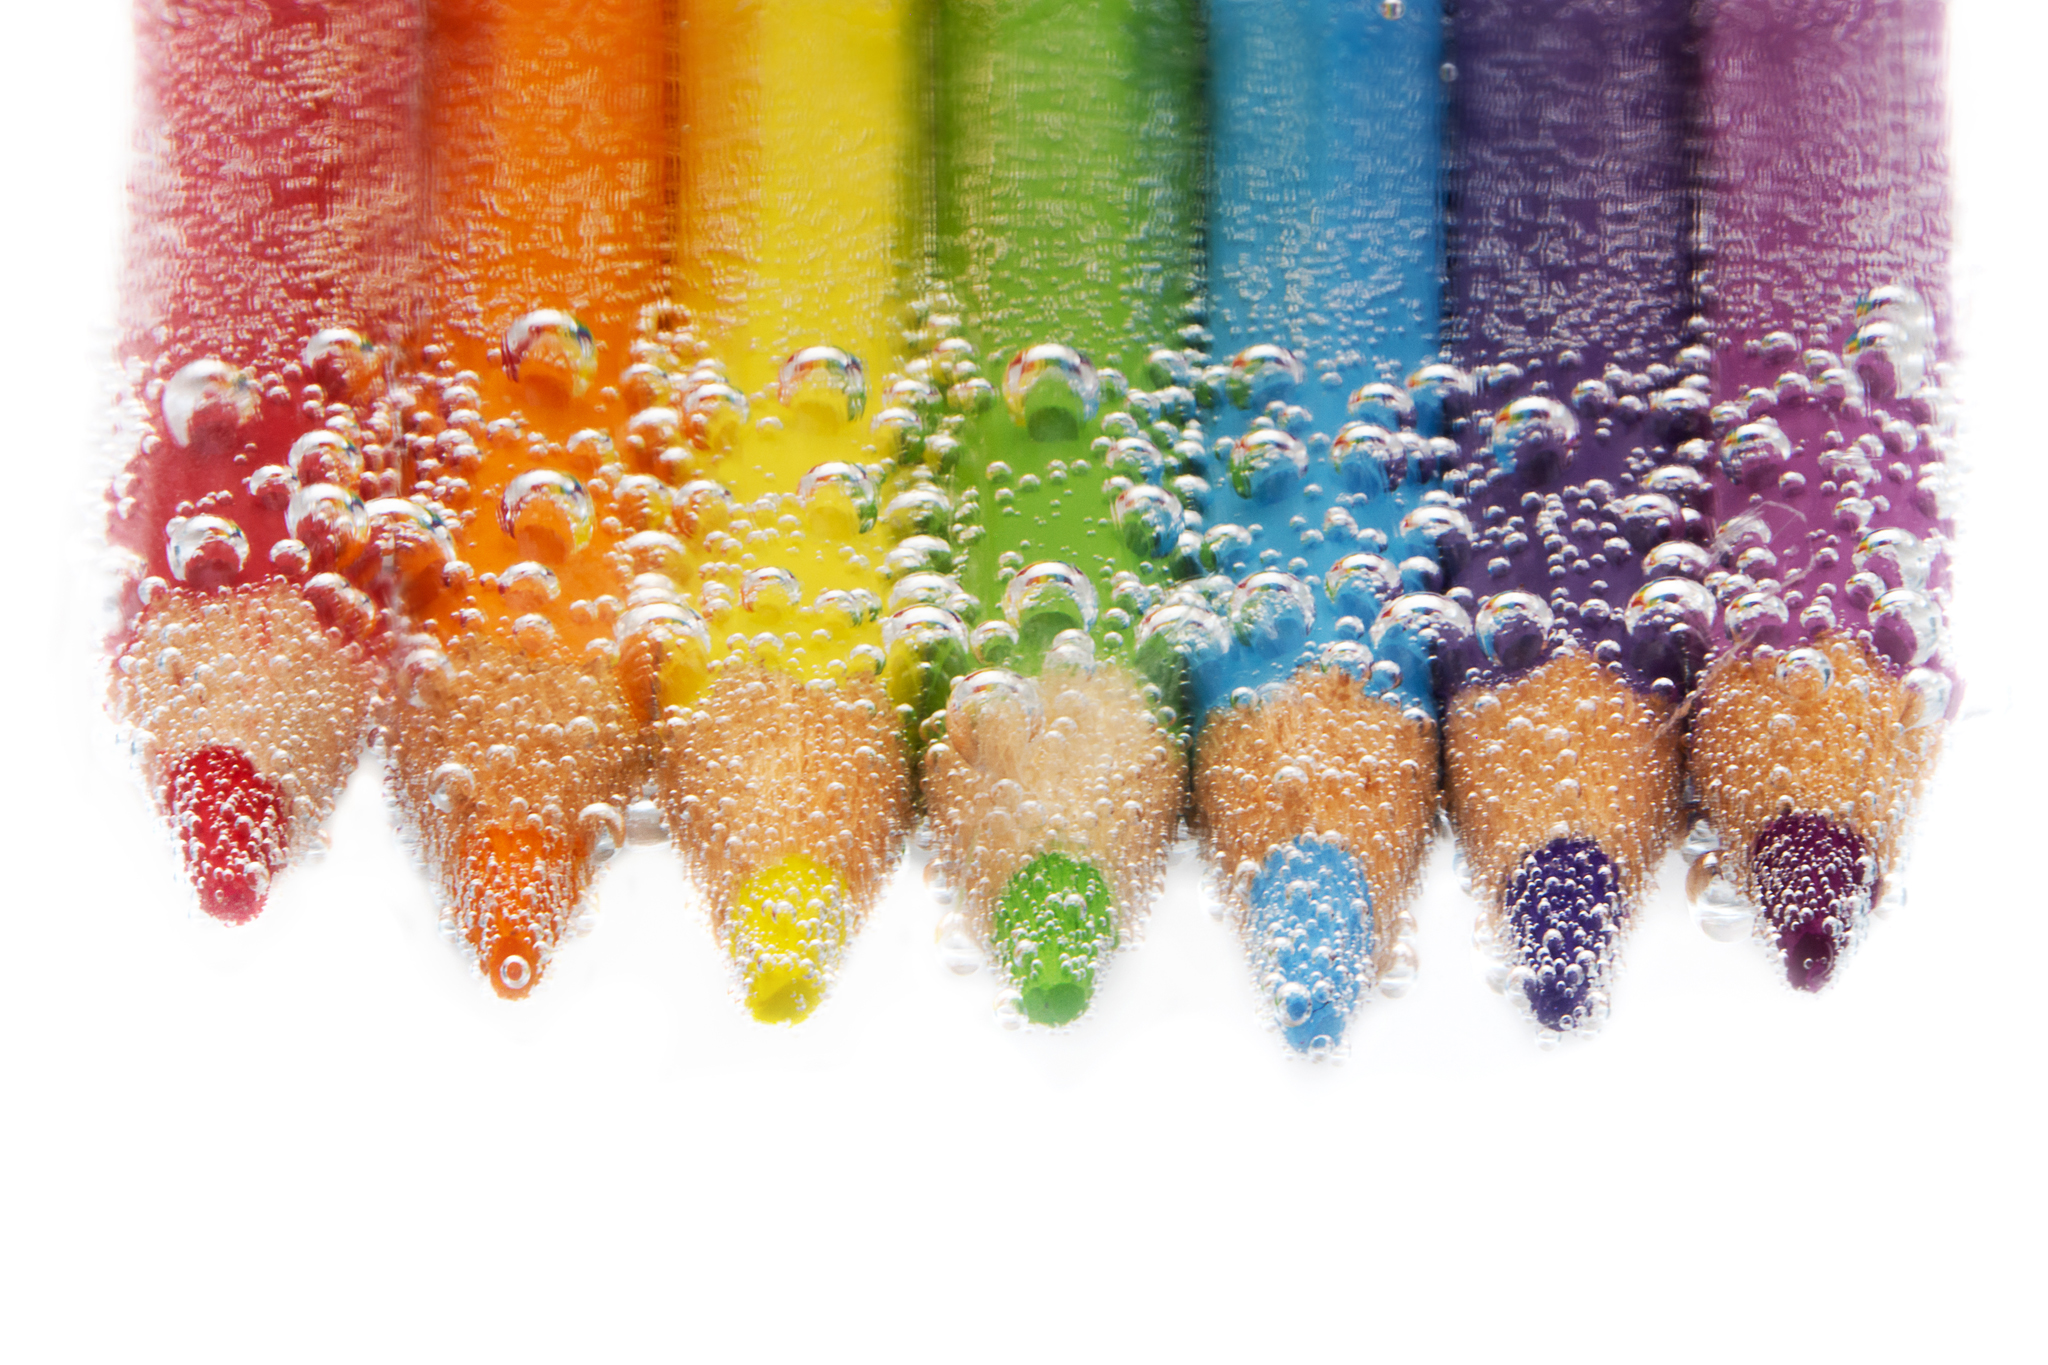
Coloured pencils in sparkling water 60mm Macro f/22 100 5s
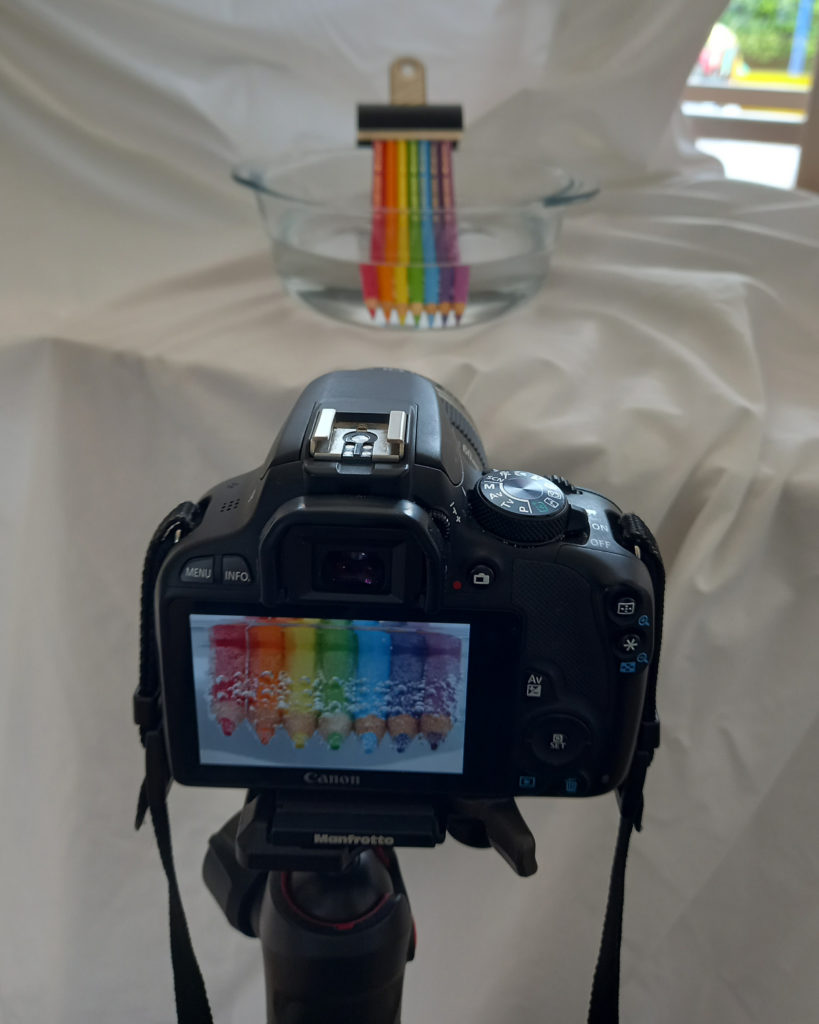
Pull Back of Coloured Pencils in Sparkling Water
When I did the strawberry shot above I used a cocktail stick to suspend it in the water, and then cloned it out in my edit. I also fixed the background to make it pure black (and likewise pure white in the coloured pencil one).
Freelensing
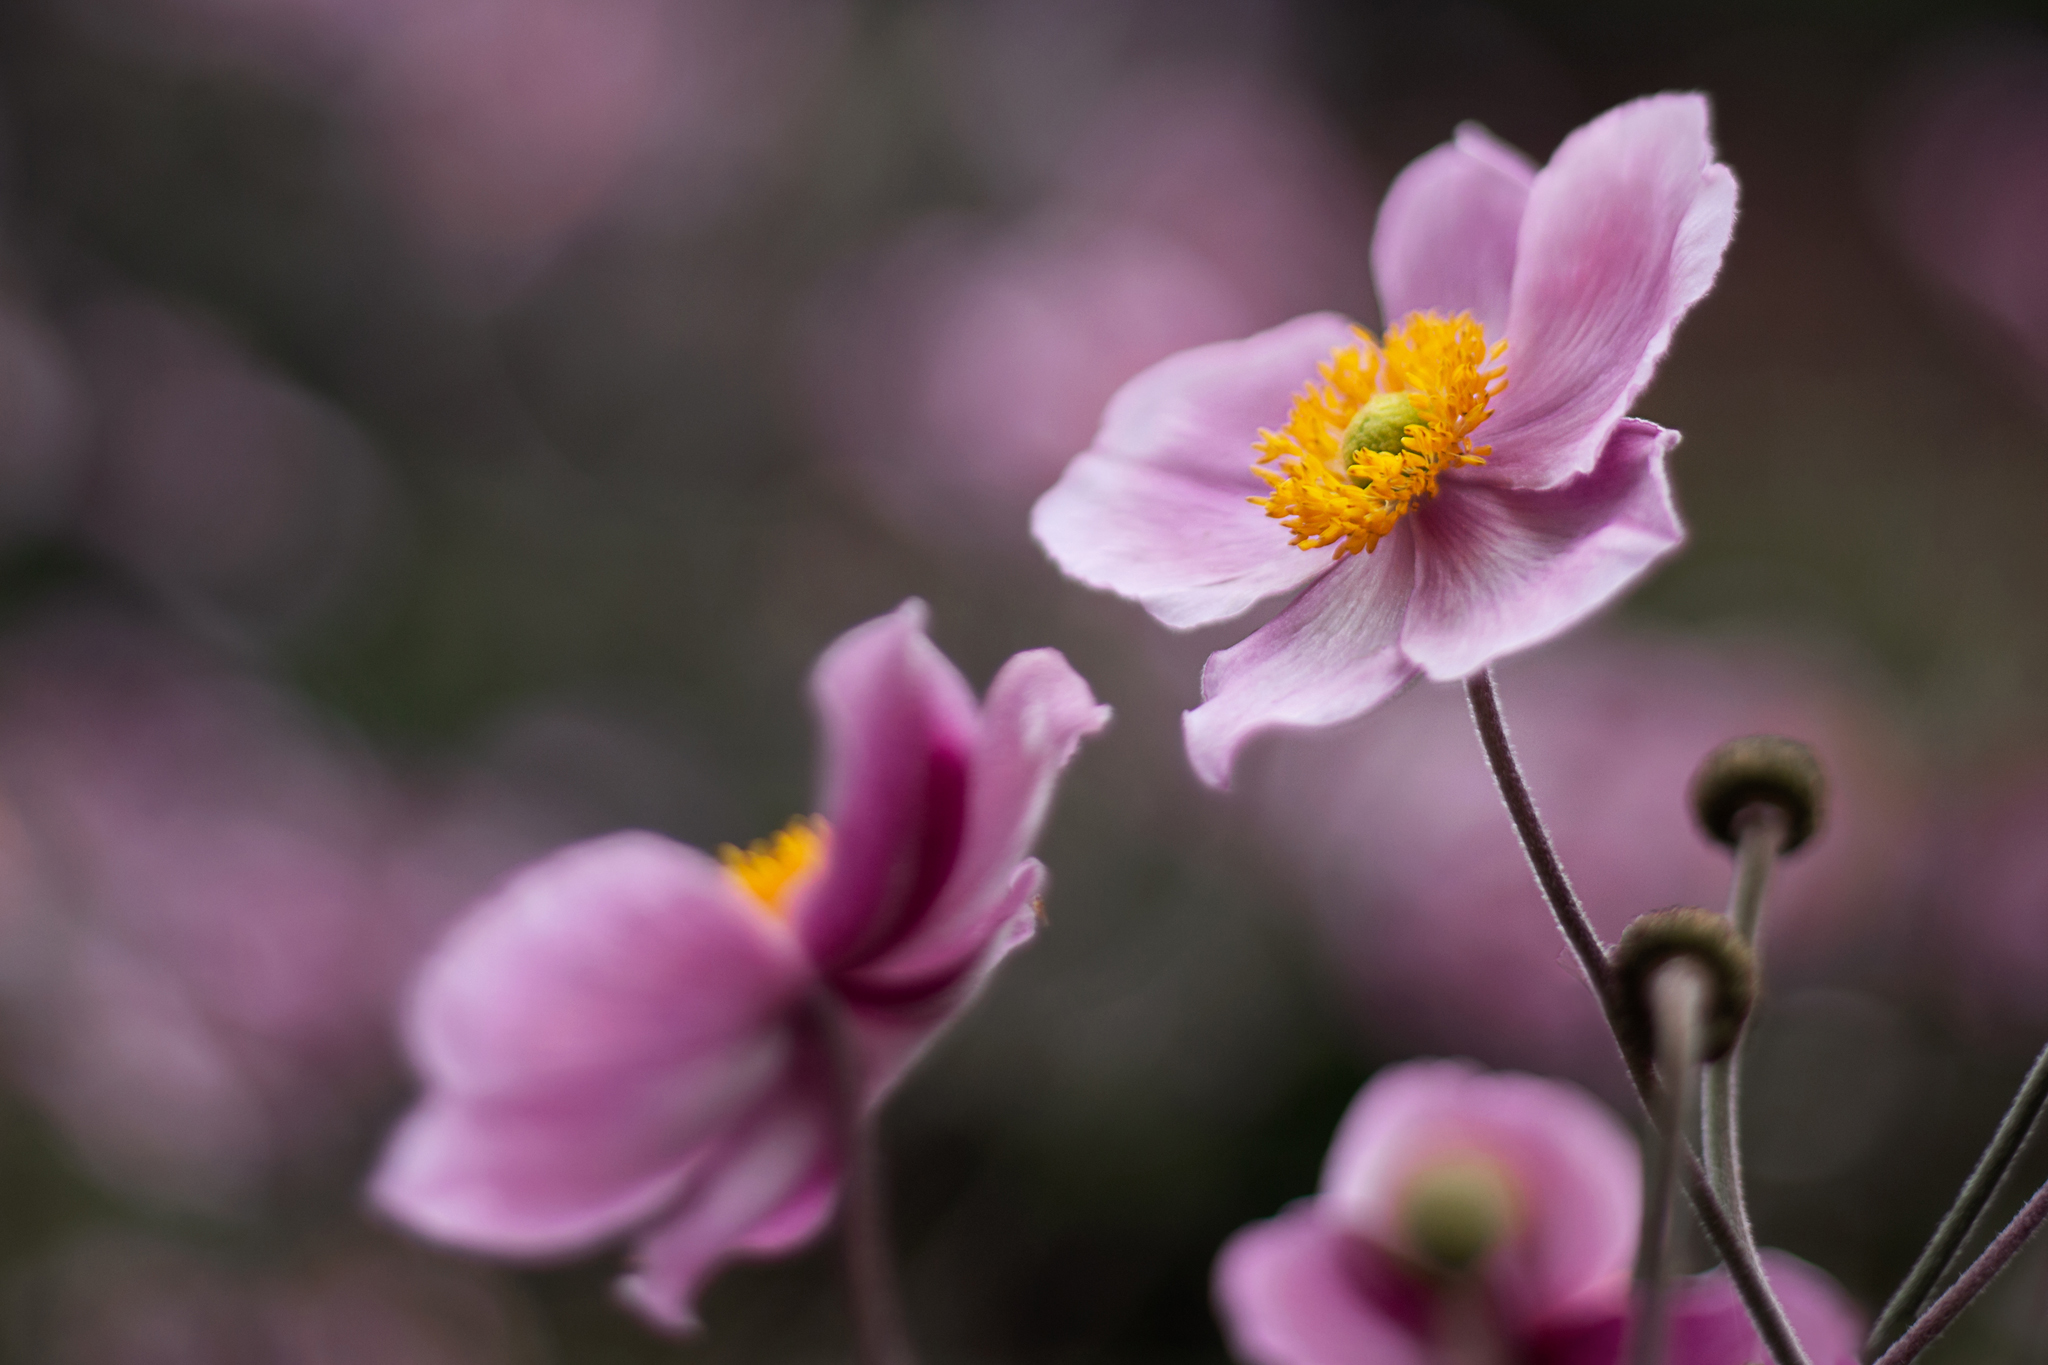
Freelensed anemones 50mm ISO 100 1/400s
I couldn’t write about blog about creative techniques without a section on freelensing. Freelensing is my absolute favourite! I just love the ethereal feel it gives my images. Freelensing is taking a photograph with your lens detached from the camera. This lets in loads of light, gives a small slice of focus and leaves the rest in a dreamy blur.
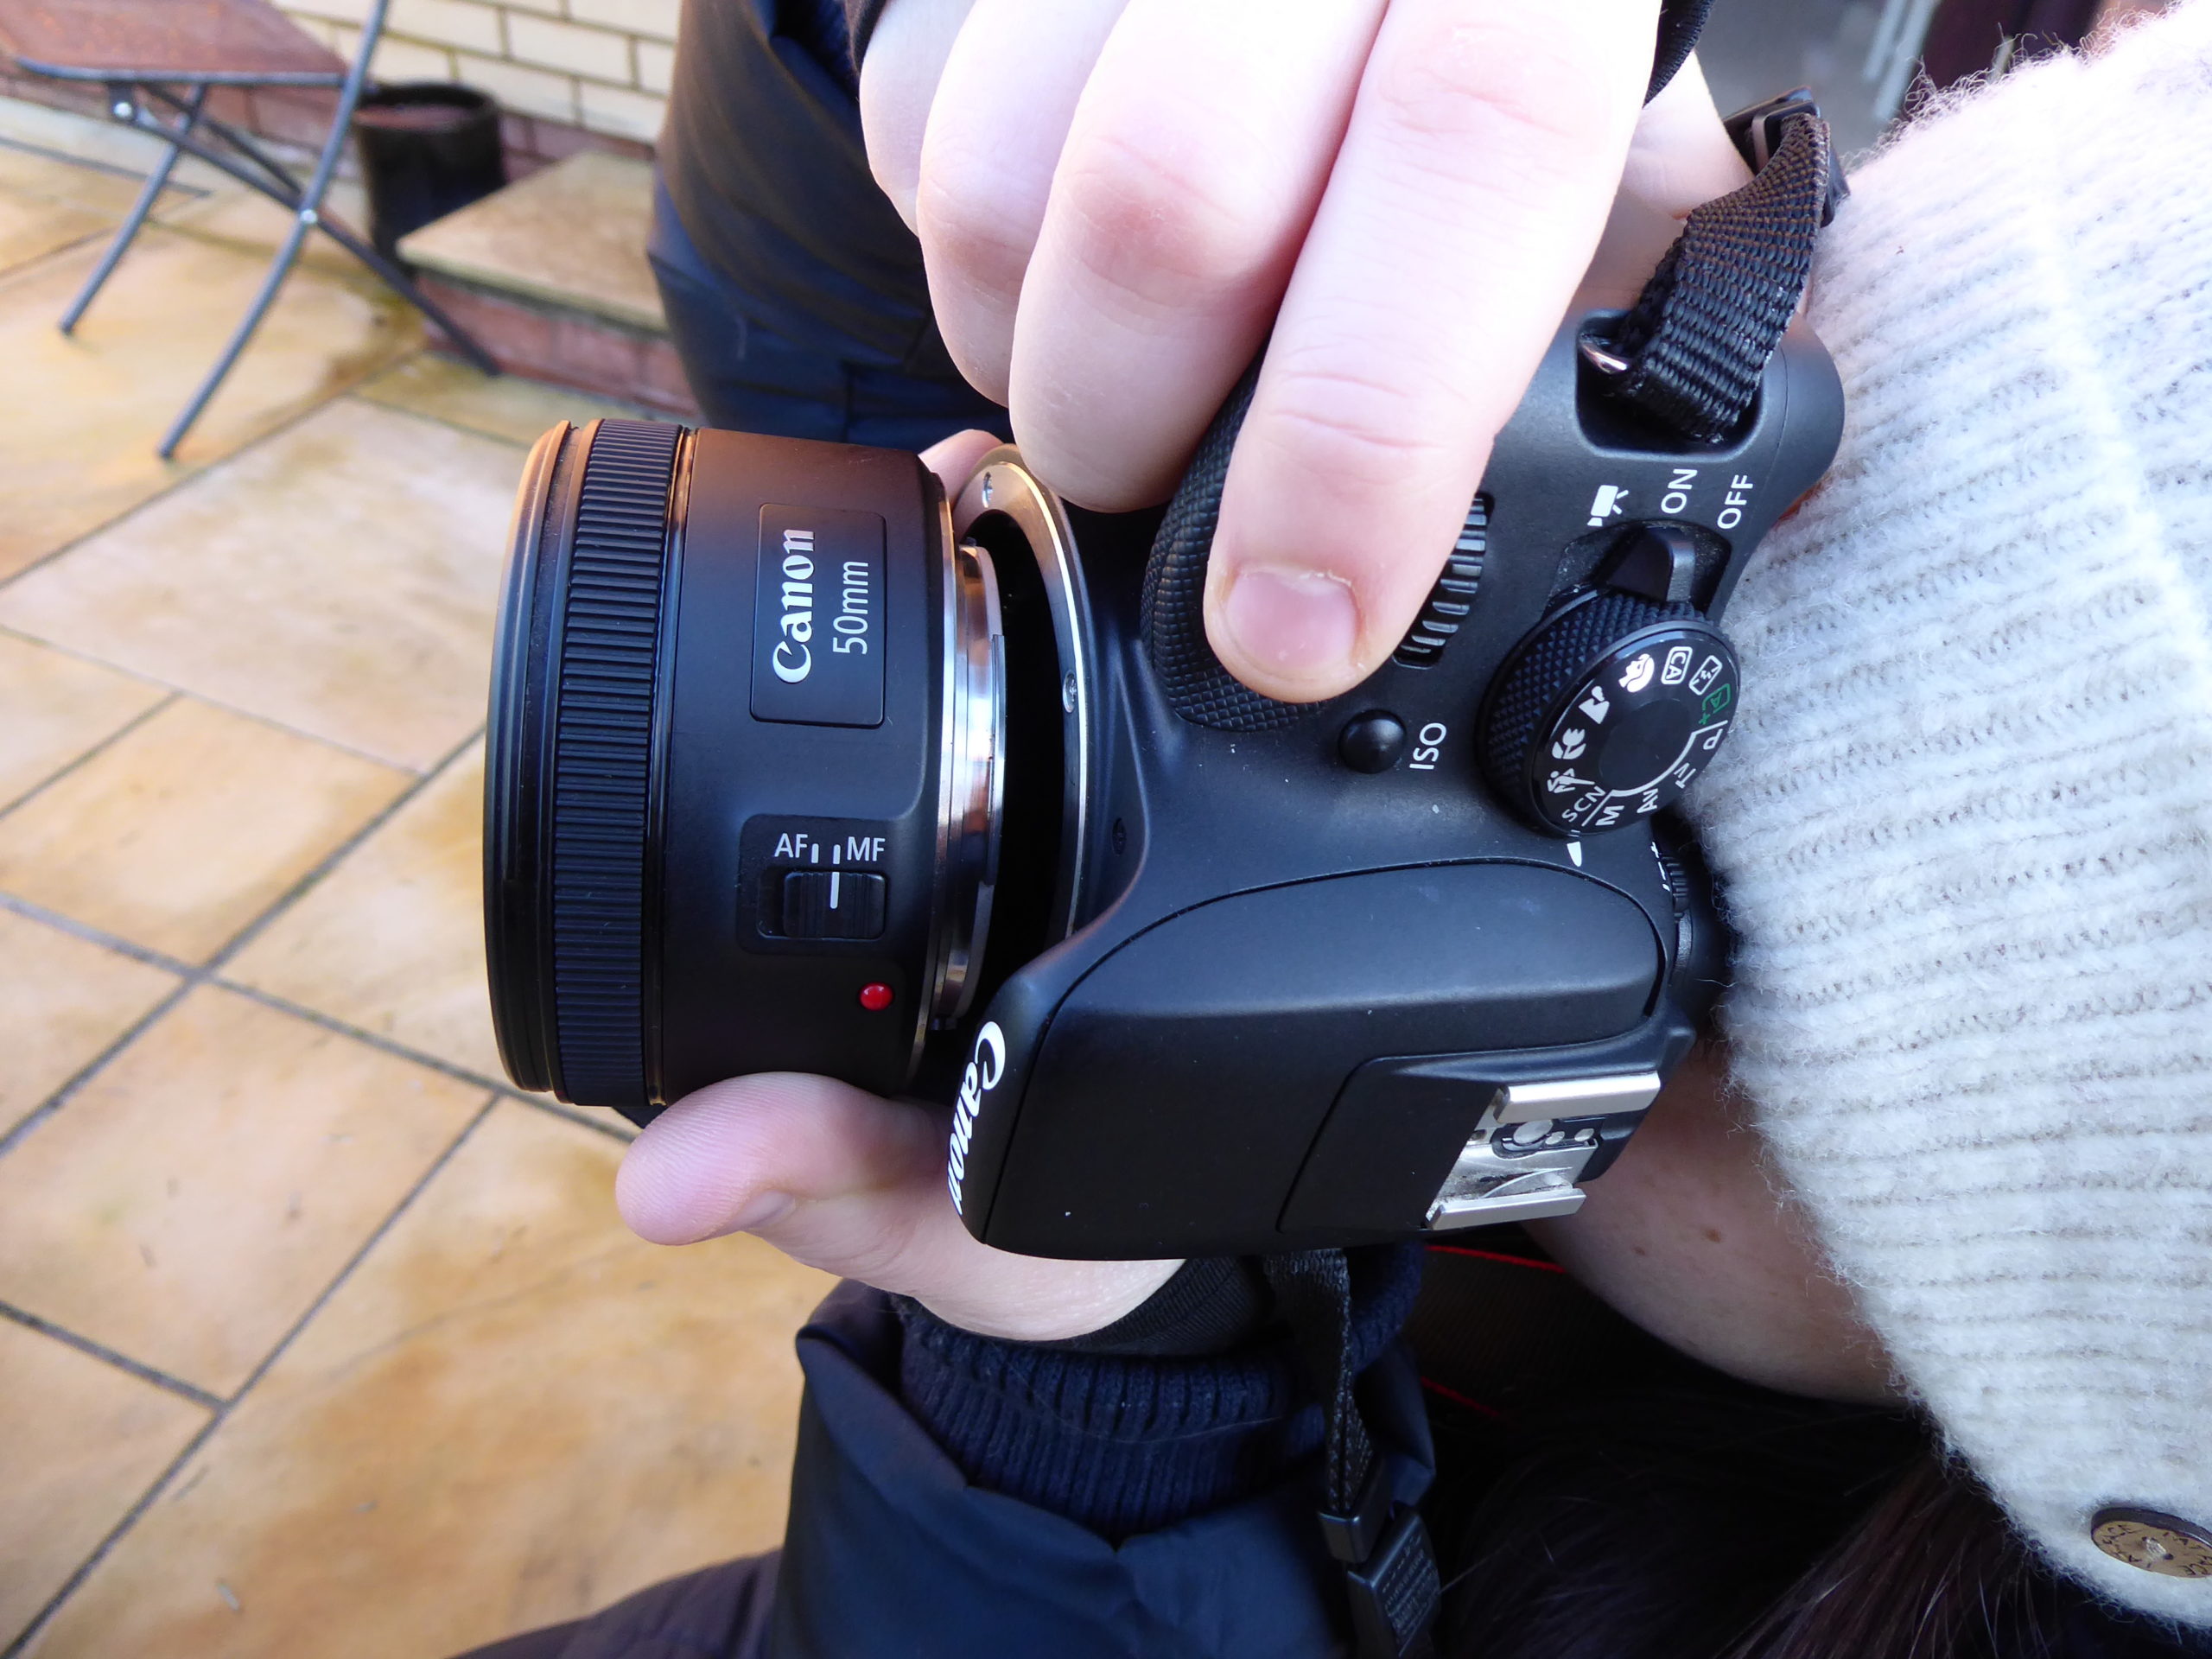
Behind the Scenes – Freelensing
You set your shutter speed (you’ll need quite fast as freelensing lets in lots of light), ISO and white balance. Then, put your lens in manual focus turned all the way to infinity. Next, detach the lens and hold it just a little away from the camera. Moving it very slightly in and out, and tilting left and right will have a big effect on where the focus falls and the blur patterns created in the rest of the image. Using your camera’s live view might help you to more easily position the slice of focus exactly where you want it. Also, it can help you in composing your overall image.
(If you have a Nikon camera, you’ll need to rig your lens to keep the aperture open when it is detached. You can do this with pieces of straw, tapes or an elastic band. You can find a photo showing exactly how to do this in Holly’s blog post here.
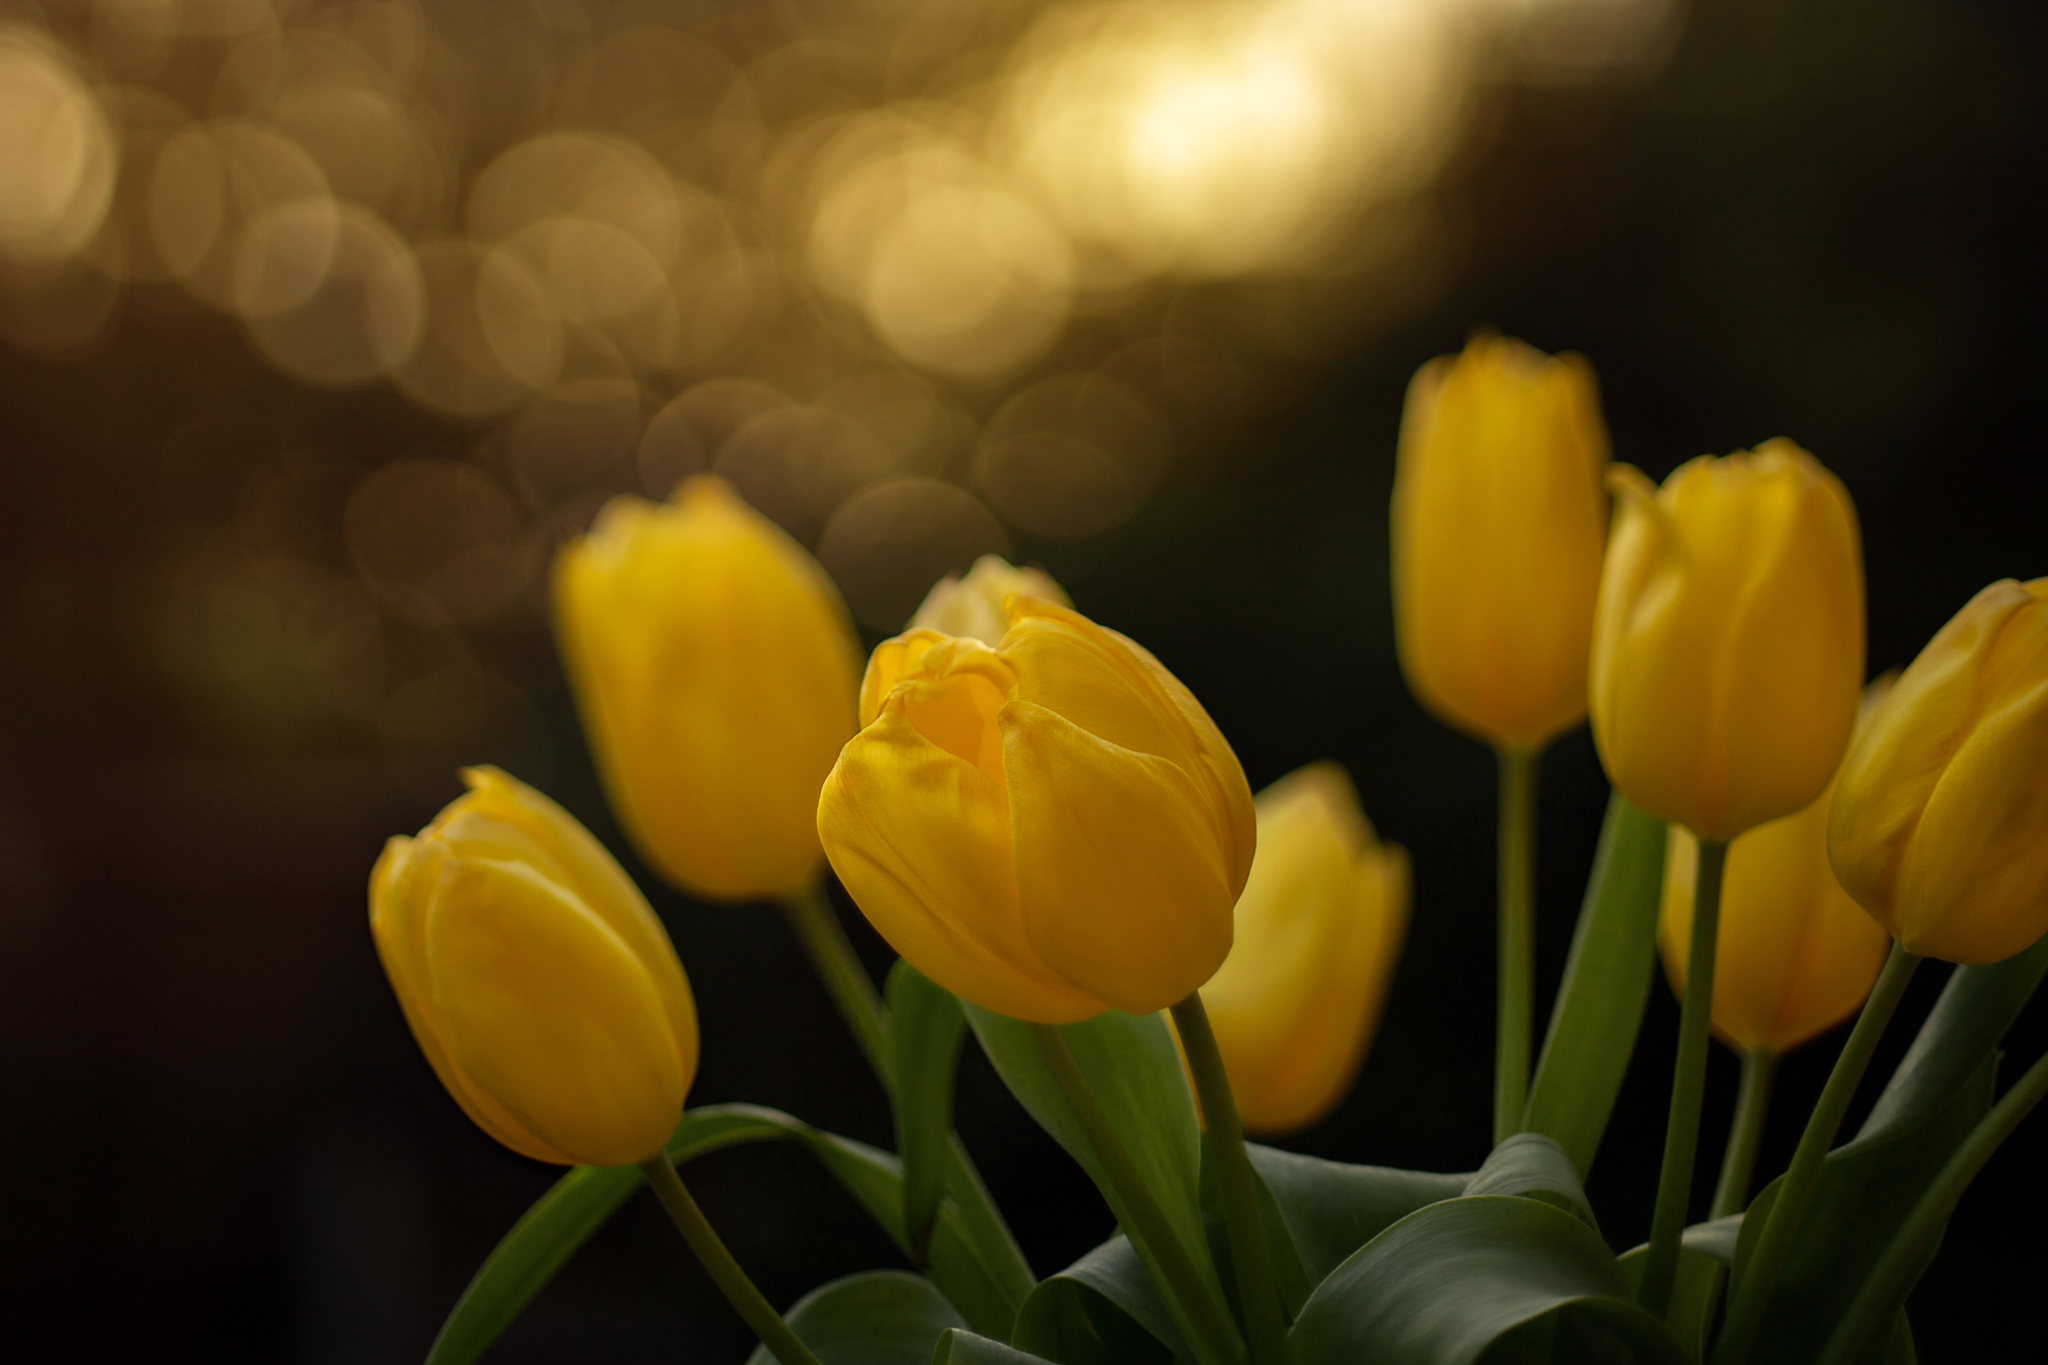
Freelensed tulips 50mm ISO 100 1/320s
One of my favourite types of light to use with this technique is golden hour backlight. This light leaking through trees or bushes in the background creates the most beautiful golden bokeh.
Along similar lines is reverse freelensing. This is basically the same thing but you turn your lens around. Doing this acts like a magnifying glass, so essentially you have a macro lens! You’ll need to be super close to your subject and the tiniest movements make a huge difference. It helps to brace your arms and hold your breath as you take the shot.
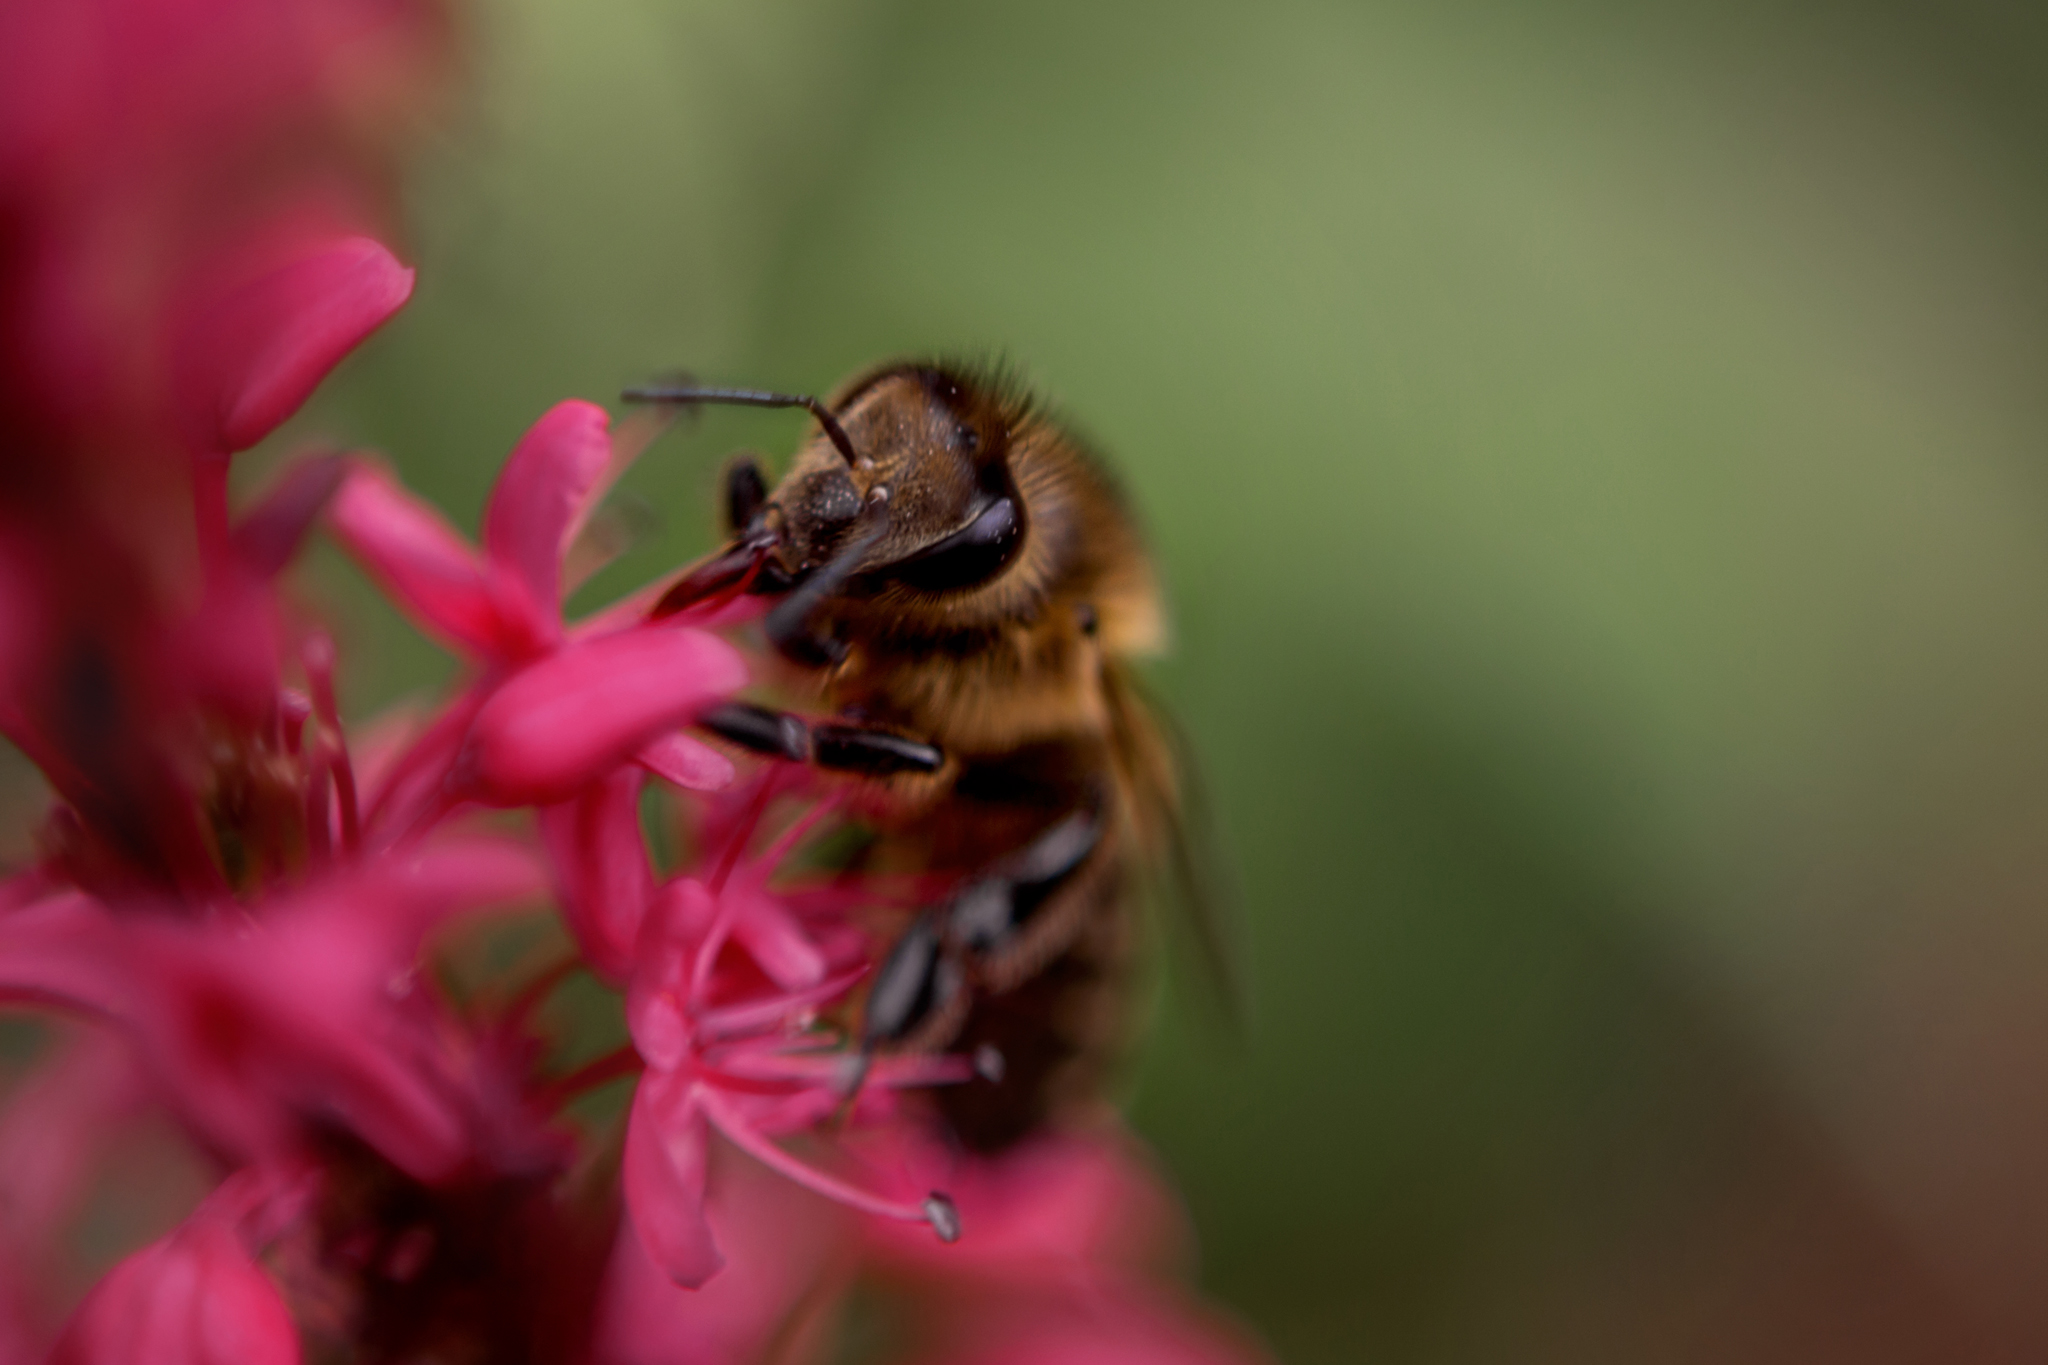
Reverse freelensed bee 50mm ISO 100 1/160s
There are many so other fun techniques I could talk about here; using prisms, intentional camera movement, effects lenses such as Lensbabies, double exposures and so on. I’ve just chosen a few of my favourites to cover. I hope it’s given you some inspiration to try something new. Don’t be afraid to push the boundaries with your photography a little and create some beautiful art.