with Laura Froese


Mastering Skin Tones
Edit by Number in Lightroom!


Abi Coop
Melissa Richard
Kristen Ryan
From Backyard to Dream Location | by Sarah Jenkins
From Backyard to Dream Location
Five tips to transform your drab yard into a favourite photography spot!
Hello everyone! Sarah Jenkins here, sharing with you some gardening tips today. As you might know, I love to grow things: kids, chicken, plants etc. And every year, I go a little plant-crazy. Much to my practically-minded husband’s chagrin, my favourite way to plant all my new plants and build all my new garden beds is with photography in mind. So today, I thought I’d share a few simple tips with you for how you can transform your space from backyard to dream location.
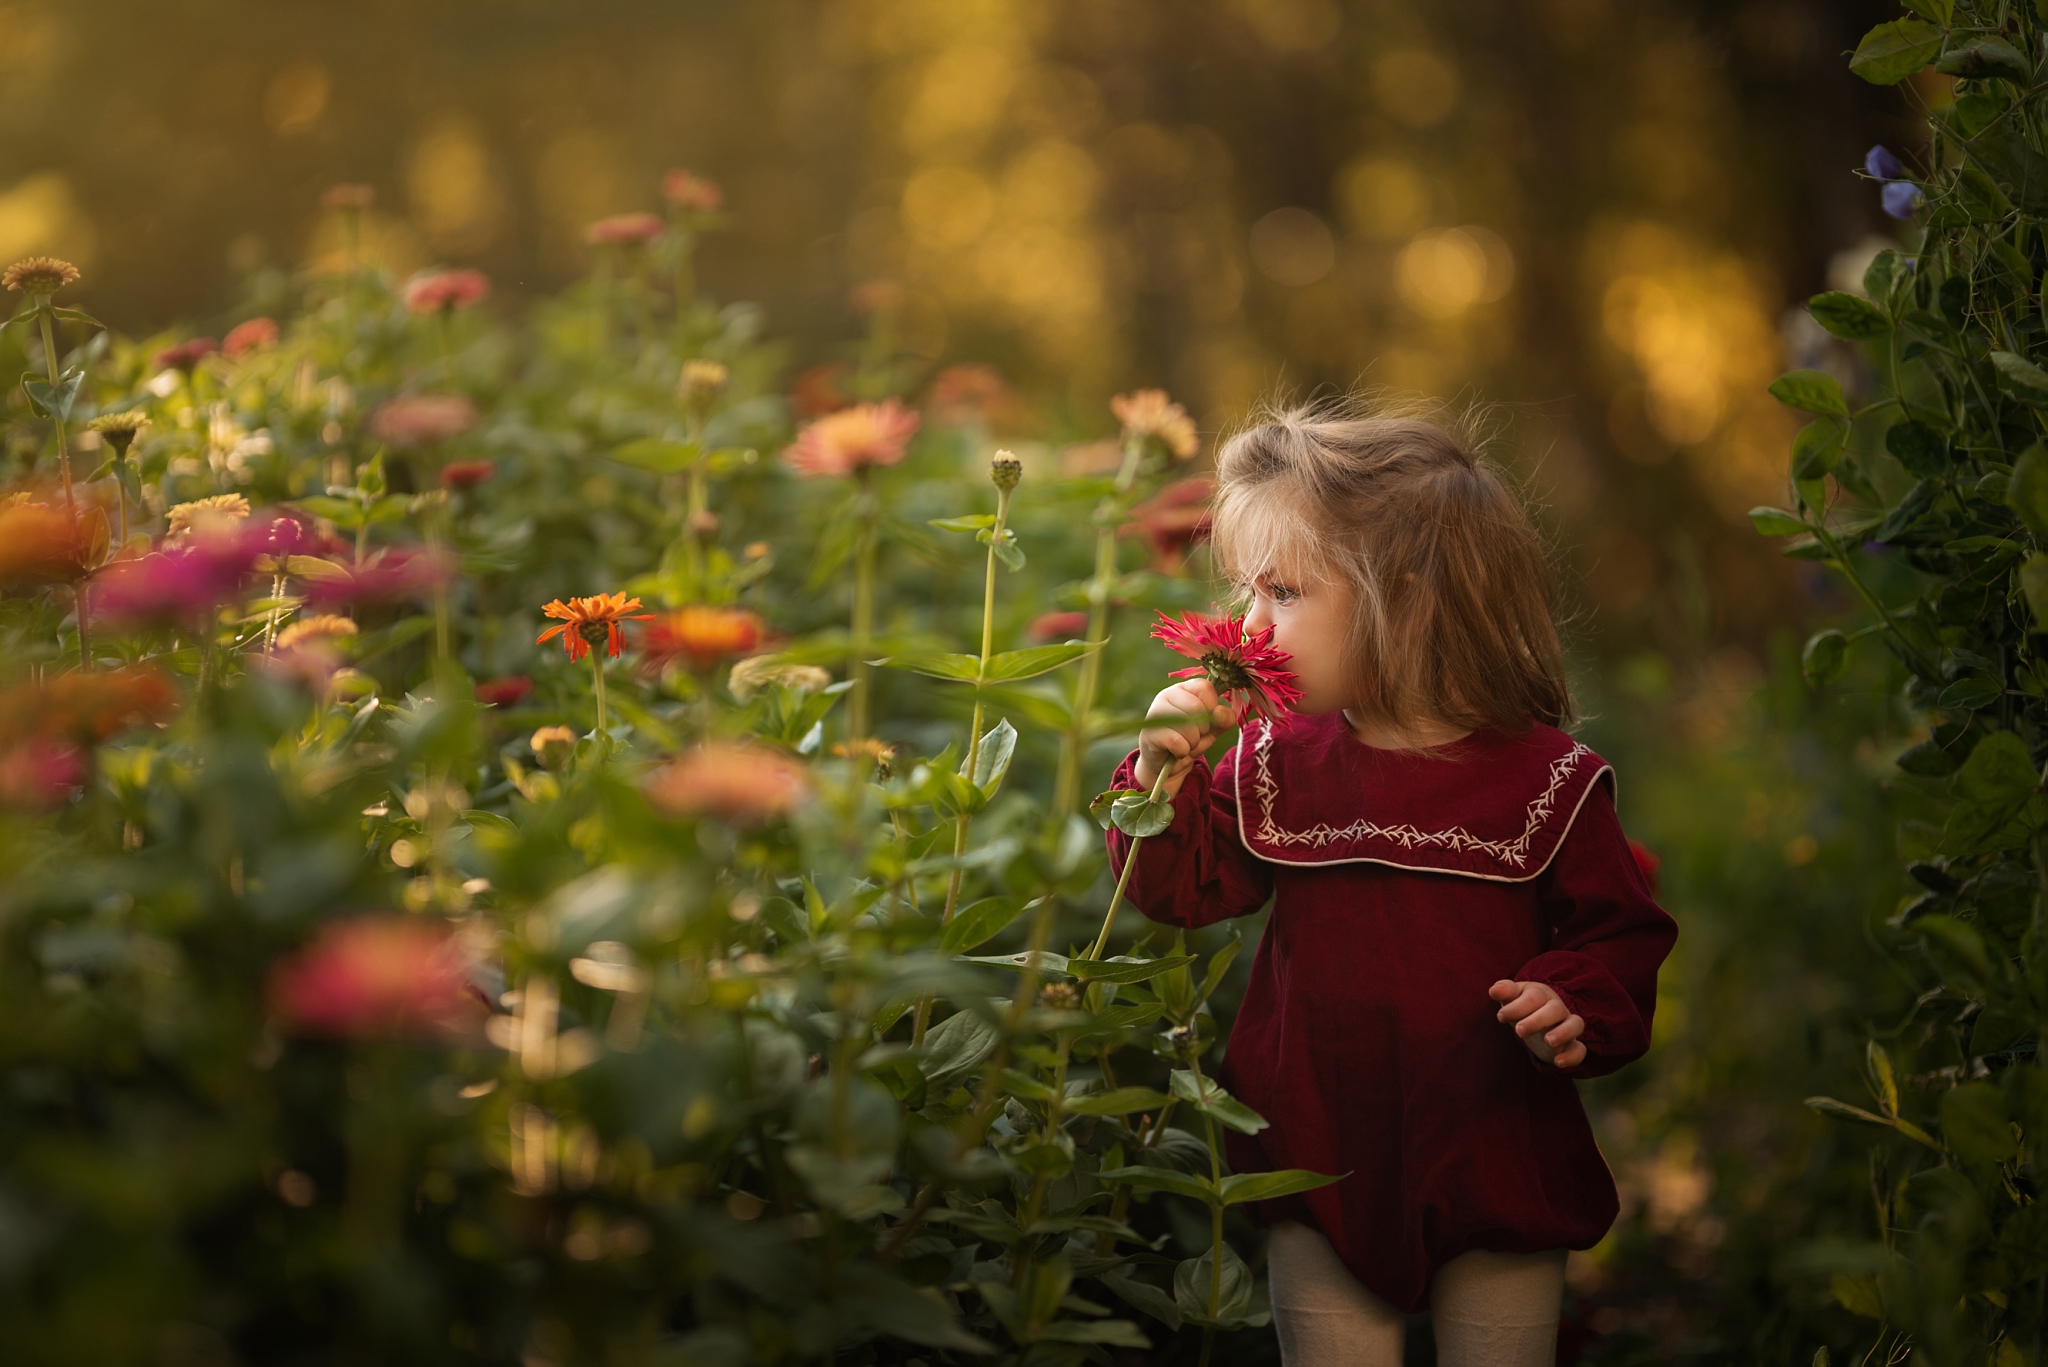
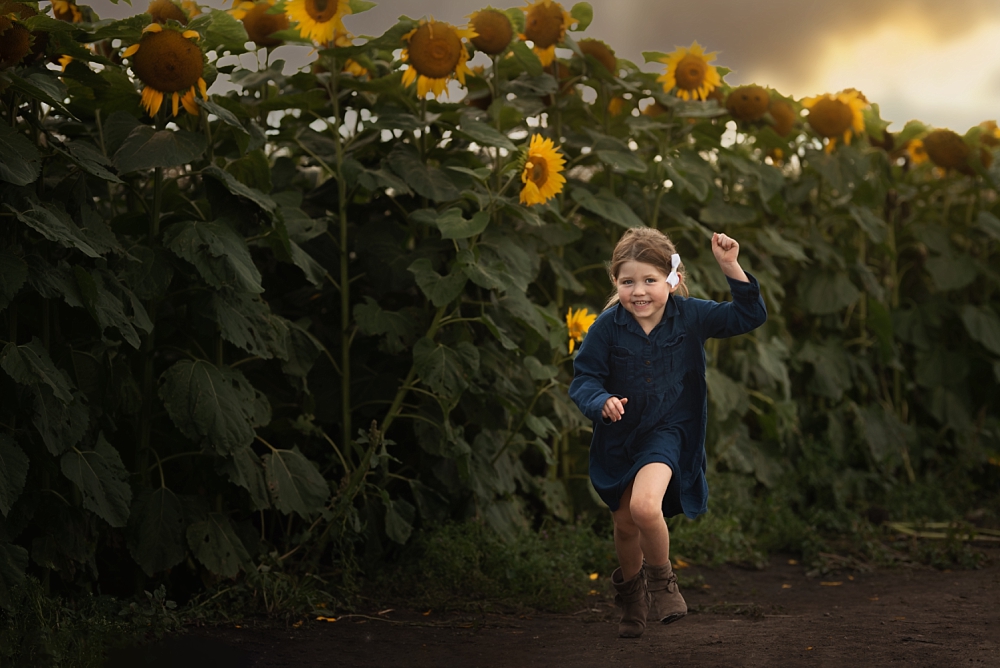
First thing’s first: find the sun! My summer sun sets to the south-east of my house. I know that I love to shoot into the sun’s glowing golden light when it is low in the sky but also to filter that light through a row of trees or other plants so I love to plant on that side of my house.
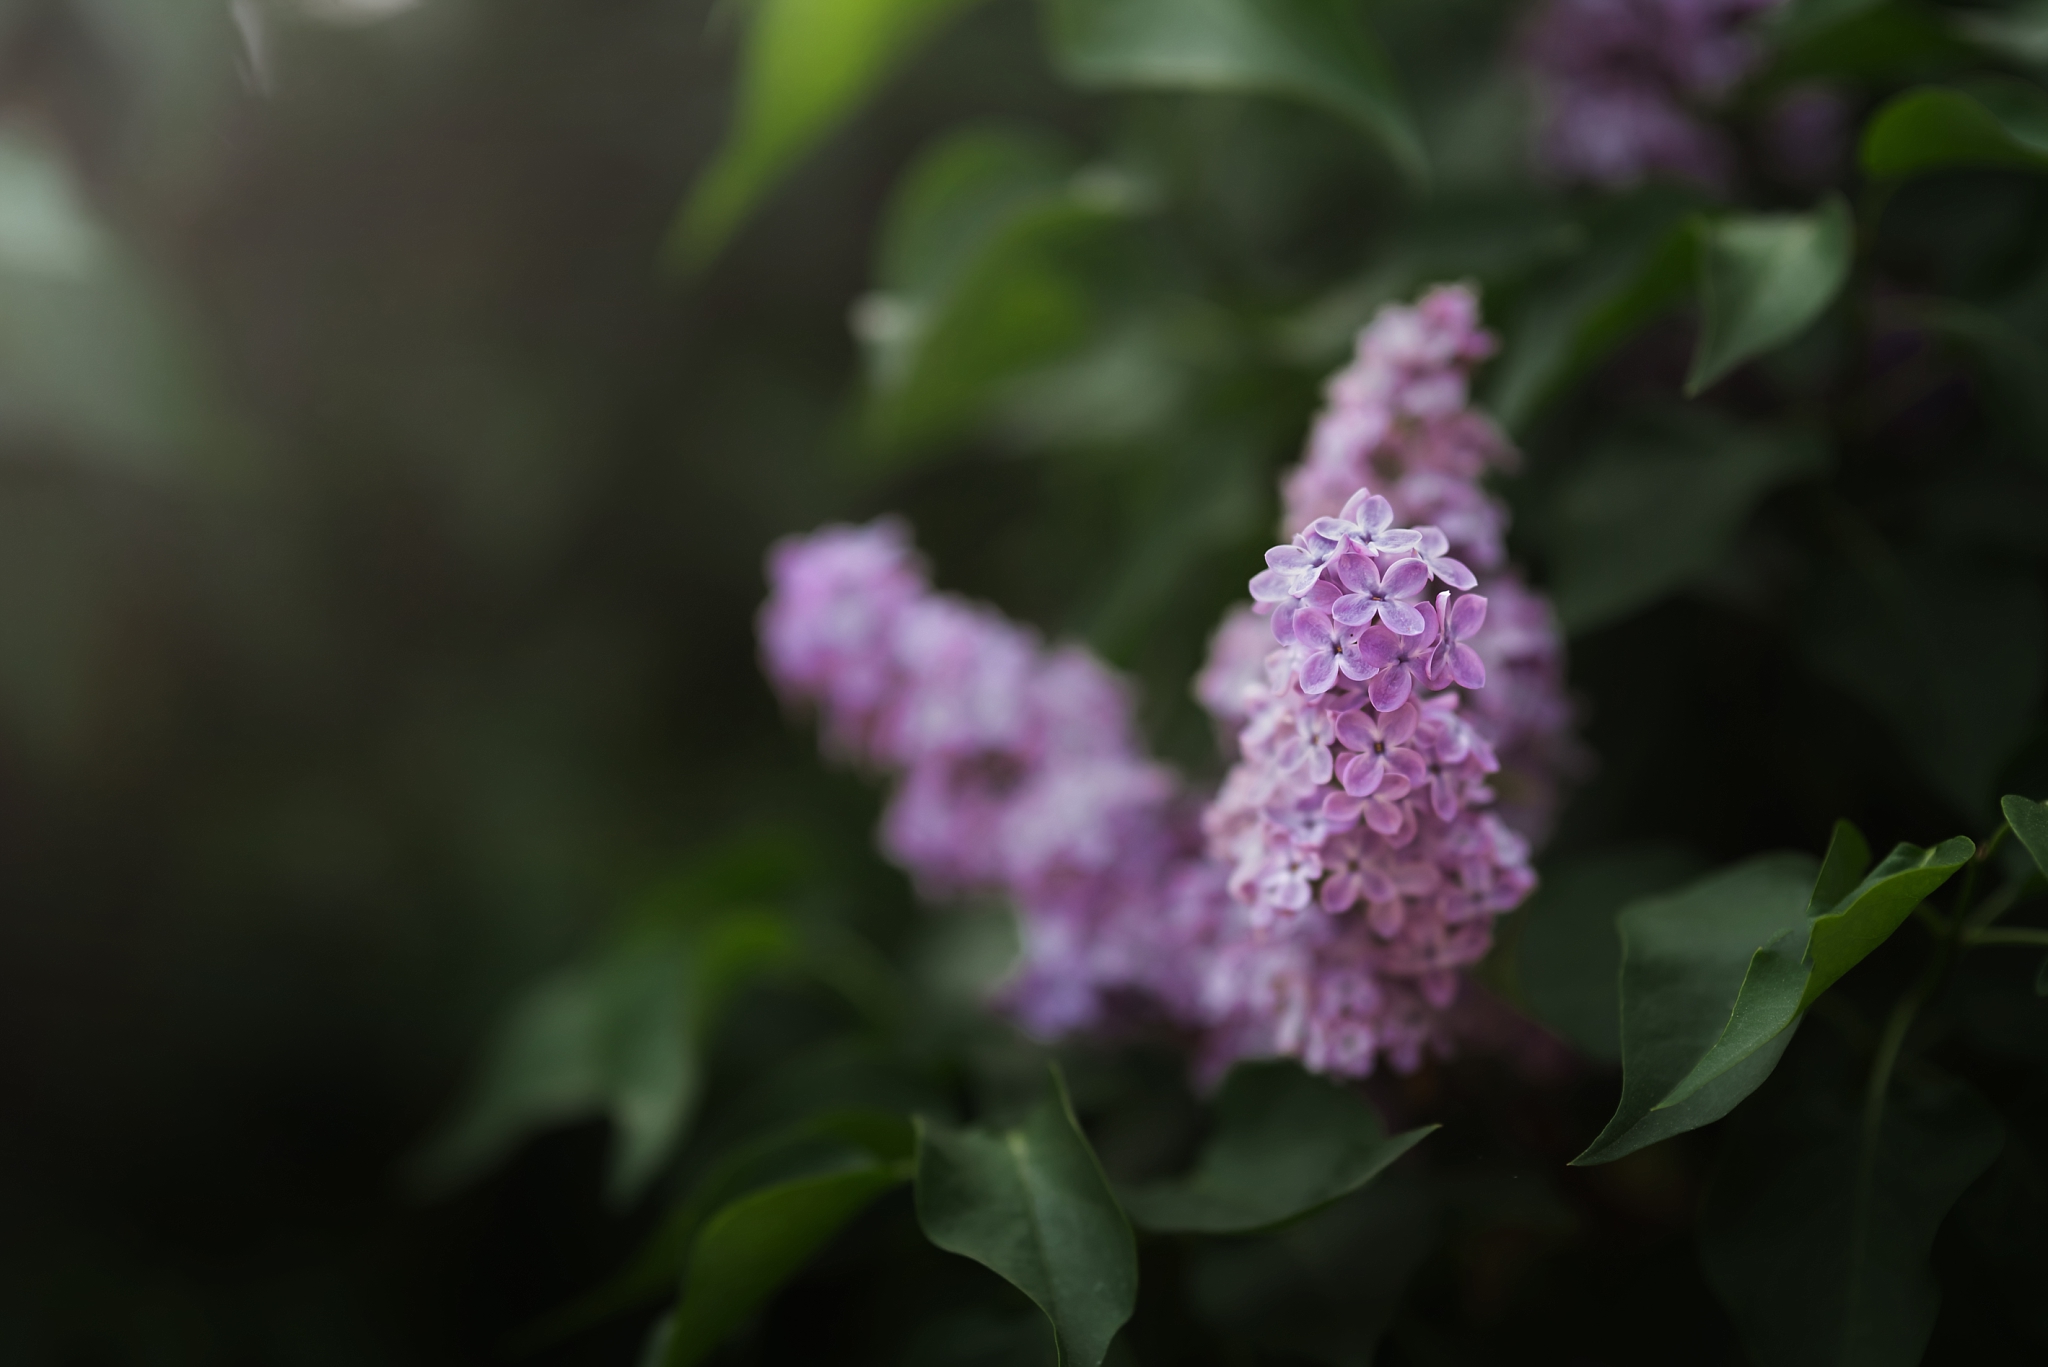
My flower rows are over there with a forest behind which serves to filter the light. If you don’t naturally have a light filtering row of trees, and don’t have the space to plant any, try a row of sunflowers or another annual or perennial that grows quick and tall. Some of my favourite plant backdrops include Larkspur, Sweetpeas, Ivy, Hops, Rudbeckia, and Hollyhocks. The sun, as always, dictates the how and why of our photos (and also our planting!) so knowing how it works in your yard and planting some plants strategically to enhance the sunlight and background interest is a great place to start.
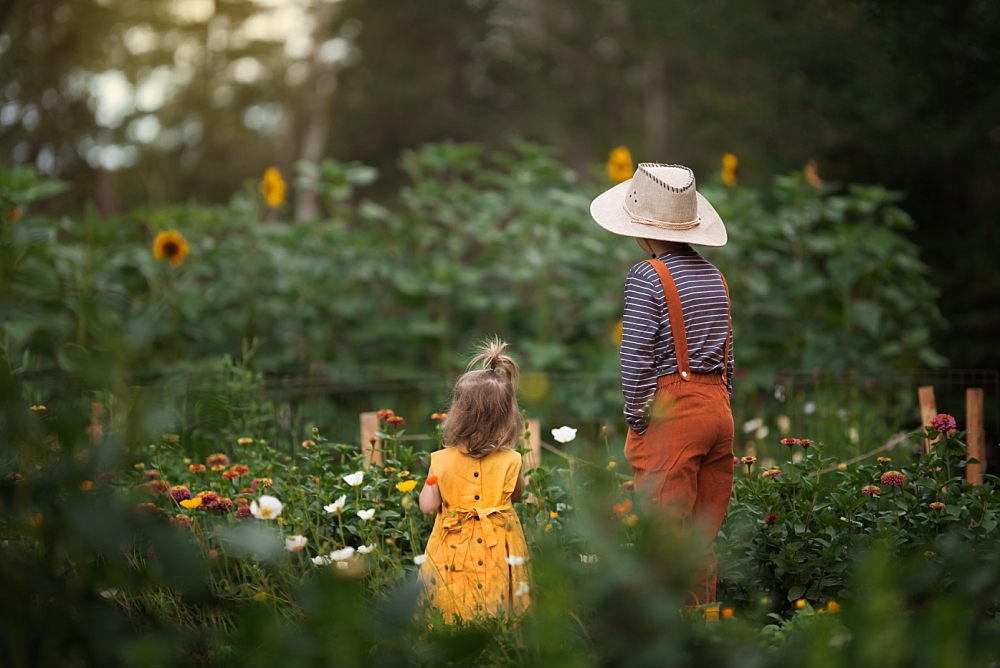
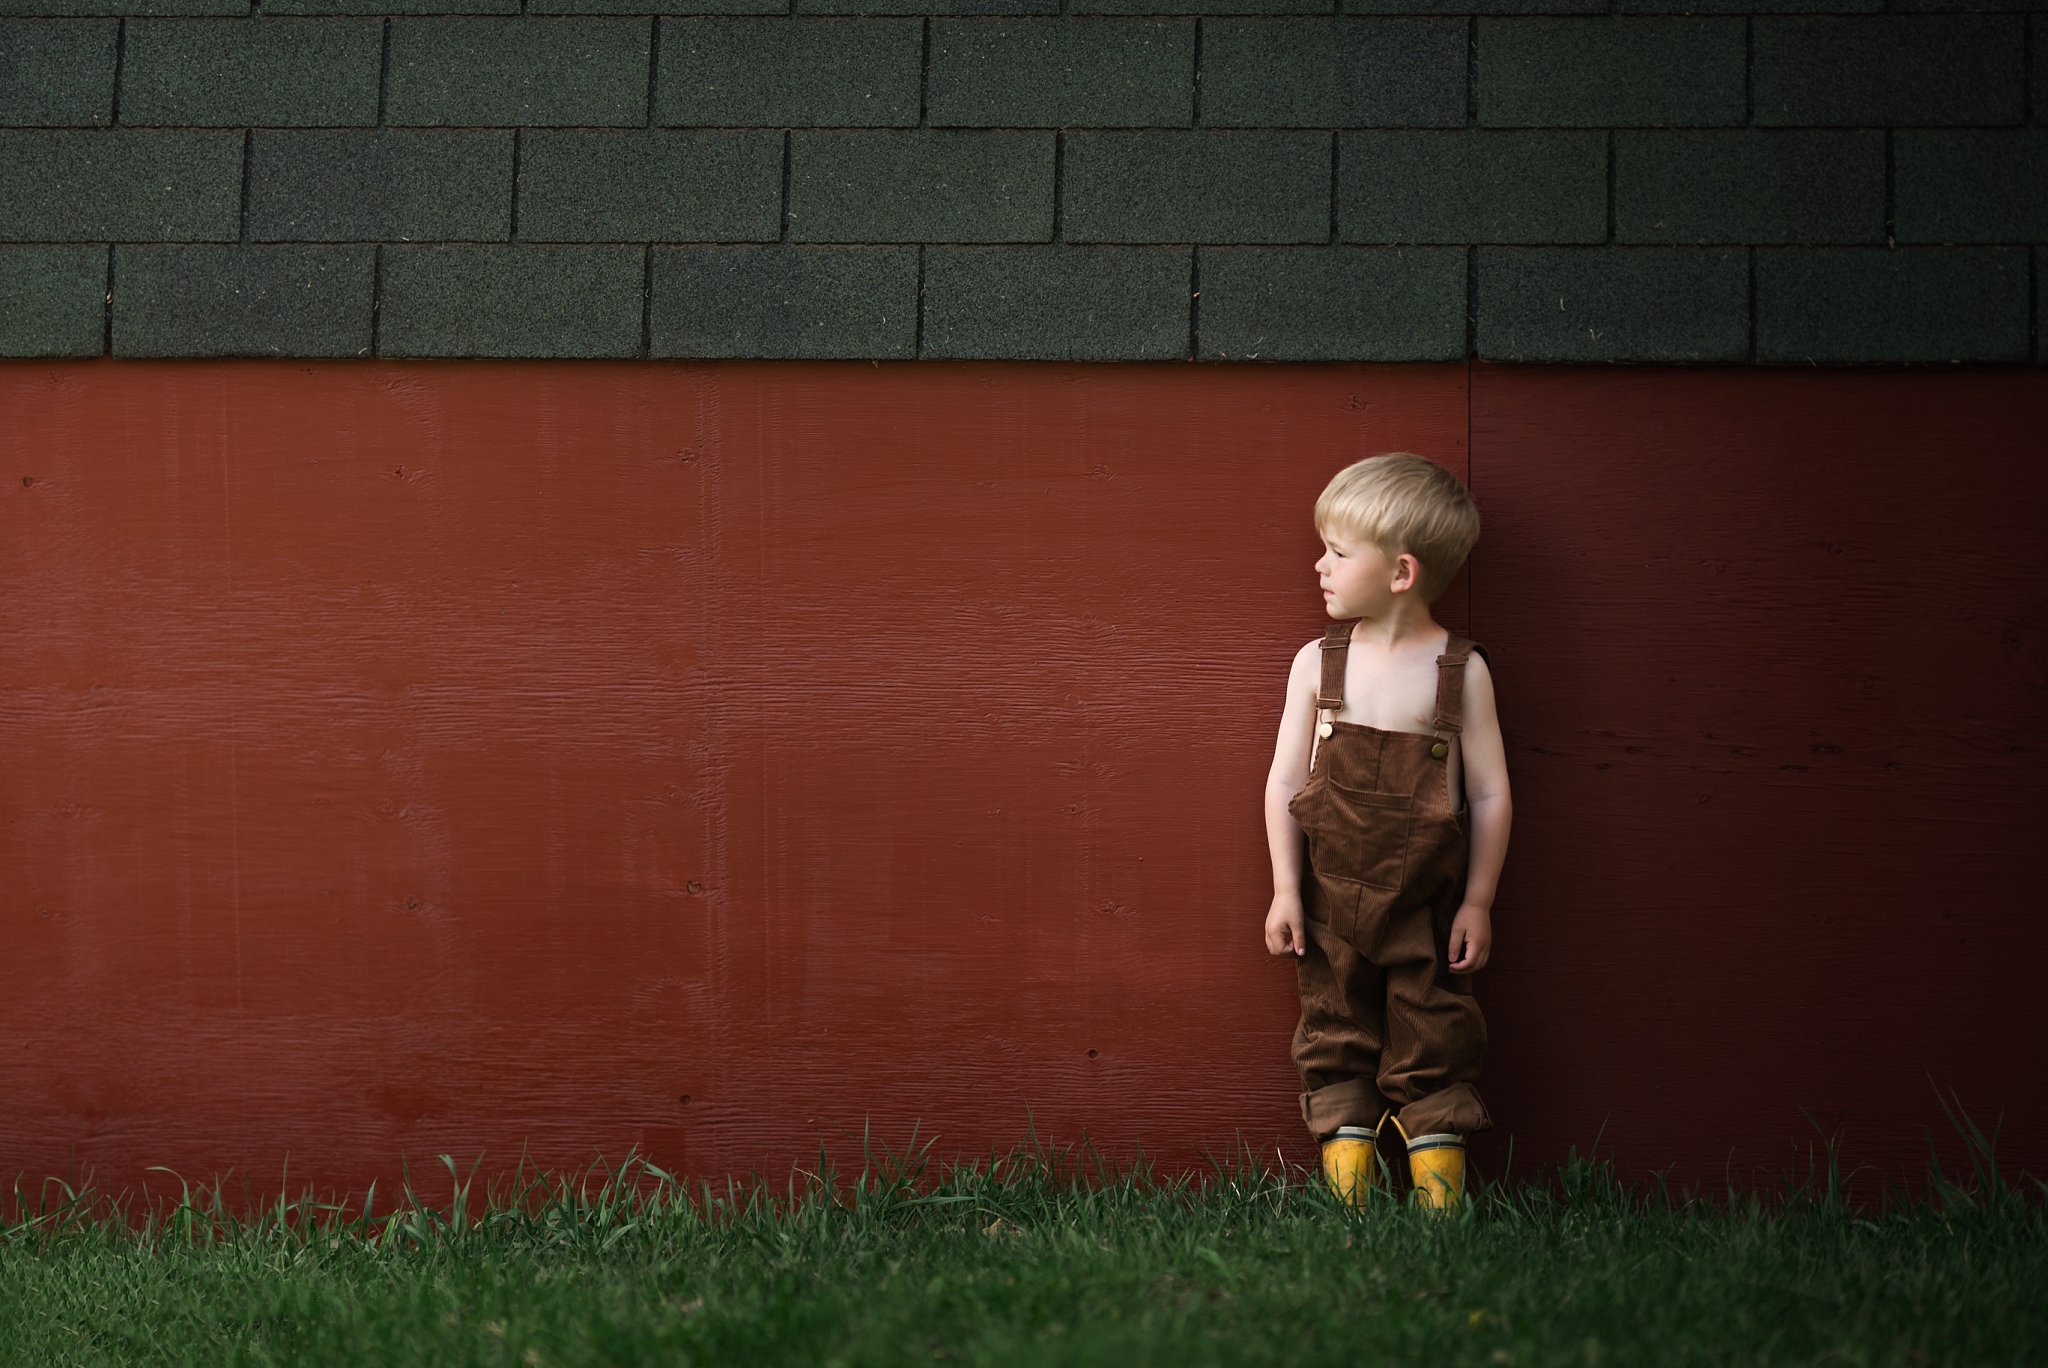
Next up (and along the same lines) is: find the shade! One of my favourite ways to shoot in the midday summer sun is to use open shade. I look for lines of un-dappled shade behind the house, fence, tree line or shed and then make those spots pretty with pots of shade loving plants, flower beds, trellises and vines or water. When it’s time to shoot, I place my subject just inside the shade where the sunlight is still reflecting in her eyes, with lovely flowering things growing in the background, and, well, it’s magic!
Check out these great courses:
The Art of Storytelling
Mastering Greens
Natural Light for Storytellers
Composition for Storytellers
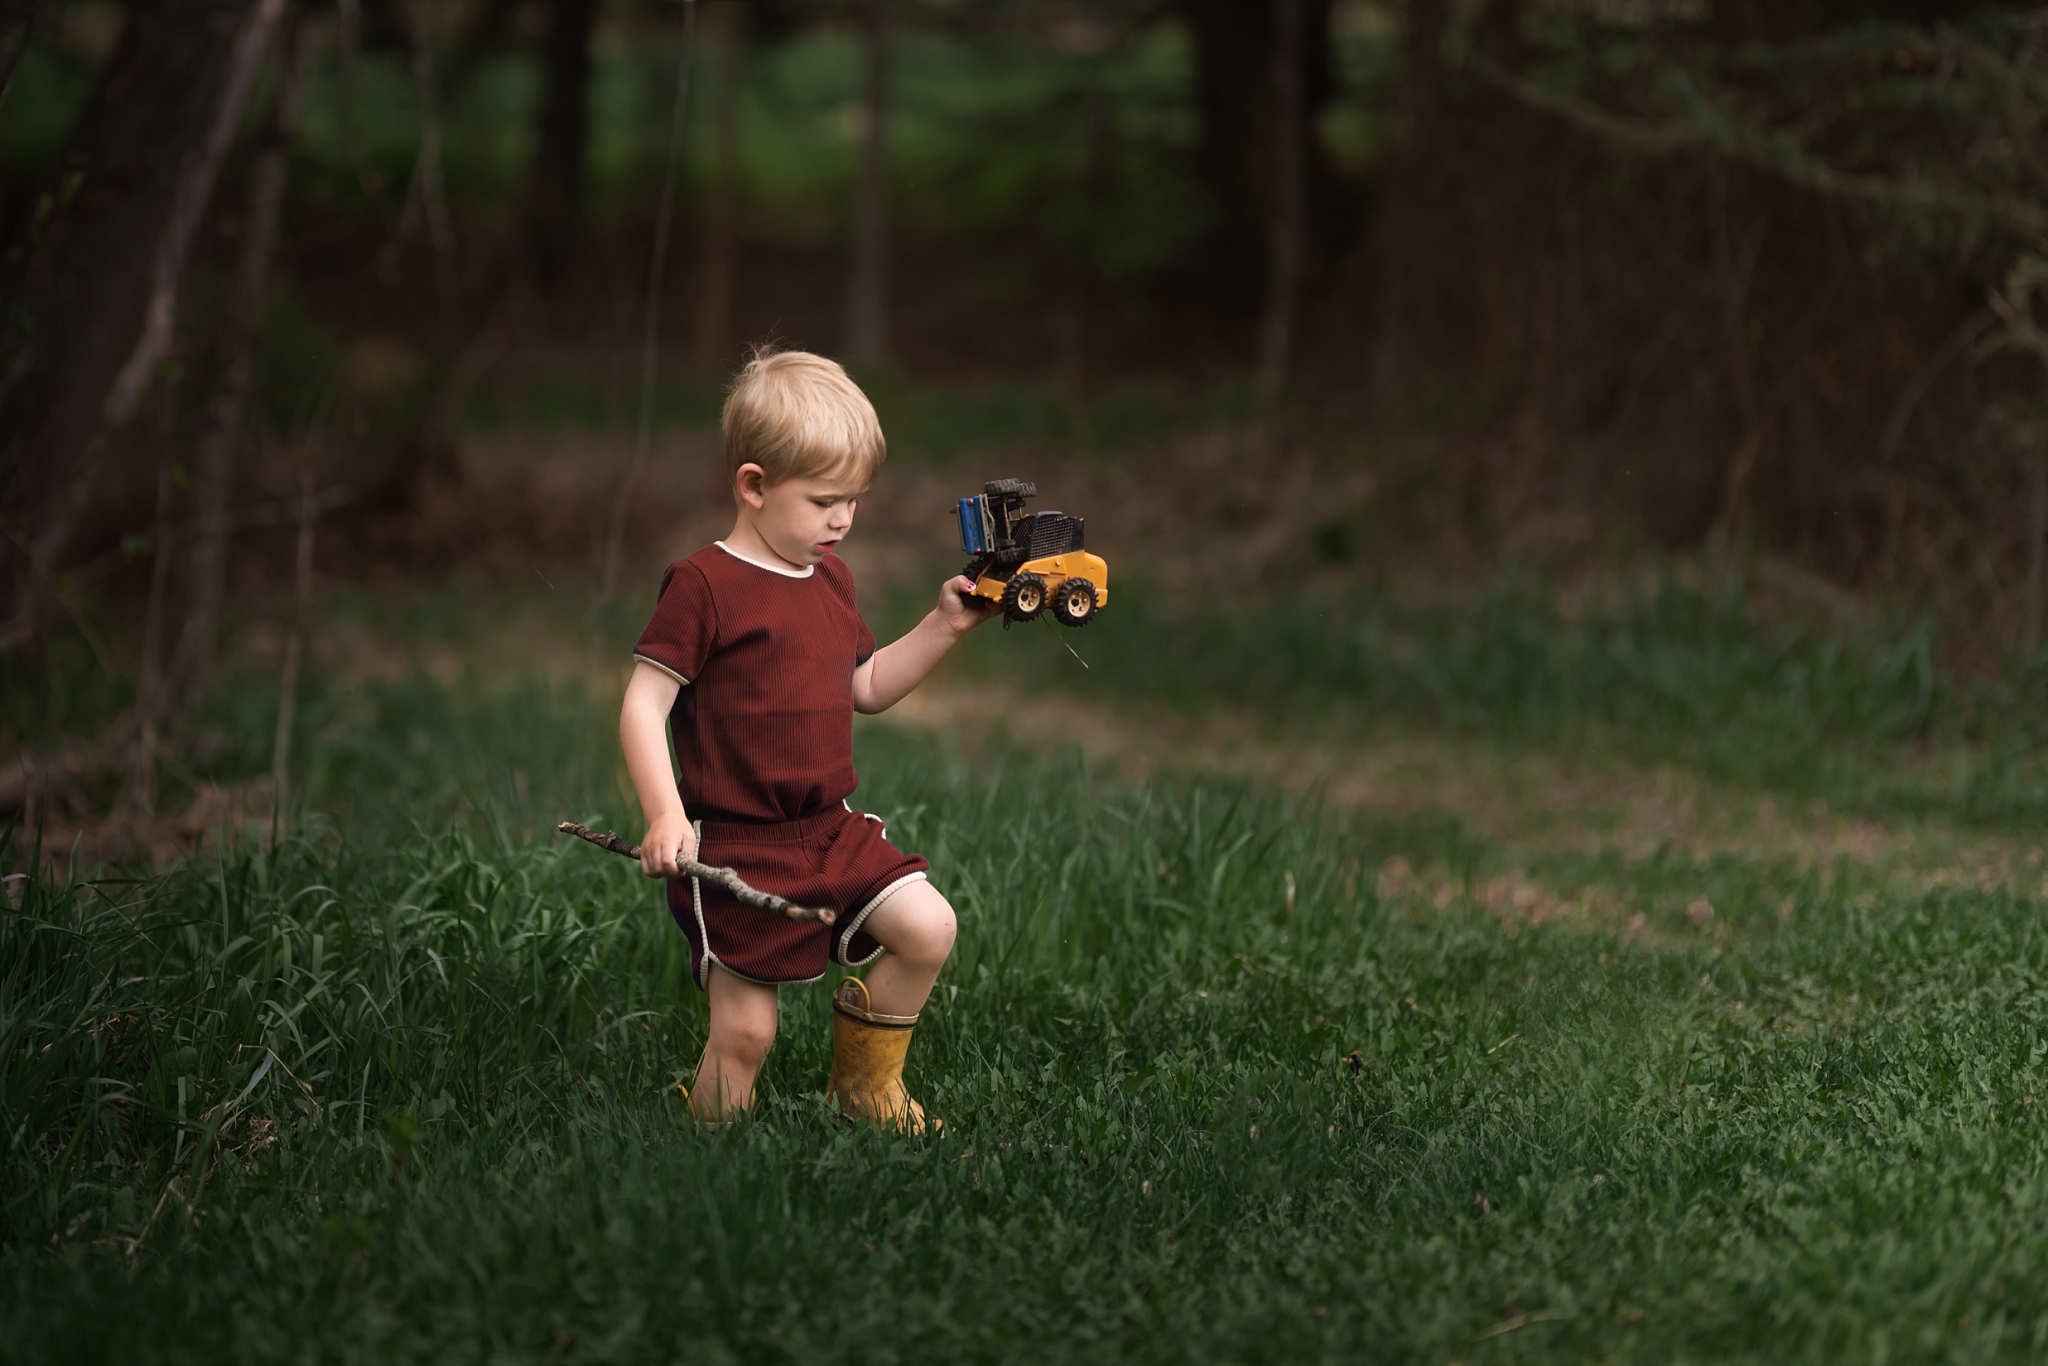
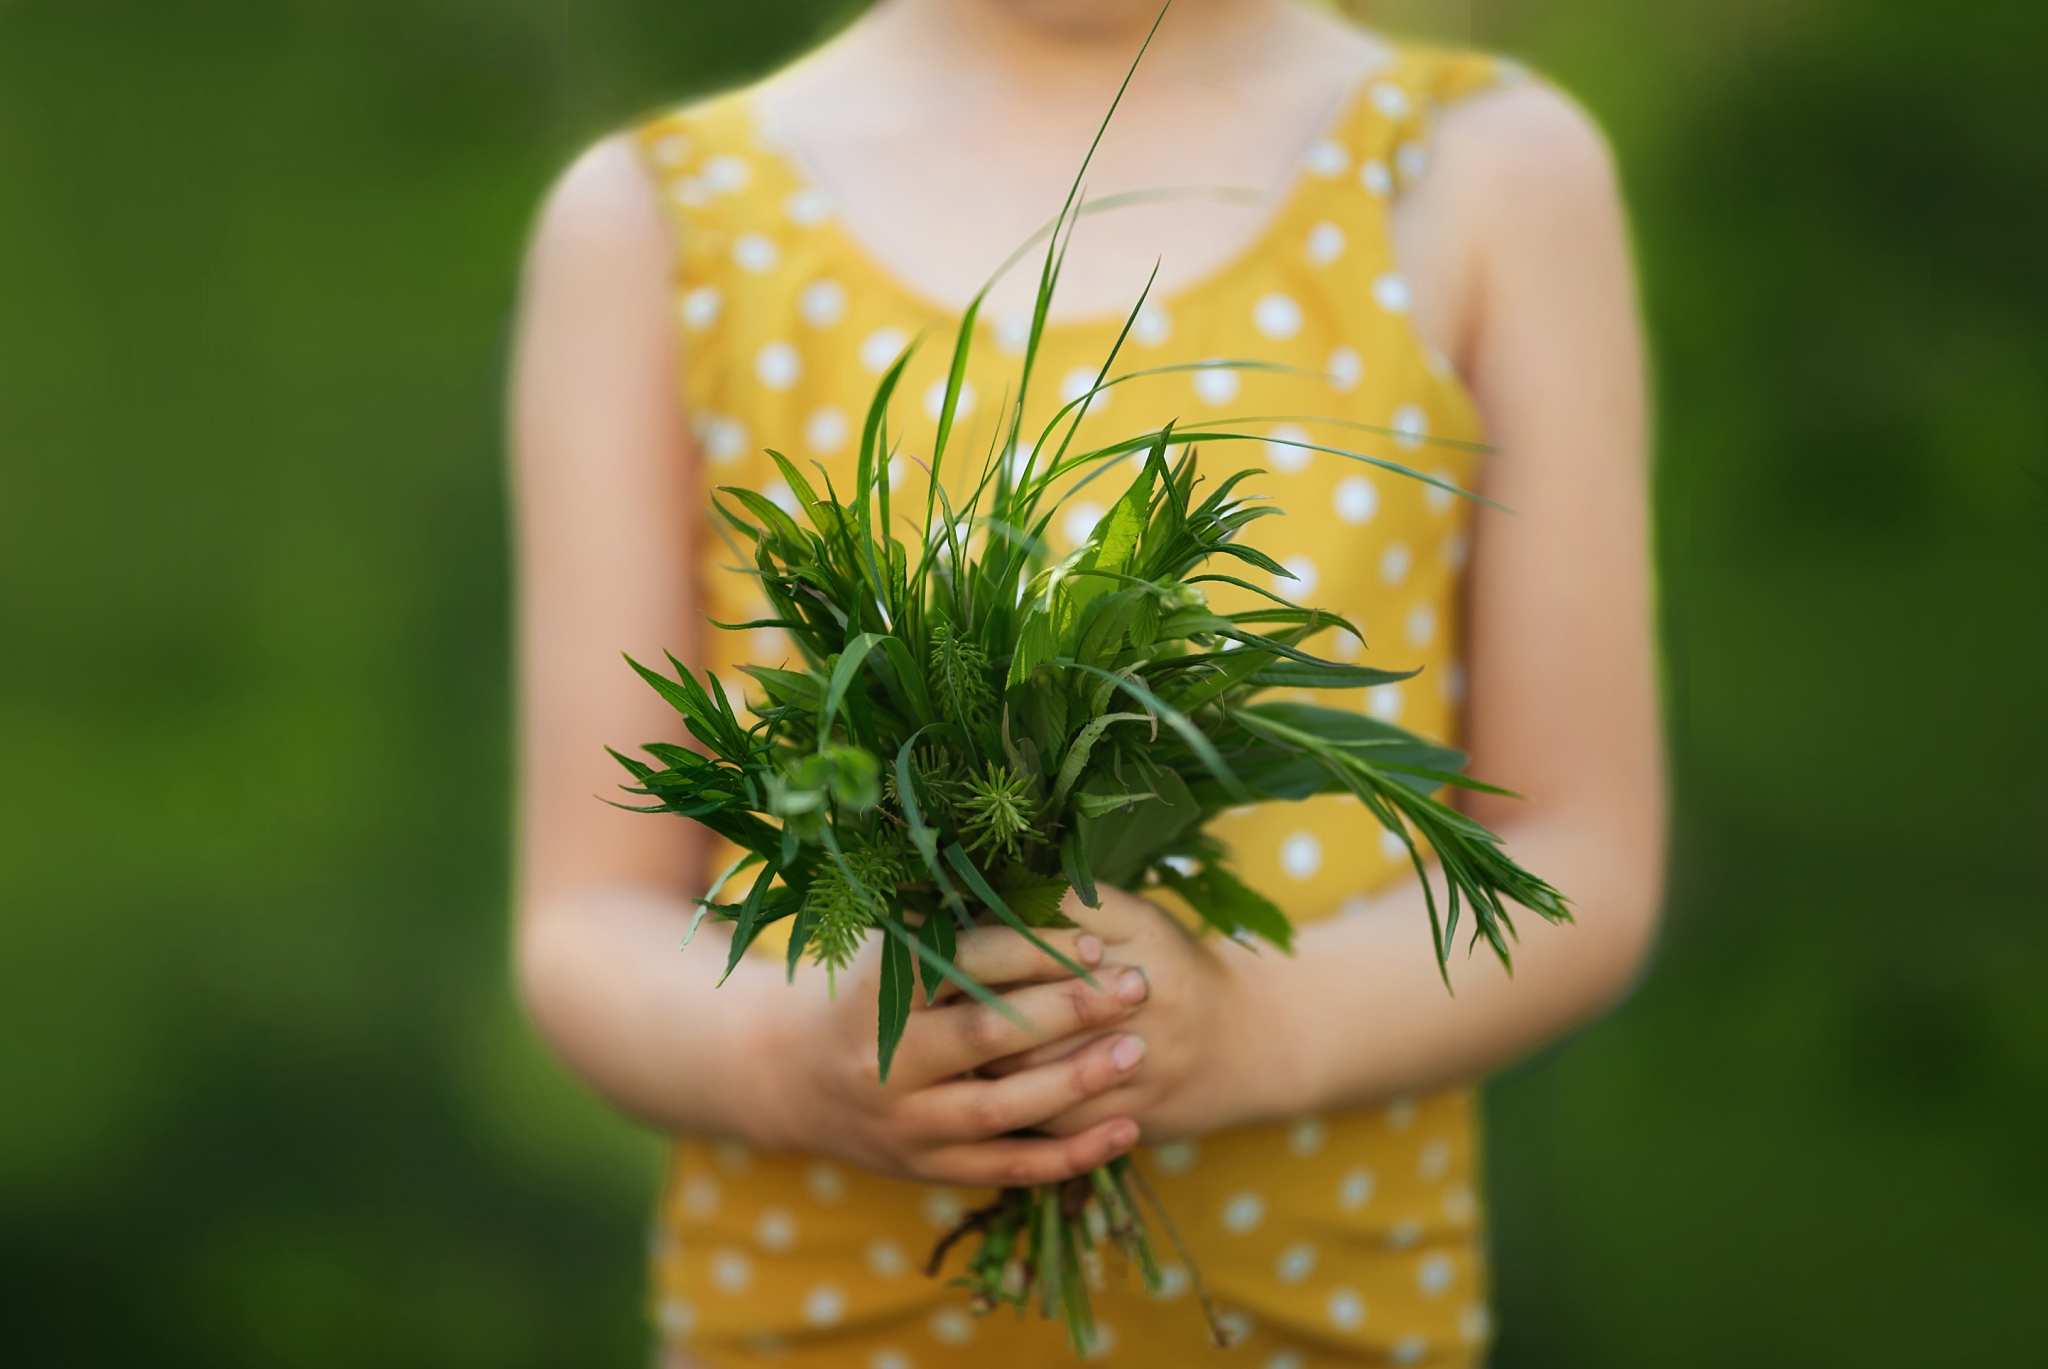
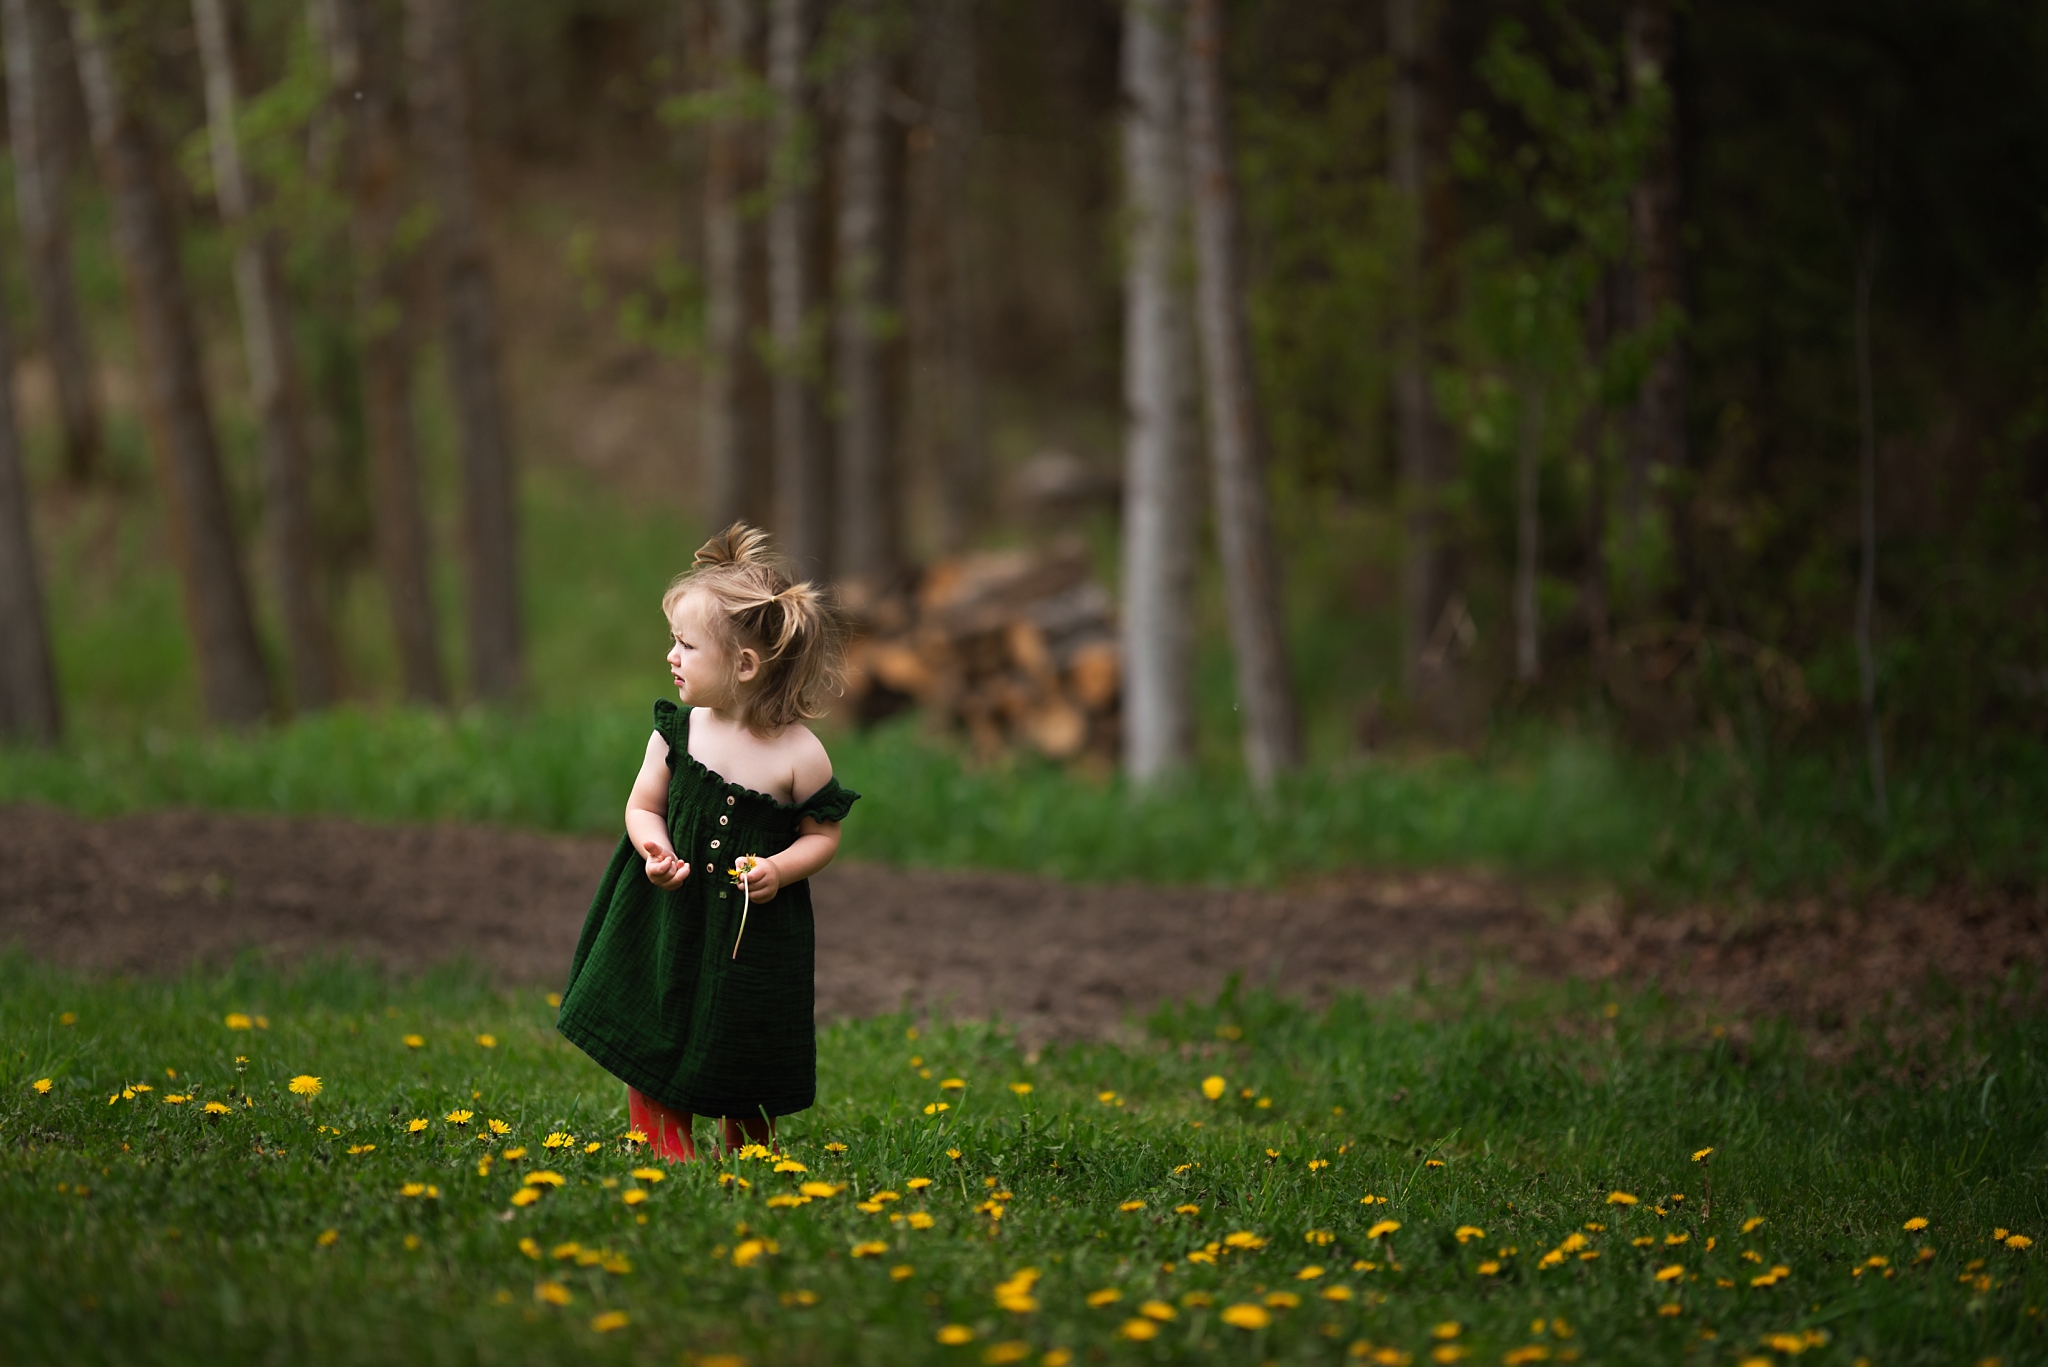
While my first two tips work in conjunction with general landscaping principles, fair warning, this definitely does not. But…. let that grass (and even those dandelions!) grow! I love a thick blanket of lush grass in my images and even better when it’s full of bright yellow “weeds.” So if you hold off mowing for a couple of days here and there, you won’t be disappointed. My husband doesn’t love this, but he is usually willing to postpone mowing occasionally for me. And bonus, dandelions are edible! We love to forage the dandelion flowers for salads or dandelion jelly or even to decorate a cake!
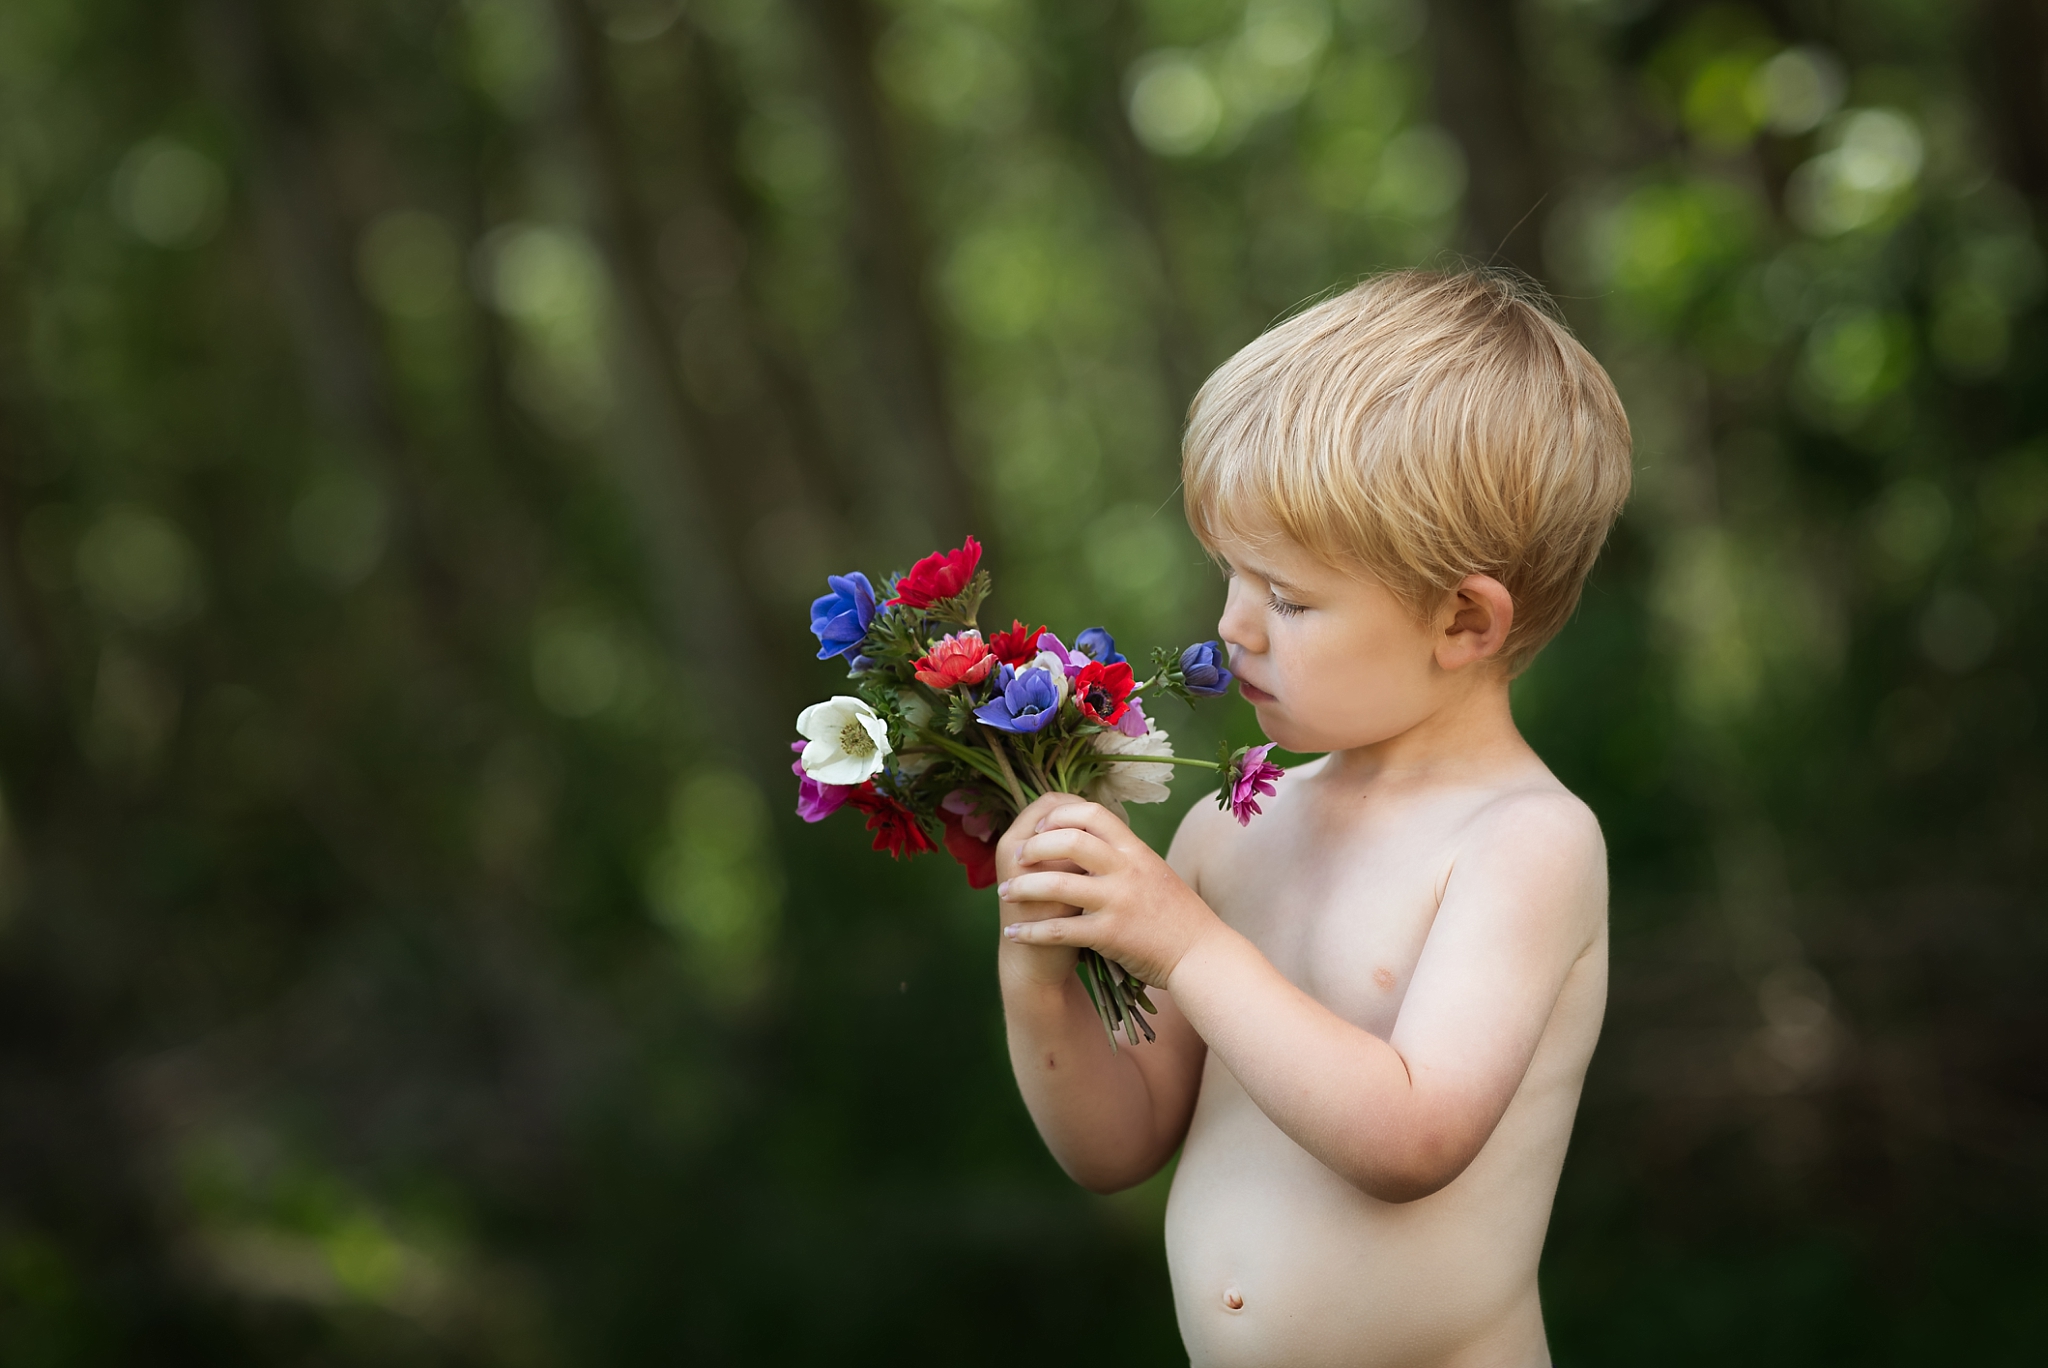
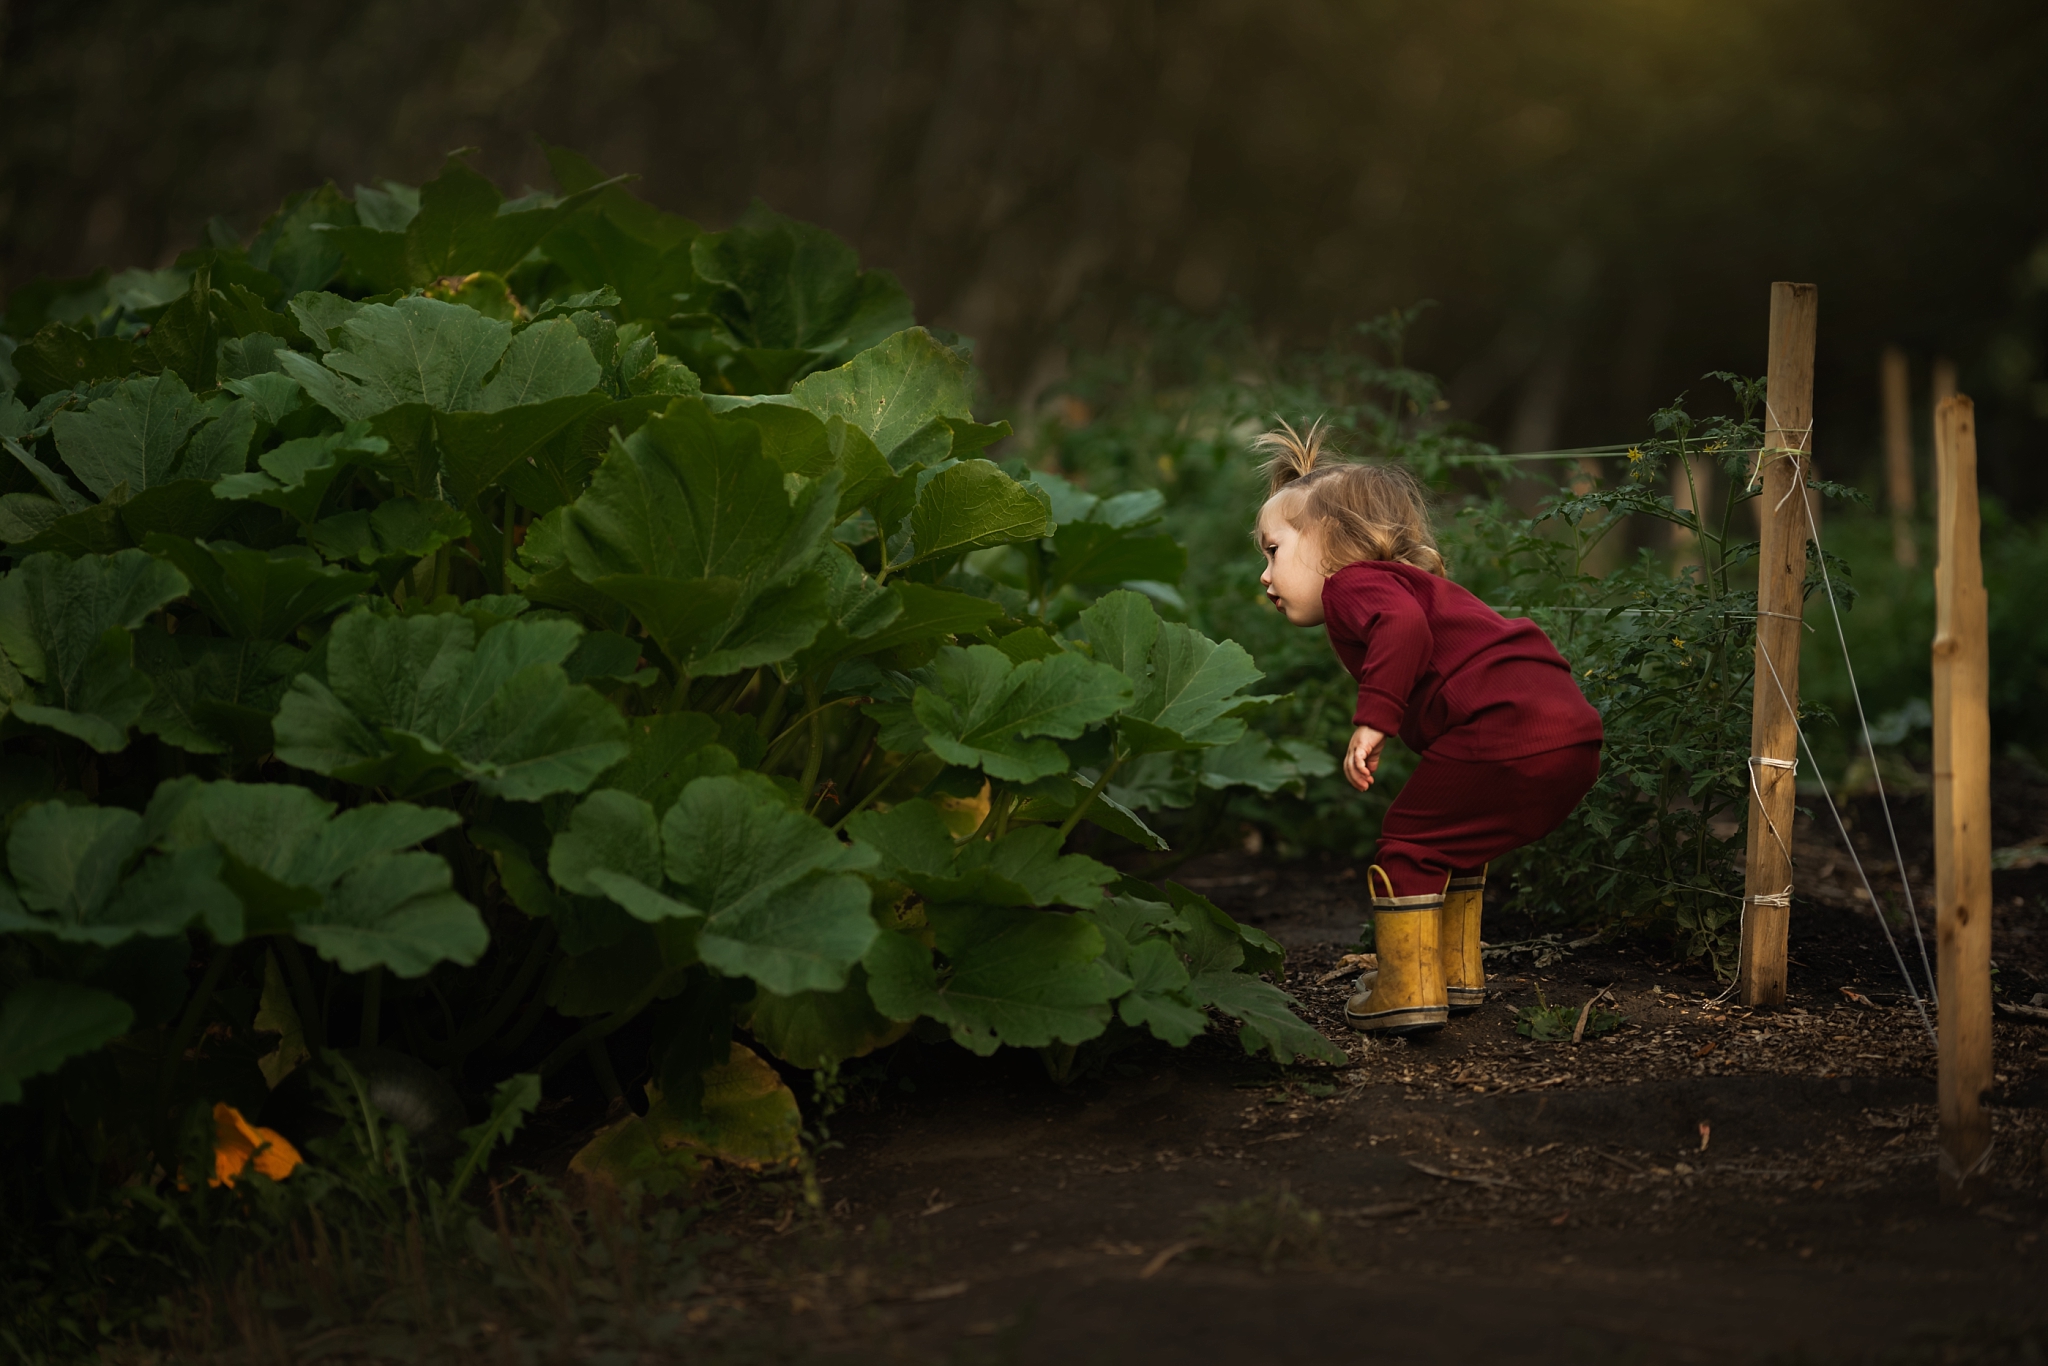
Next, we’re back to planting: if you don’t already, try and plant something edible. You can plant strawberries, tomatoes, lettuce or peas. Anything will do and you can do it in a huge garden plot or a pot on your porch. I love using edible plants to engage my kids for pictures in our yard, and they love it too: checking, watching, taste-testing, harvesting, even weeding is more fun when you can snack at the same time. My kids are much more willing to participate in my picture projects when there are snacks involved (even if the snacks are spinach leaves or peas fresh from the garden).
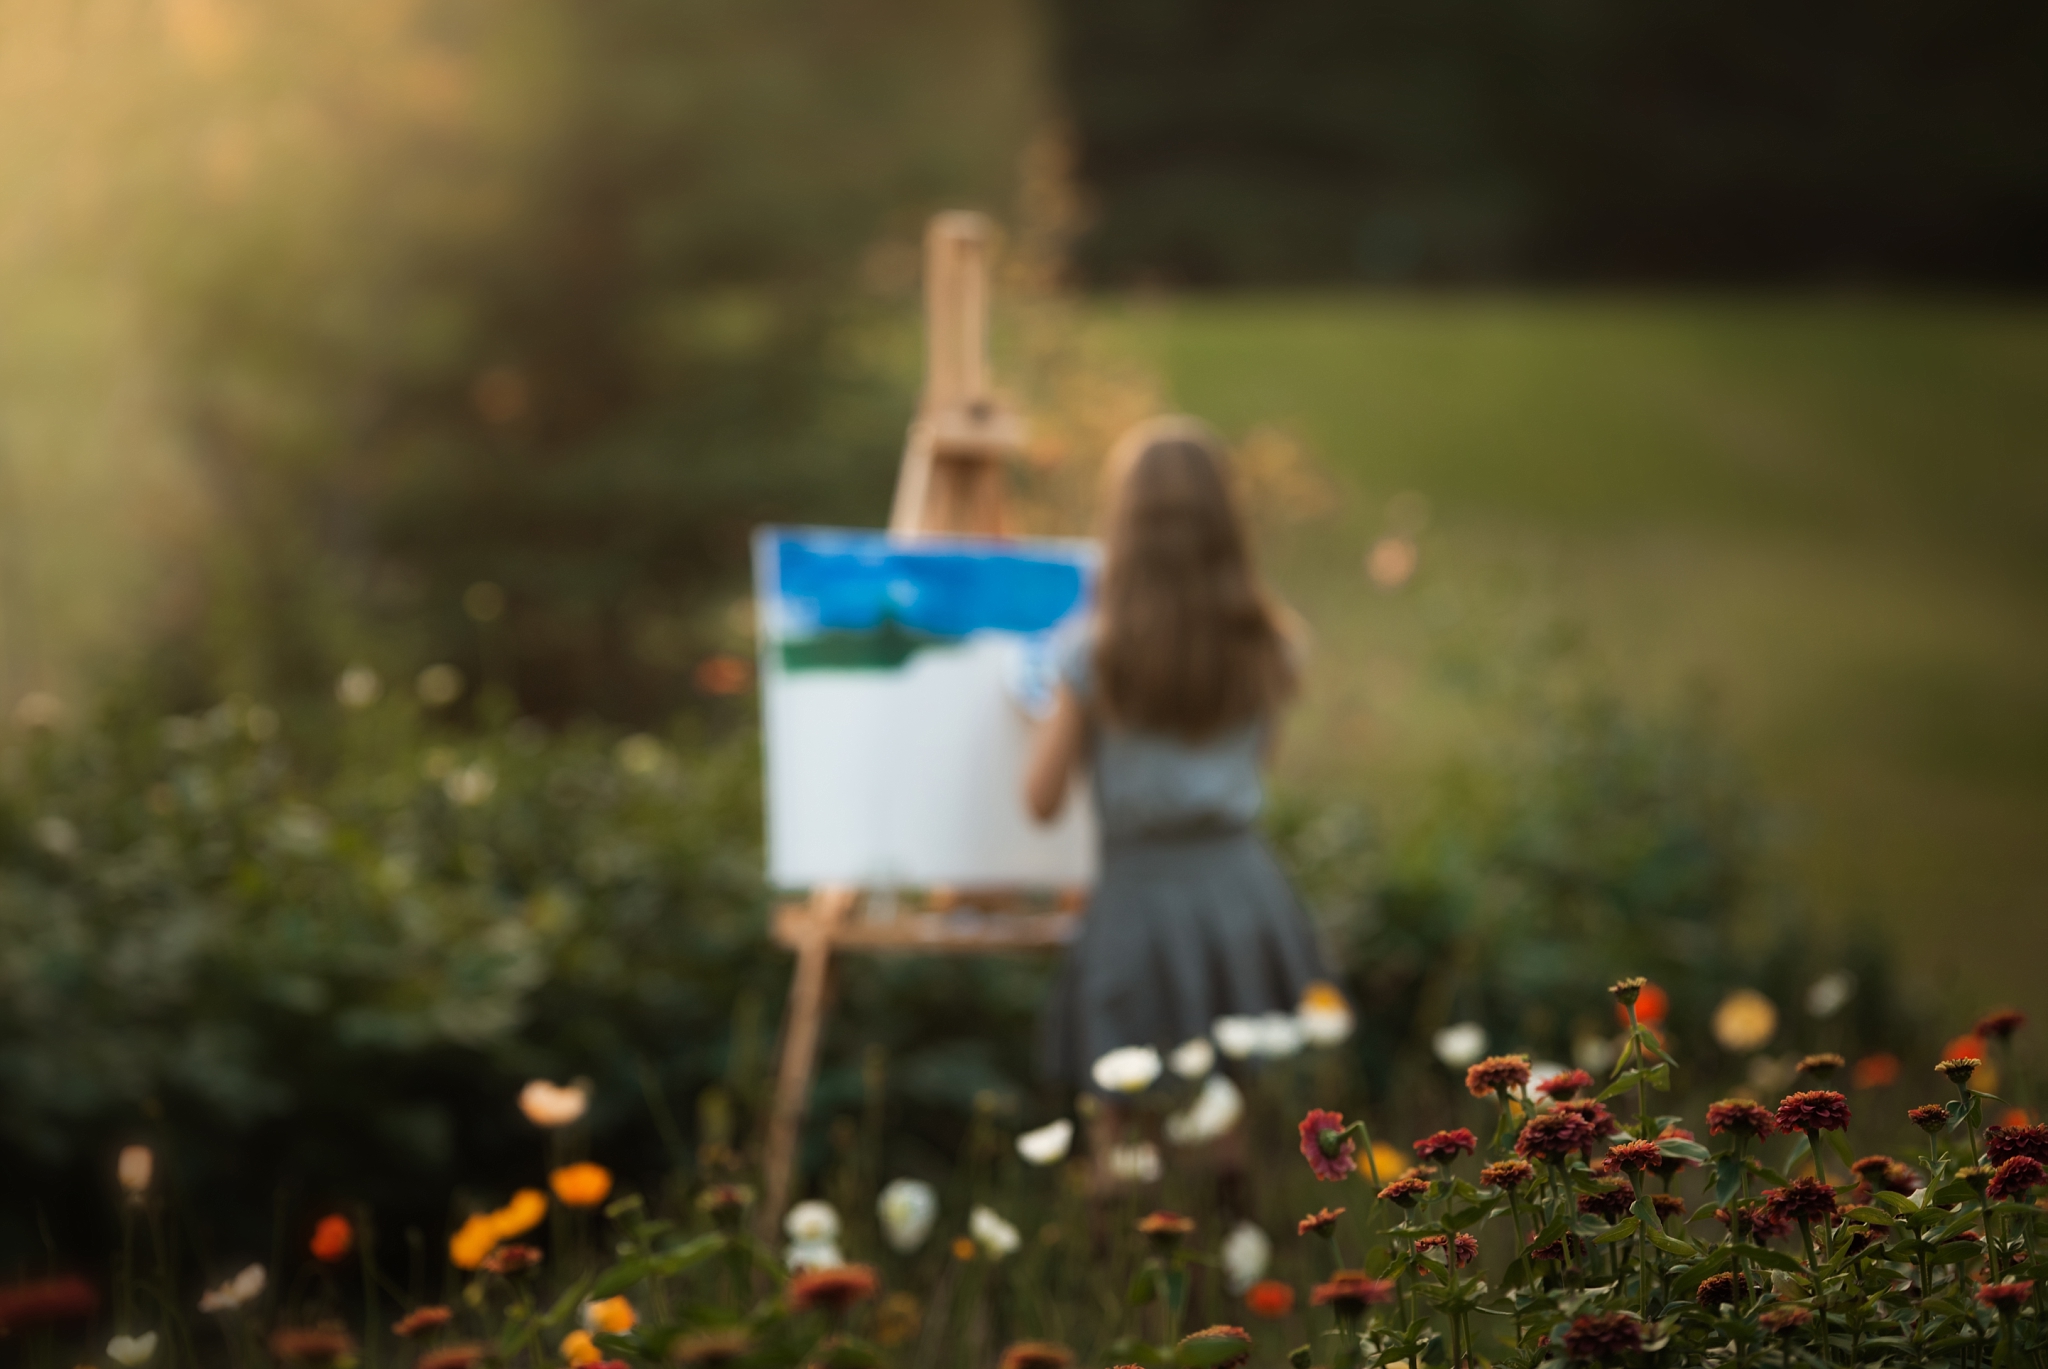
And finally, nothing says beautiful garden oasis like lush green growing things. If you don’t water your picture perfect yard, you will end up with brown dead things instead. So make sure to give your plant babies a little moisture if you want to achieve rich colours in your images. But water, for me, goes beyond just keeping your plant babies alive. Water can imbue an entire image with feelings of freshness, lushness, or being alive. So if those are words you’d like associated with your summer images, get out that hose or sprinkler or watering can to feed the plants, yes, but also to play! I hope you enjoyed this post and that you have fun transforming from backyard to dream location at your own home!
