


Abi Coop
Melissa Richard
Kristen Ryan
Intentional Camera Movement | by Ruth Anne Holloway
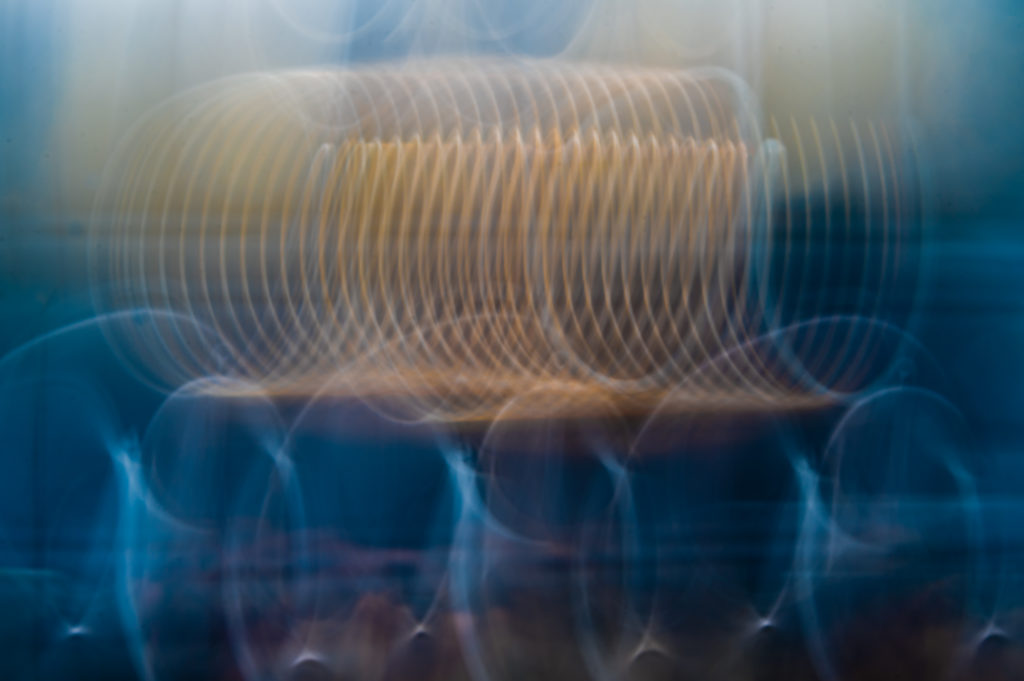
Intentional Camera Movement

You know how, when you’re first starting photography, you’re given all the advice to AVOID camera shake? Up your shutter speed, brace your arms, use a tripod, etc, etc, etc… So why in the world would you intentionally *move* your camera while taking a photo? I’m here, today, to chat about doing just that. Because, with a little bit of outside the box thinking, and whole lot of experimentation (often hundreds of photos a session… for me at least!) you can create some magic with Intentional Camera Movement (ICM)! Get ready to see things in a completely new way!
General Set Up
So, how do you do it?
First thing I do is assess the available light. Some folks say overcast days or late in the day are ideal times to do ICM, and while, in one sense, they’re right, those situations allow you to have longer shutter speeds without blowing out your highlights, I find it a lot of fun to play with spots of sunlight. Feel free to experiment, you can do ICM in a lot of different light. My one caveat is full sun at noon on a cloudless day is probably going to be extremely difficult unless you have additional filters to block help block the light.

Settings
ISO: I start with my ISO at the lowest possible number. My camera does Low 1.0 (Which I think translates into ISO 50?), but regardless, start with that at the lowest.
Aperture: I like to start with mine as closed down as I can get it (highest number). Different lenses have different minimum apertures. Mine usually sits around f/22.
Shutter Speed: Varies. I have a pretty large range anywhere from 1/25 sec to 1.6 sec (or even 2 sec). If you’ve got the ISO and aperture at their lowest settings the shutter speed will primarily depend on how much light is coming in. If it’s blowing out at 1 second, then it’s simple going to be too long and you’ll need to make it shorter. Secondly, it will depend on how what effect you’re going for and how much blur you want.
Tips
- Shoot in RAW. You’ll be able to pull more details out of the shadows and highlights while editing to get an amazing final image. Turn on your histogram too if you can, watch for the curve getting off the edges.
- Make sure your lenses are clean and you’ve done an in-camera sensor cleaning (there should be a function on the camera to do so, check your manual to figure out how). Dust and spots show up EXTREMELY well in ICM and can be tedious to clean up in post processing.
- Filter the sun if you’re shooting directly at it (have it just behind a house, behind a tree, etc..) that will help cut down on the light reaching the camera and will allow you a few more options for shutter speed.
- Set camera to Continuous shooting mode.

Techniques
Spinning
When I do my spinning ICM, I like to use my widest focal length lens (usually my 35), leaves room for cropping and straightening in post. I start my shutter speed around 1/15 sec (it could go up to 1/25 sec and still get pleasing images, you may just have to spin your hands quicker to compensate). You could also go a little slower, 1 second might be too long, but, I can’t say I’ve done spinning at 1 second, so I don’t know. I am a huge fan of experimentation so if someone tries it out feel free to tag me and let me see!
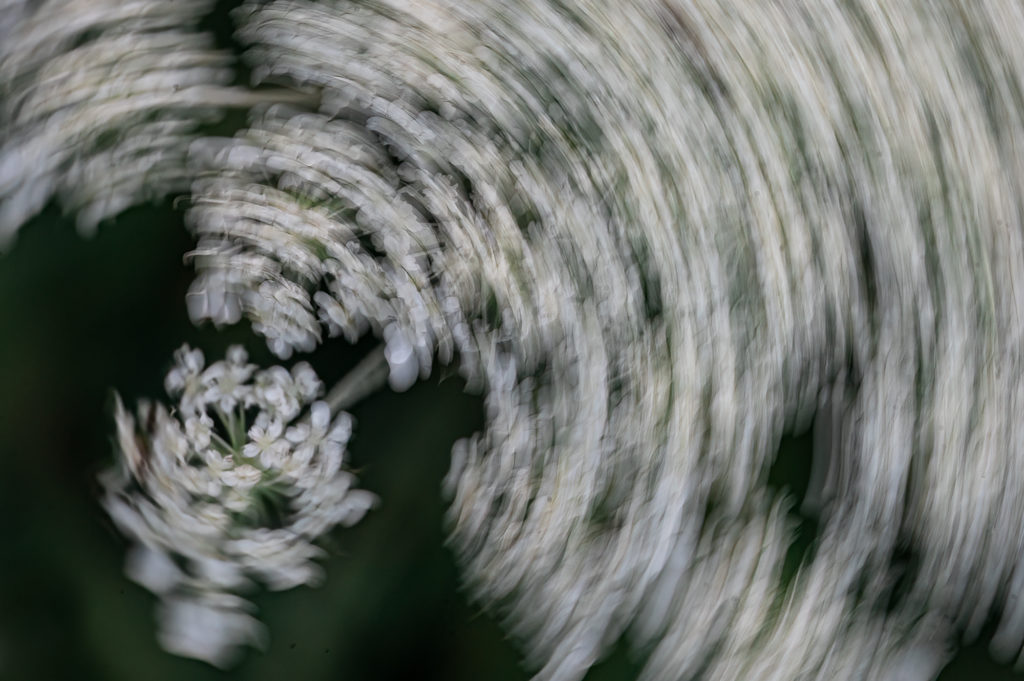
I hold the camera with both hands, give it about a quarter turn and hold down the shutter while turning. And I’ll do that a few times back and forth. I’ll take a peek at my images and see if I want to try a longer shutter speed, shorter shutter speed or try the same shutter speed but turning faster or slower. This is how I end up with hundreds and hundreds of images for one 20 minute session. When I say turn, I’m talking about gentle turns (you don’t want to be throwing the camera around). Think of it like how you would turn a steering wheel on a gentle curve while driving. You can do it slower or faster, just try not jerk the camera (your curve lines will wiggle if you do so)
Want to learn more about creative photography? Check out these courses:
Language of Lensbaby
Diary of a Creative Storyteller

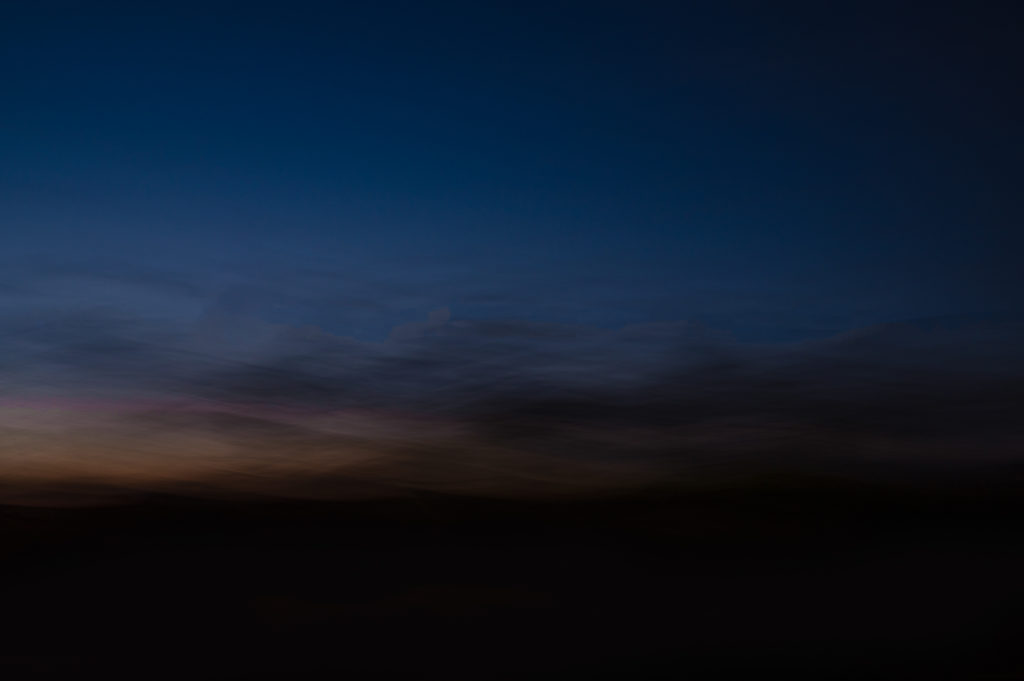
Vertical & Horizontal
You can use your preferred focal length for these. I experiment with shutter speed for these as well. This is done how you would expect: by moving the camera up and down or side to side. I prefer to hold the camera still and move my arms when I’m doing vertical movements (again holding the shutter down all the time). And for horizontal I like to kind of twist my whole body back and forth while holding the camera still. Horizontal and vertical can absolutely be loosely defined here!

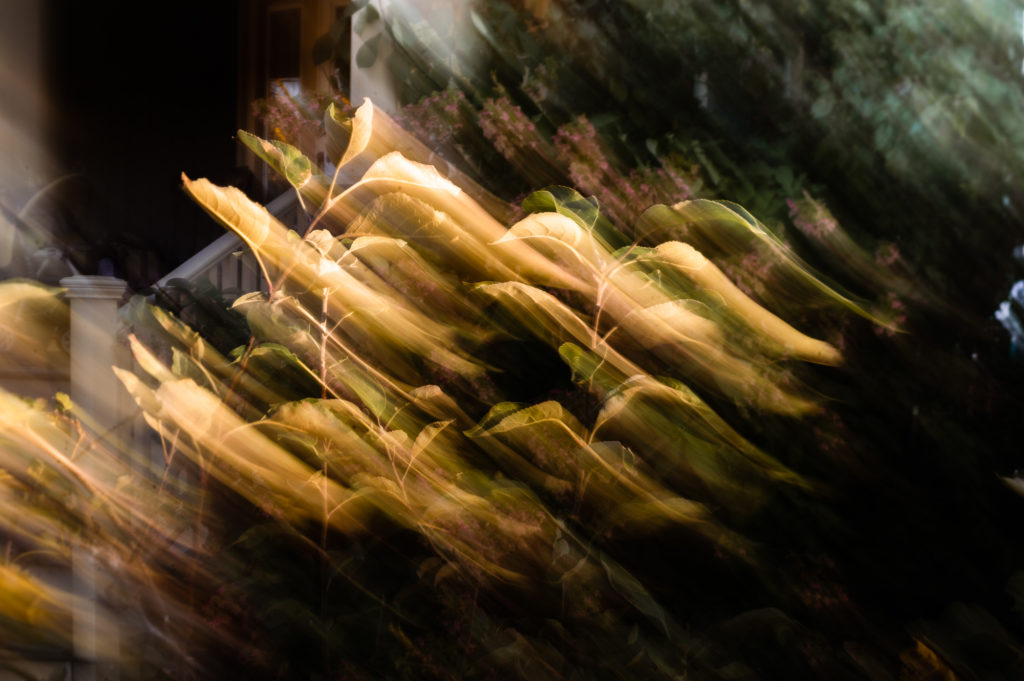
Movement & Hold
One of my favorite things to do is a movement and hold for half a “second” at the end of the exposure. For this you’d need a SS of at least 1 sec – 2 sec. (I’m nearly always shooting during daylight hours so can hardly get more than 2 seconds, however, feel free to experiment with longer times!) So, press the shutter, do your movement, pause for a beat at the end (or pause at the beginning then do your movement). It ends up giving an almost double exposure feel. I don’t generally hold down the shutter the entire time I’m doing this combination.

Free Choice
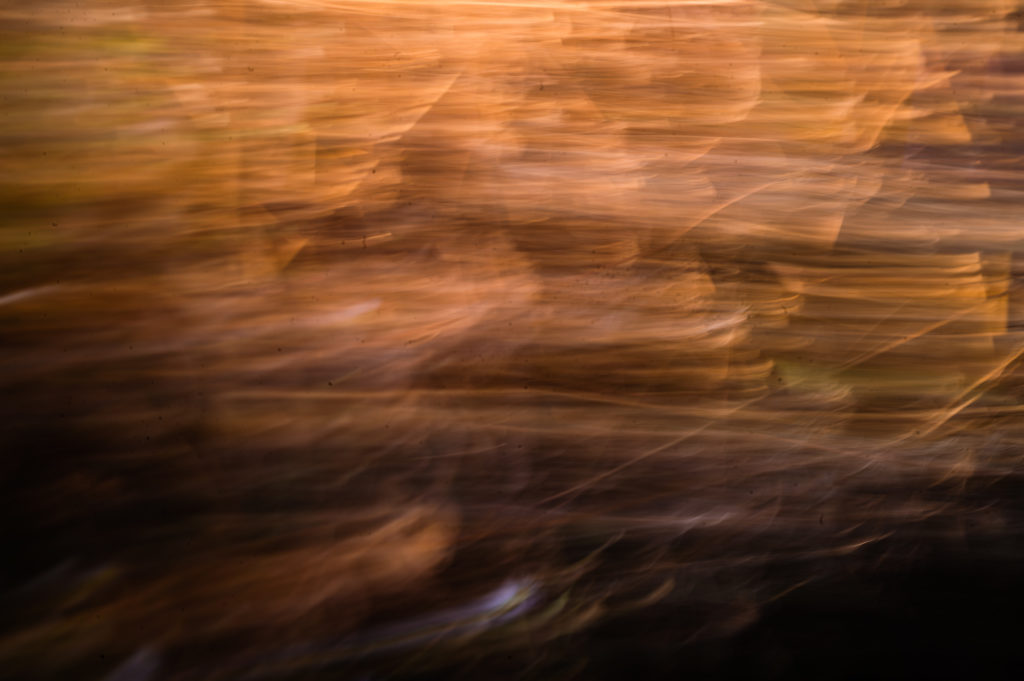
Finally, there’s free choice. Literally, move the camera any way you’d like and see what happens. Sometimes you can be surprised by what comes up.


Editing
Short note on editing: If you’ve followed me for a while, you’ll know I LOVE editing (seriously, it’s one of my favorites!) Intentional Camera Movement photos really benefit from a little editing help as they’re often bright and hazy. So I’d recommend playing with your exposure sliders, especially contrast and dehaze. I tend to like my images warmer and more shadowy so that’s how I edit, I’m also not against adjusting the HSL sliders to have my images fit my mood. Do fiddle with them a bit to give them a little extra punch.

Before

After
When I see an ICM photo, instead of thinking “what is it?” I like to ask “What does this make me feel?” or “What does this remind me of?” I hope you will give one (or all!) of these techniques a try. It’s amazing how freeing it can be to not be hemmed in by perfect, in focus images.
Share them on insta, tag me so I can see! (I’m @ruthanne_holloway over there!)
Absolutely fabulous Ruth Anne !! I’m new to ICM and I really appreciate your sharing your settings and suggestions. Also the before + after you shared – WOW !! I tend not to edit much but I’ll have to give it more attention to see what I can create. Thanks for sharing all your ICM knowledge.