


Abi Coop
Melissa Richard
Kristen Ryan
Fighting Through The Winter Rut With Composite Creativity | by Katy Vetter
I’m going to be honest, I am not a winter person. I love parts of it…. for a month a two. But, I live in North Dakota where winter holds on for a good six months. During that winter time here temperatures can dip well into the negatives and North Dakota can have some pretty bitter wind… and lots of it. That being said, getting outside to take pictures during this time of year can be not only unpleasant, but, also incredibly hard on your gear.

So, I end up staying indoors more often than not. Indoor photography can be a lot of fun as well, but, when the daylight hours are short, cloud cover is common, and you live in a house that doesn’t get a ton of great natural light, indoor pictures can start to feel a bit mundane.
In 2015 when I started my 365 project I found this to be the case. I was feeling like my creativity was falling short. That is when I found composite photography! I took a picture with my second oldest and with a little Photoshop creativity, I brought some magic to it.

After that I fell in love (and so did my children)! It opened a whole new world of options! I could take a picture of my kids indoors in the comfort of our home and away from the elements and turn it into something totally magical in post processing. The best part? It honestly doesn’t even require a special set up to take these shots. They can be done right in your living room.

While I do own a green backdrop to do these types of shots, I’m going to be honest. As a mother of four I don’t always have time to set it all up when an idea hits. Working without it hasn’t slowed me down.

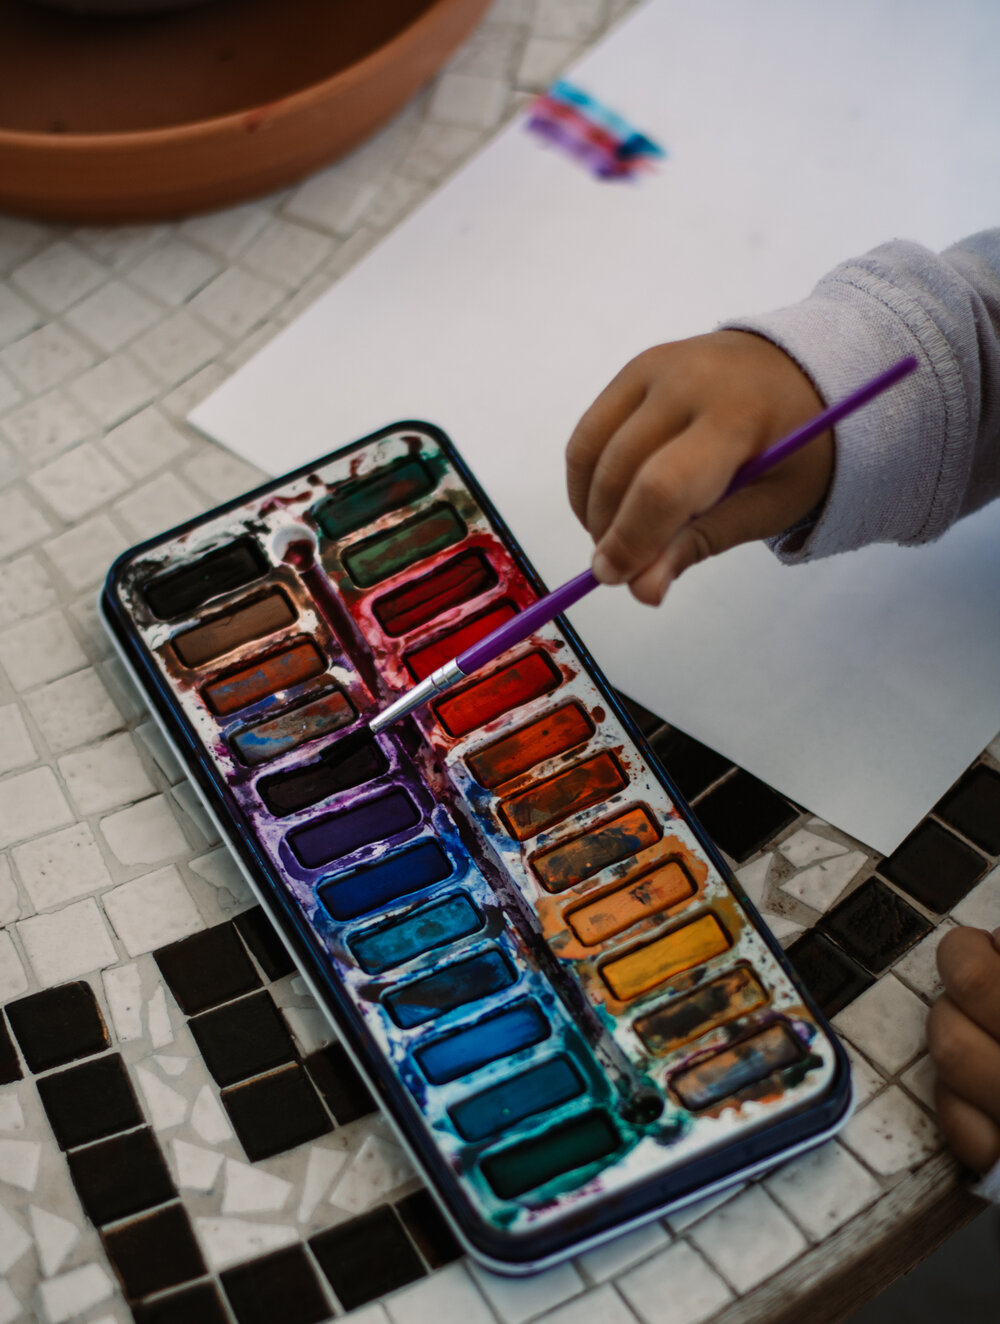
These images take a different approach than usual photography where you are capturing things as they are. These shots take planning. They are a work of heart from the initial idea to the final image. I always start with the idea of what I want to see. The exciting part for me was that my children would come to me with ideas that they wanted to see too! All of my children have images hanging in their room of their “digital adventures” and I have decorated a few birthday parties with their images as well!

Once I have my initial idea I start finding all the elements I will need for them. Things like, what background you will use and the main items that will be included are very important to have in mind before your own images are taken. Everything in your image has to flow together. I start with my background. The background will tell you how the rest of the image needs to be lit (sidelight, soft even light, backlight etc.) I find images with soft even light work best as backgrounds because you can then manipulate the light a bit in post. I find some great backgrounds at kccactions.com, but find background stock from many different places.

The next thing I search out is any extras I may need in my image (whether it is an animal or dinosaur, or some type of boat, or space shuttle). I make sure that it will work with the background I have selected (or sometimes it has led me to choose another background if I find the PERFECT item but it’s not quite right for the background). Etsy shops have been my friend for these types of items. The dinosaur above and Harold bear here were both found on etsy.

When you have found all your elements, now it is time to think of the image you are going to take with the subject. What type of lighting will your subject need? What type of wardrobe will work? And, what I have found most important, how do they need to pose? I have a lot of clients that say, I don’t know that you will get him/her to pose very well for you… but, here is the fun part… when kids see the types of pictures you are going to create (I usually show my little clients some other images ahead of time and even show them what will be in their picture) they are usually very excited to pose for you. I have not had trouble getting a kiddo excited. They get to fight bad guys, be a princess, sail a boat, or do so many other incredible things that they only wish they could do in real life! Posing for these types of shots is head to toe and does take some studying on my part to figure out exactly how the hands and feet should be (are they touching something? What is the ground like they are standing on?) and what kind of expression I am looking for (I ask kids to show me how their face would look if they were {insert what the image idea is here}). I usually take a couple shots with the hands or feet placed just a bit different so I can use the one that fits best. For instance in this shot I took into consideration the angle of the oar and the height of the edge of the boat for hand placement. When posing, I placed their hands at that level, told them to “pretend they were holding on to the boat, or rowing the boat” and asked them to show me what their face would look like if they were on the sea in rough water…
Or, sometimes to get a real expression I have to be a goon. There were some jokes and mama dancing, and, asking their brothers to make each other laugh to get this one (but I did have to keep in mind that my oldest had to keep his hand at a certain height)…
These types of images don’t even have to include any extra stock pieces. They can be all things you have taken pictures of. They also don’t have to include your children!

The biggest thing for me is that they tell a story… whether it is the story of a boy whose favorite animals are a fox and a racoon.

The story of a little boy going on an adventure with his favorite pup… or meeting his idol with his favorite pup…


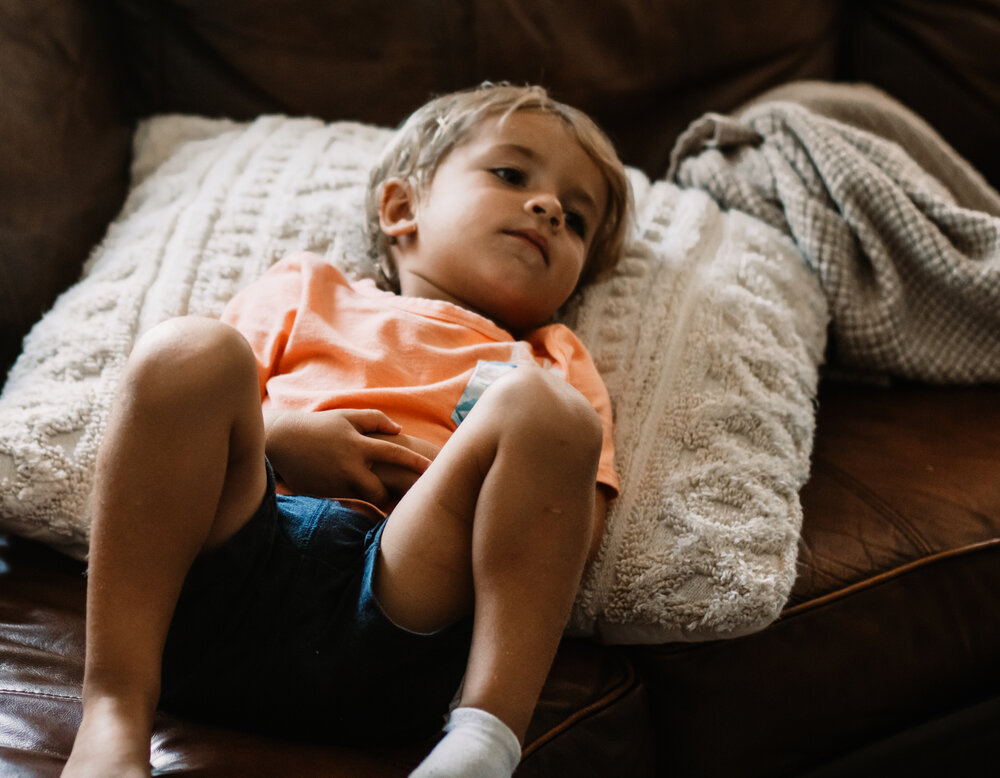
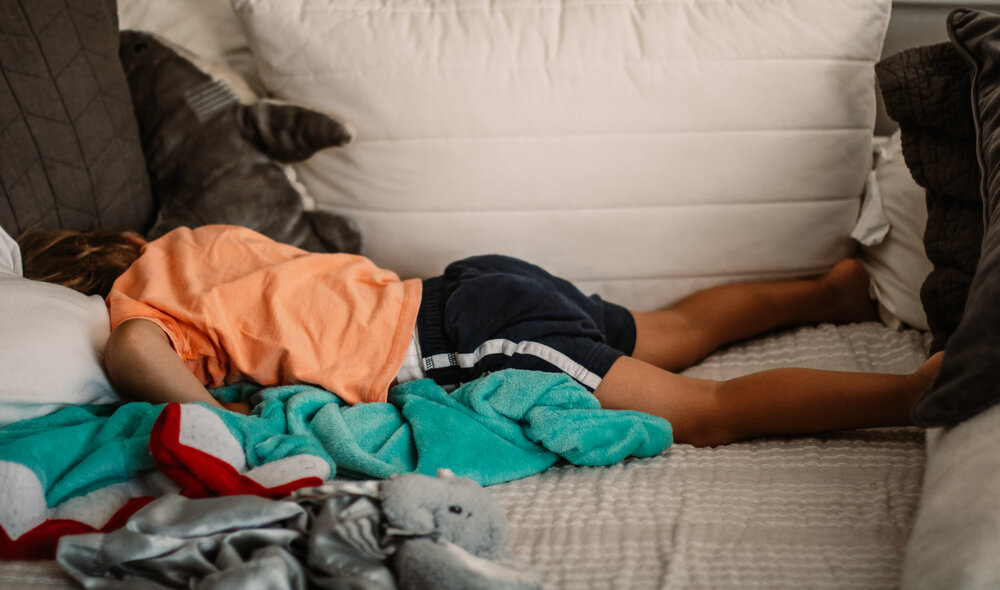
Or the story of four boys, with four sets of needs and their one mama who works to meet them all….
These images can be anything you (or your child) can imagine.

*All of my backgrounds and stock pieces have been purchased for use, or have been downloaded with the approval to use, please be careful when choosing stock and do not use pieces that do not have permission to use!
Wow these are amazing!! Love your work! Thanks so much for the tips!
I love that each one tells a story, your boys are the perfect subjects!
Such a neat idea!! Beautiful photos ♥️. Thank you for the inspiration. 🙏