Abi Coop
Melissa Richard
Kristen Ryan
Finding Beauty in Nature | by Holly Awwad
May 22, 2023
Finding Beauty in Nature
In 2022 I completed a 365 Project of only nature images. A 365 Project is a commitment to take a photograph every single day for a year. It was a challenge to complete living in a state where our weather is less than ideal 5 months out of the year. The Winter months were the hardest, but I pushed through. It ended teaching me so much about macro and nature photography. And it was also an expression of gratitude that I looked forward to every day. I was able to find beauty in unexpected places and I trained my eye to see what others would overlook. In this post, I will share 5 tips I learned on finding the beauty in nature.
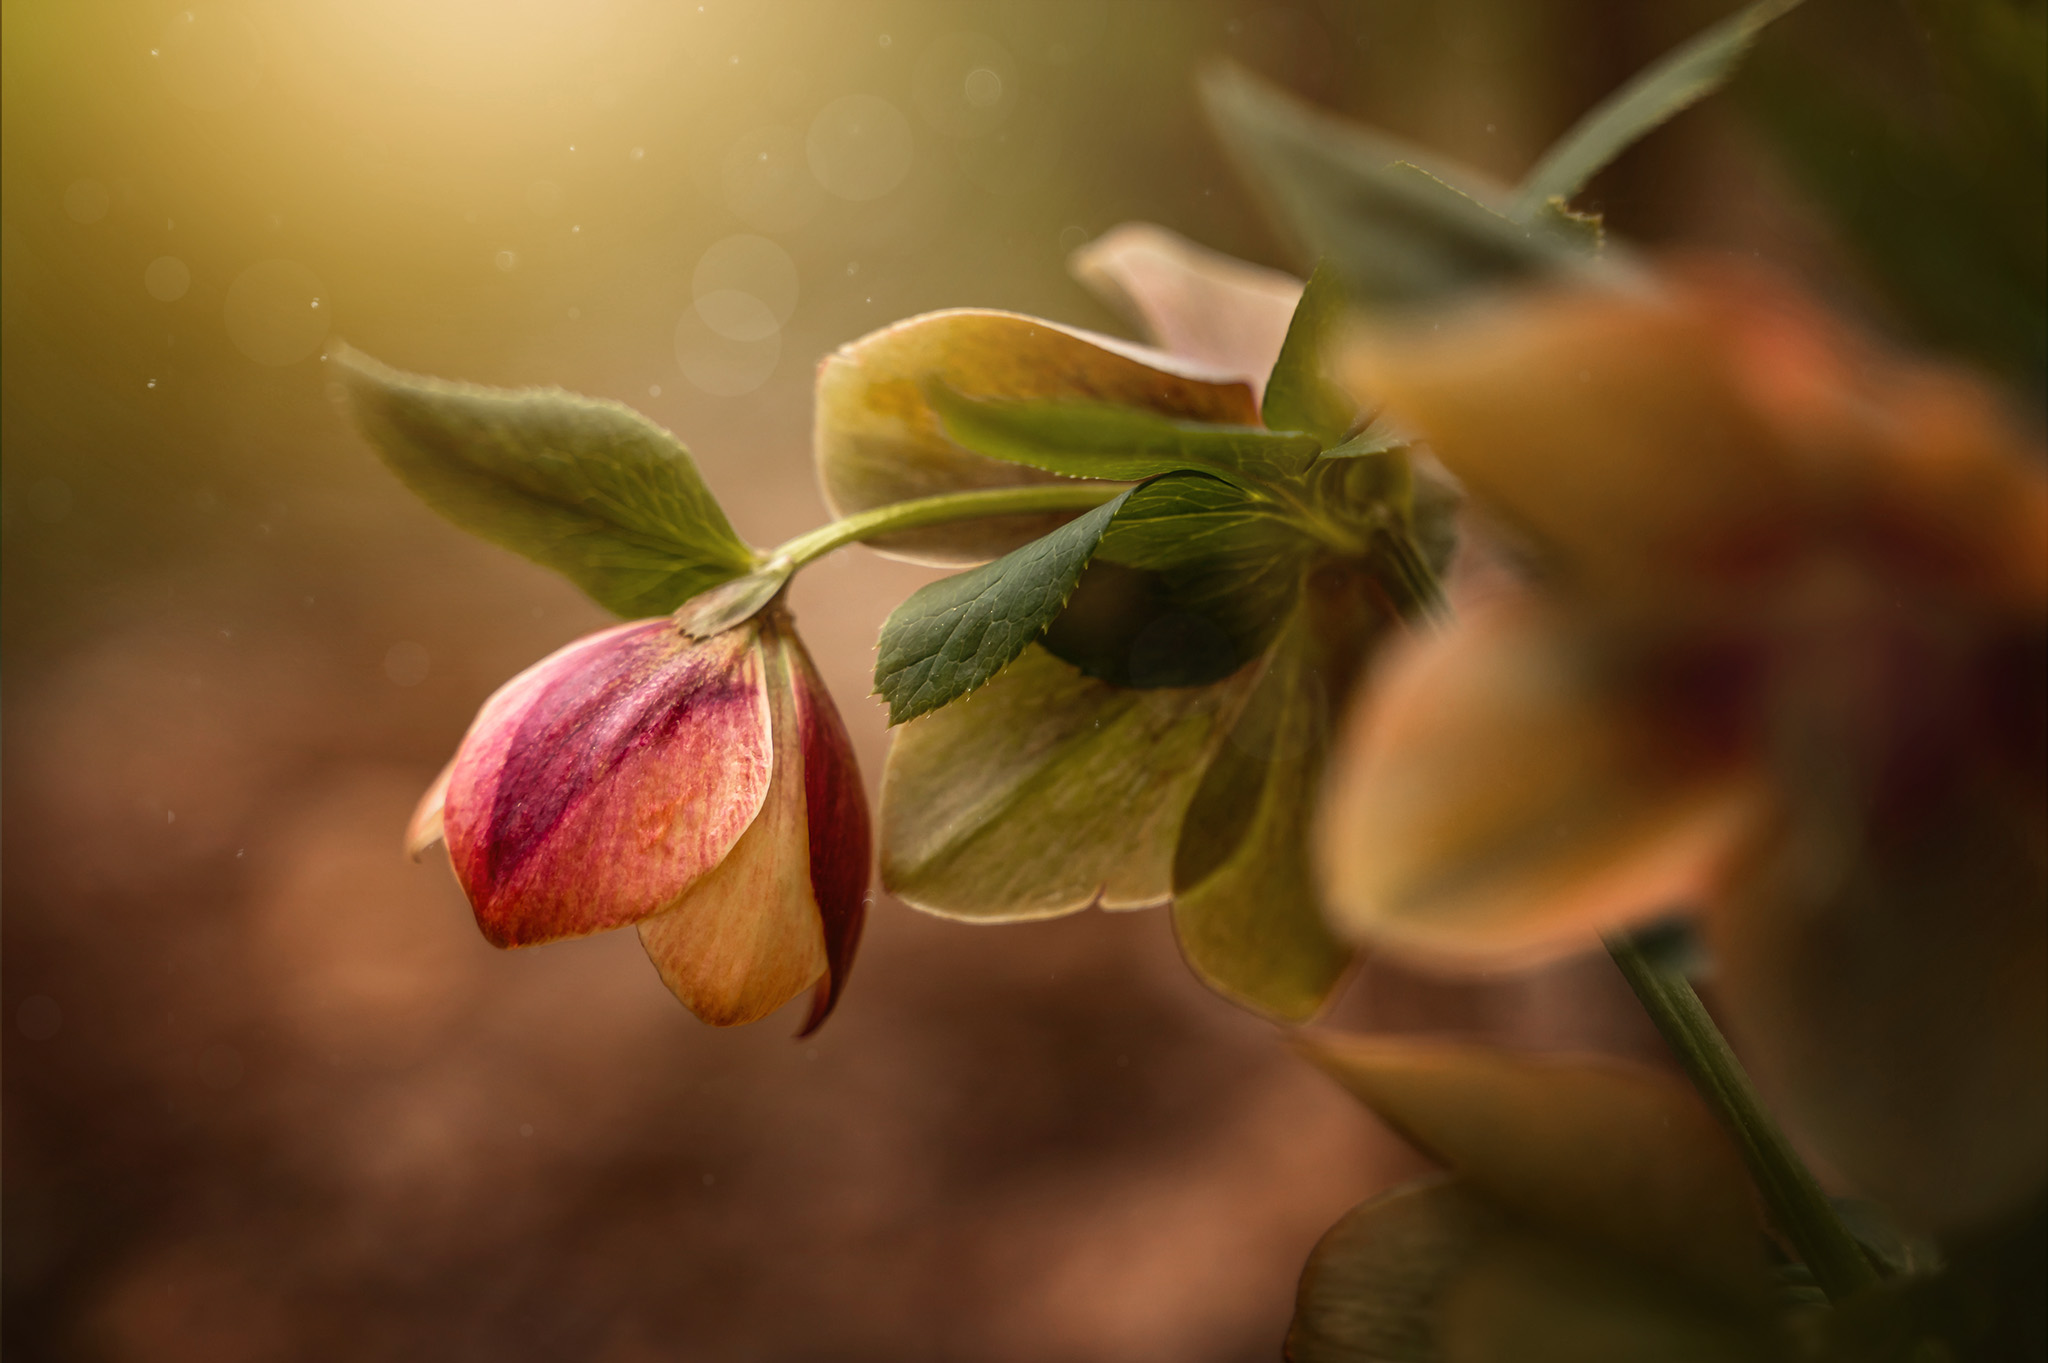
Edited with the Nature Deep Tones preset from the Down to Earth Preset Collection
1. Depth of Field
Typically, I shoot nature with a Sigma 105 2.8 Macro lens, or a Lensbaby Velvet 85. I am normally a wide open shooter, choosing apertures between f1.8 and f 2.8. I quickly discovered that shooting macro or nature close up is a completely different ball game and my aperture would need to change accordingly. It was a huge leap going from f 1.8 to f 8 or higher. But, when shooting close up, your depth of field becomes extremely narrow and the important elements of your subject may not always land in focus. To get an entire leaf, flower, or insect in focus, you need to stop down your aperture (high f stop number) considerably in order to widen your focus plane.
There are a couple of shooting techniques you can use to allow you to shoot at a wider aperture and get things in focus. First, you can step back and take your shot with the intention of cropping it down in post processing. However, if you plan to print your image and crop down too much you may not be able to print as large.
Second, you could composite images together using a technique called focus stacking. This is where you take several images with your focus landing in different areas of your subject, and composite them together in post processing. This works best with a tripod because even the slightest change in perspective will make stacking your images impossible. Since I don’t carry a bunch of gear with me on my nature walks, and many of the areas I shoot in are uneven terrain, I rarely do this with a tripod. I have been successful a few times using the technique with handheld images. But it isn’t as accurate as it would have been had I used a tripod.
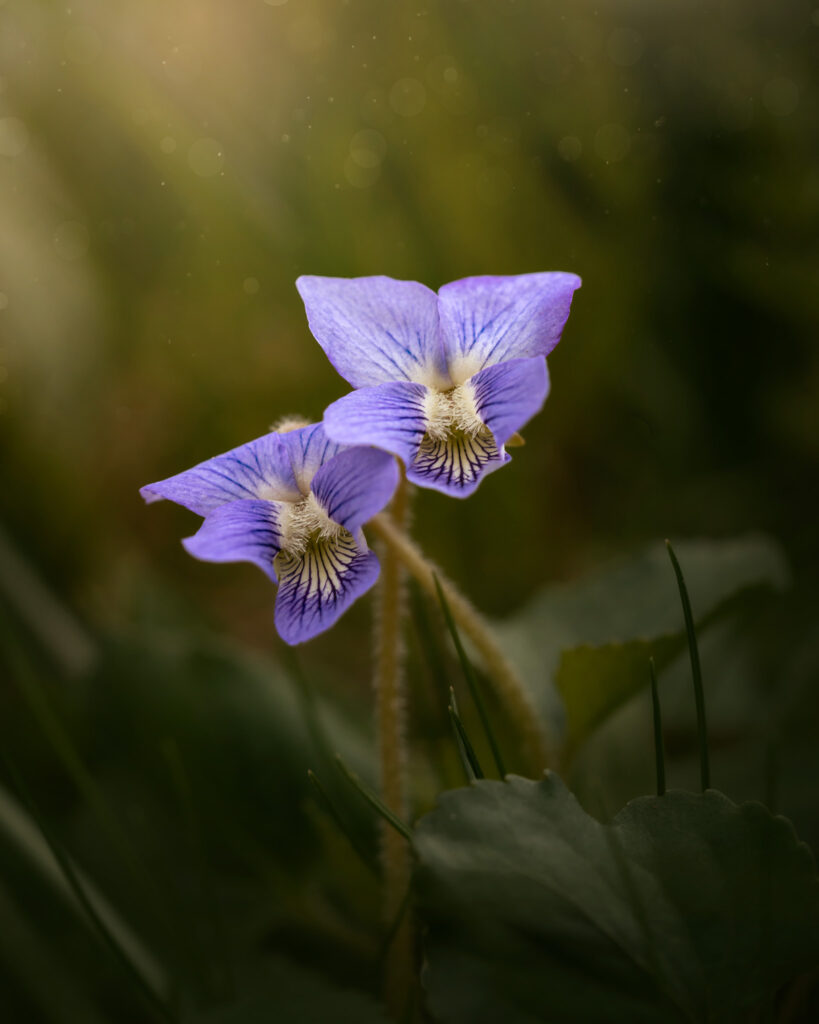
Edited with the Petals & Portrait Preset from the Down to Earth Preset Collection
2. Manually Focus
Auto focus systems on cameras these days are fantastic. Especially when it comes to new mirrorless camera technology. However, when you are shooting up close, your camera’s auto focus system will still often have a very hard time choosing a focal point. Remember, your depth of field when shooting up close will become very narrow. This will confuse auto focus technology, causing it to lag and hunt for a focal point. To avoid frustration and missed focus, switch the focus on your lens to manual and you’ll have complete control of where your focus lands. If your camera is mirrorless, you also will have a Focus Peaking option that makes manual focus even easier. Focus peaking will allow you to see areas of high contrast (which are the areas most likely in focus) highlighted in your viewfinder. I highly recommend turning this option on if you have it!
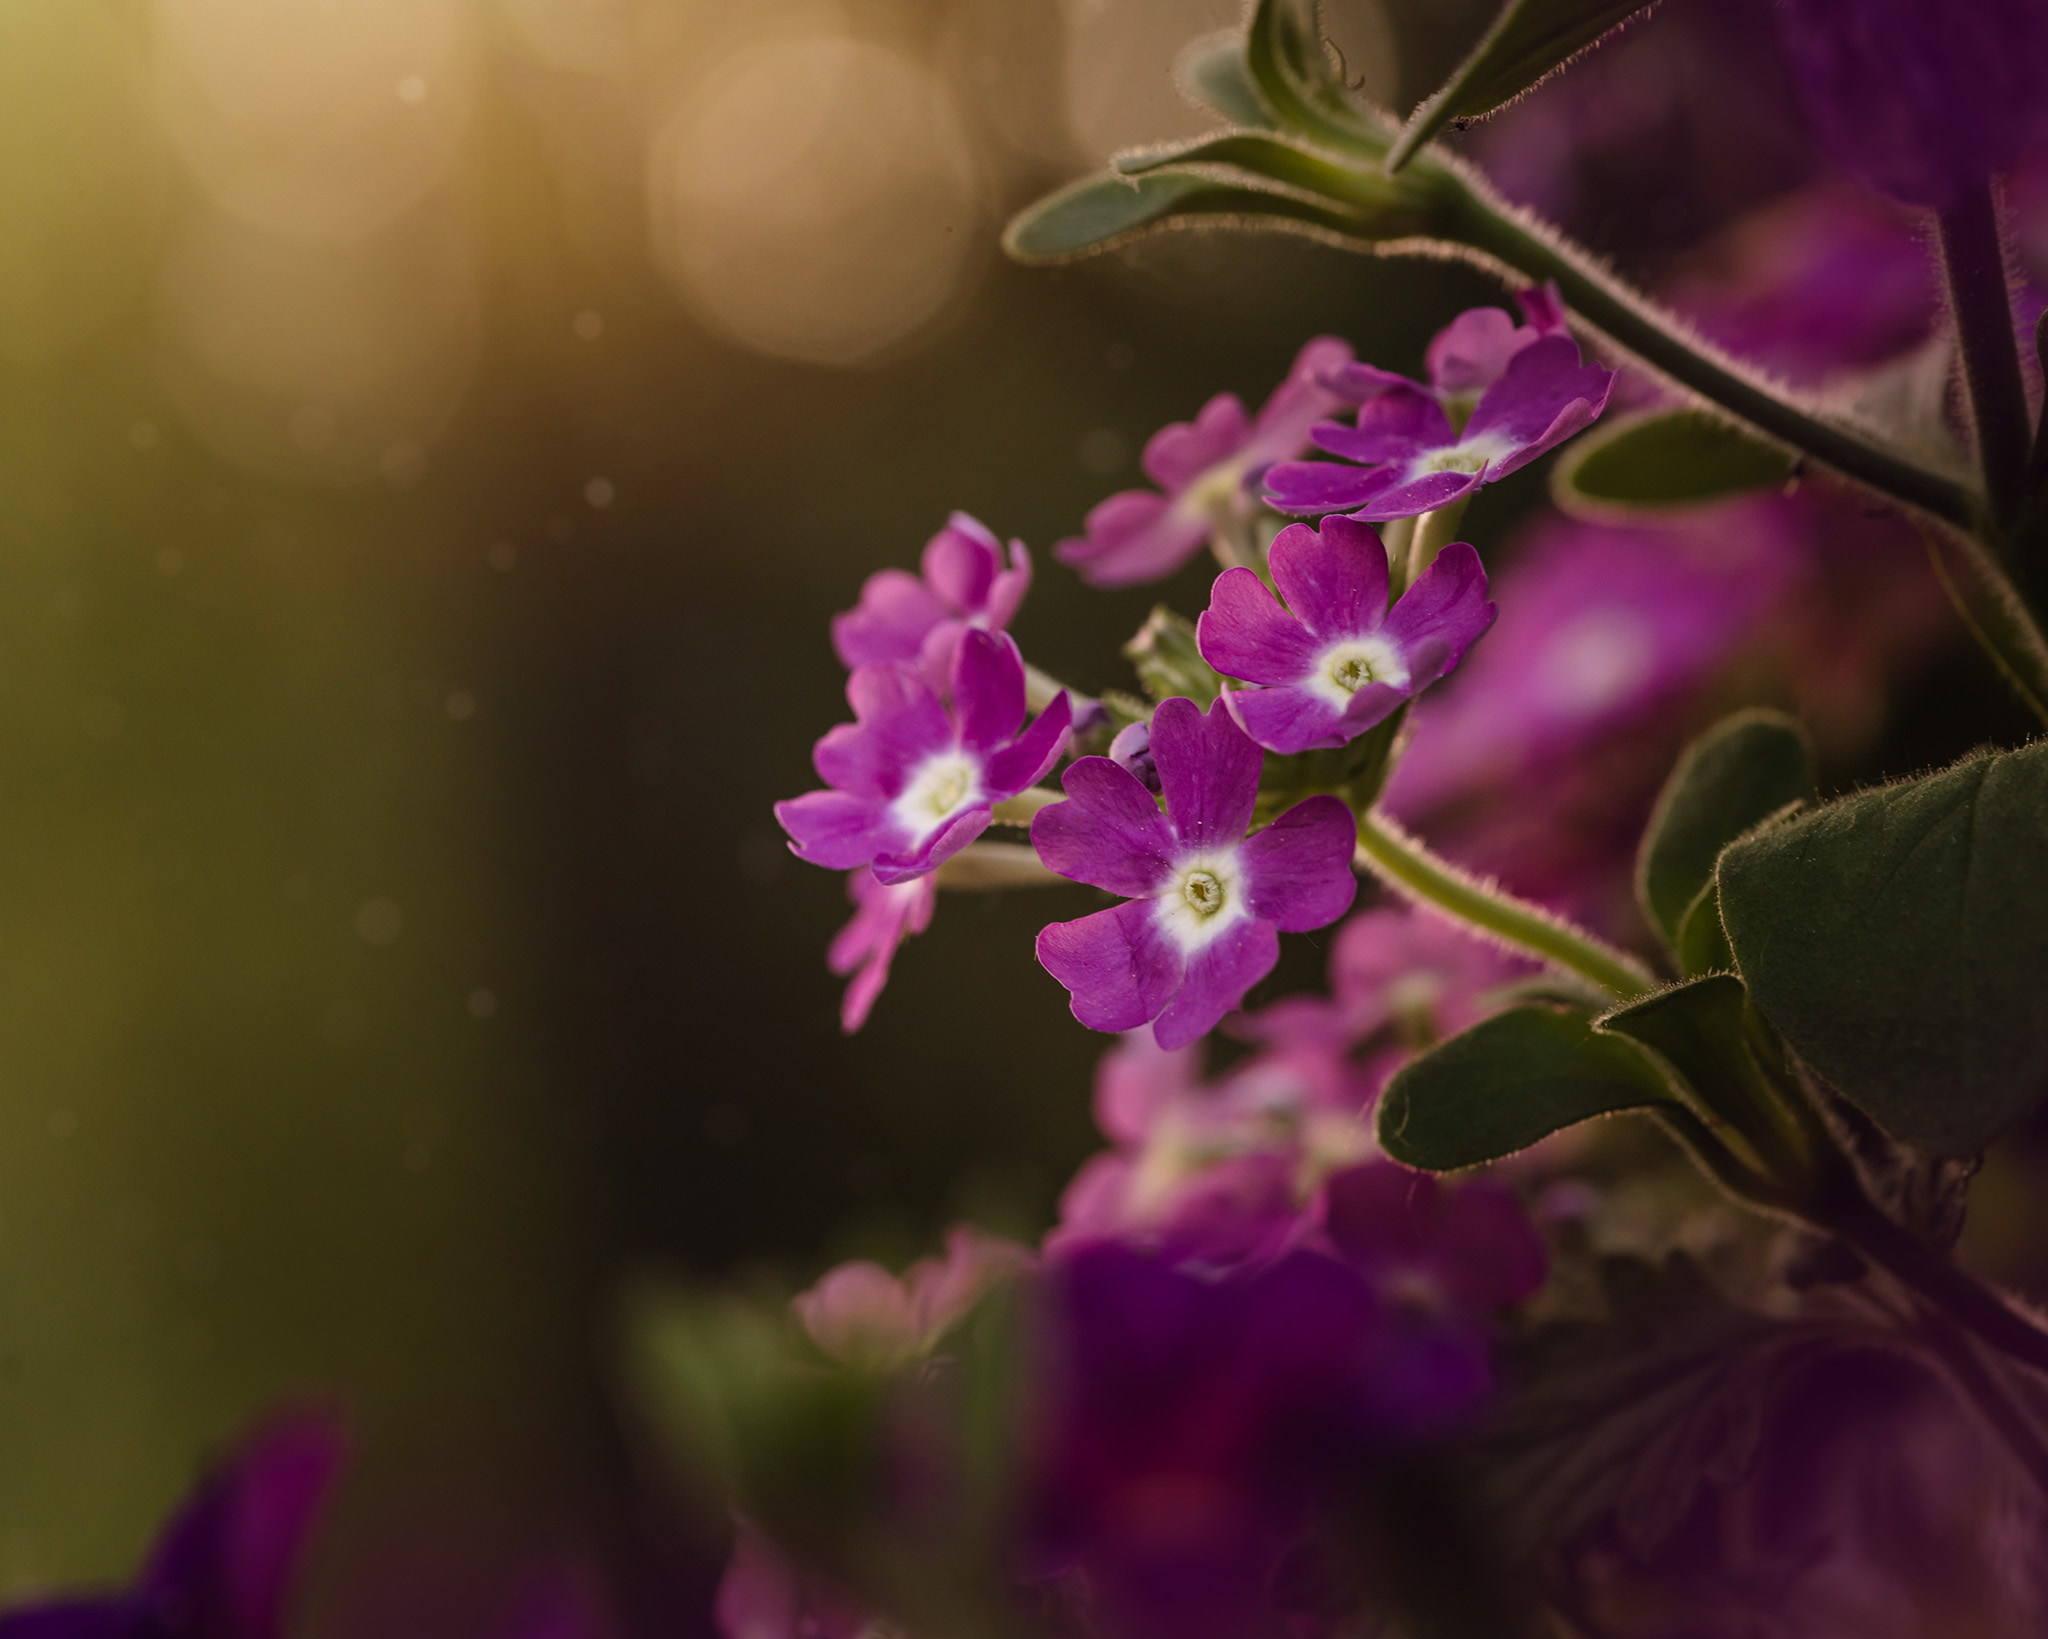
Edited with the Summer preset from the Down to Earth Preset Collection
3. Say Hello to My Little Friend
When shooting in nature, finding a way to tell a story without a human element can be a challenge. One way that I love to tell stories in nature is to find bees, butterflies, spiders, or other critters in their element. These are moving creatures, so it can be a challenge to capture them. But with patience you can create a compelling and interesting image of a creature in it’s own environment.
Be sure to choose a high enough shutter speed to avoid motion blur. Remember, you will have to stop your aperture down considerably. F 10 or higher for a full body of an insect to be in focus when shot super close is a regular occurrence for me. To get the right shutter speed and aperture, you will have to increase your ISO. Don’t be afraid to crank it up. As long as you have proper exposure you won’t get considerable noise in your image. Then you can reduce the grain in post processing. But, if you still don’t want to stop down quite that much, remember that stepping back you’ll get a wider depth of field. Giving some space between you and your little friend will also give you more time to observe him without him getting spooked!
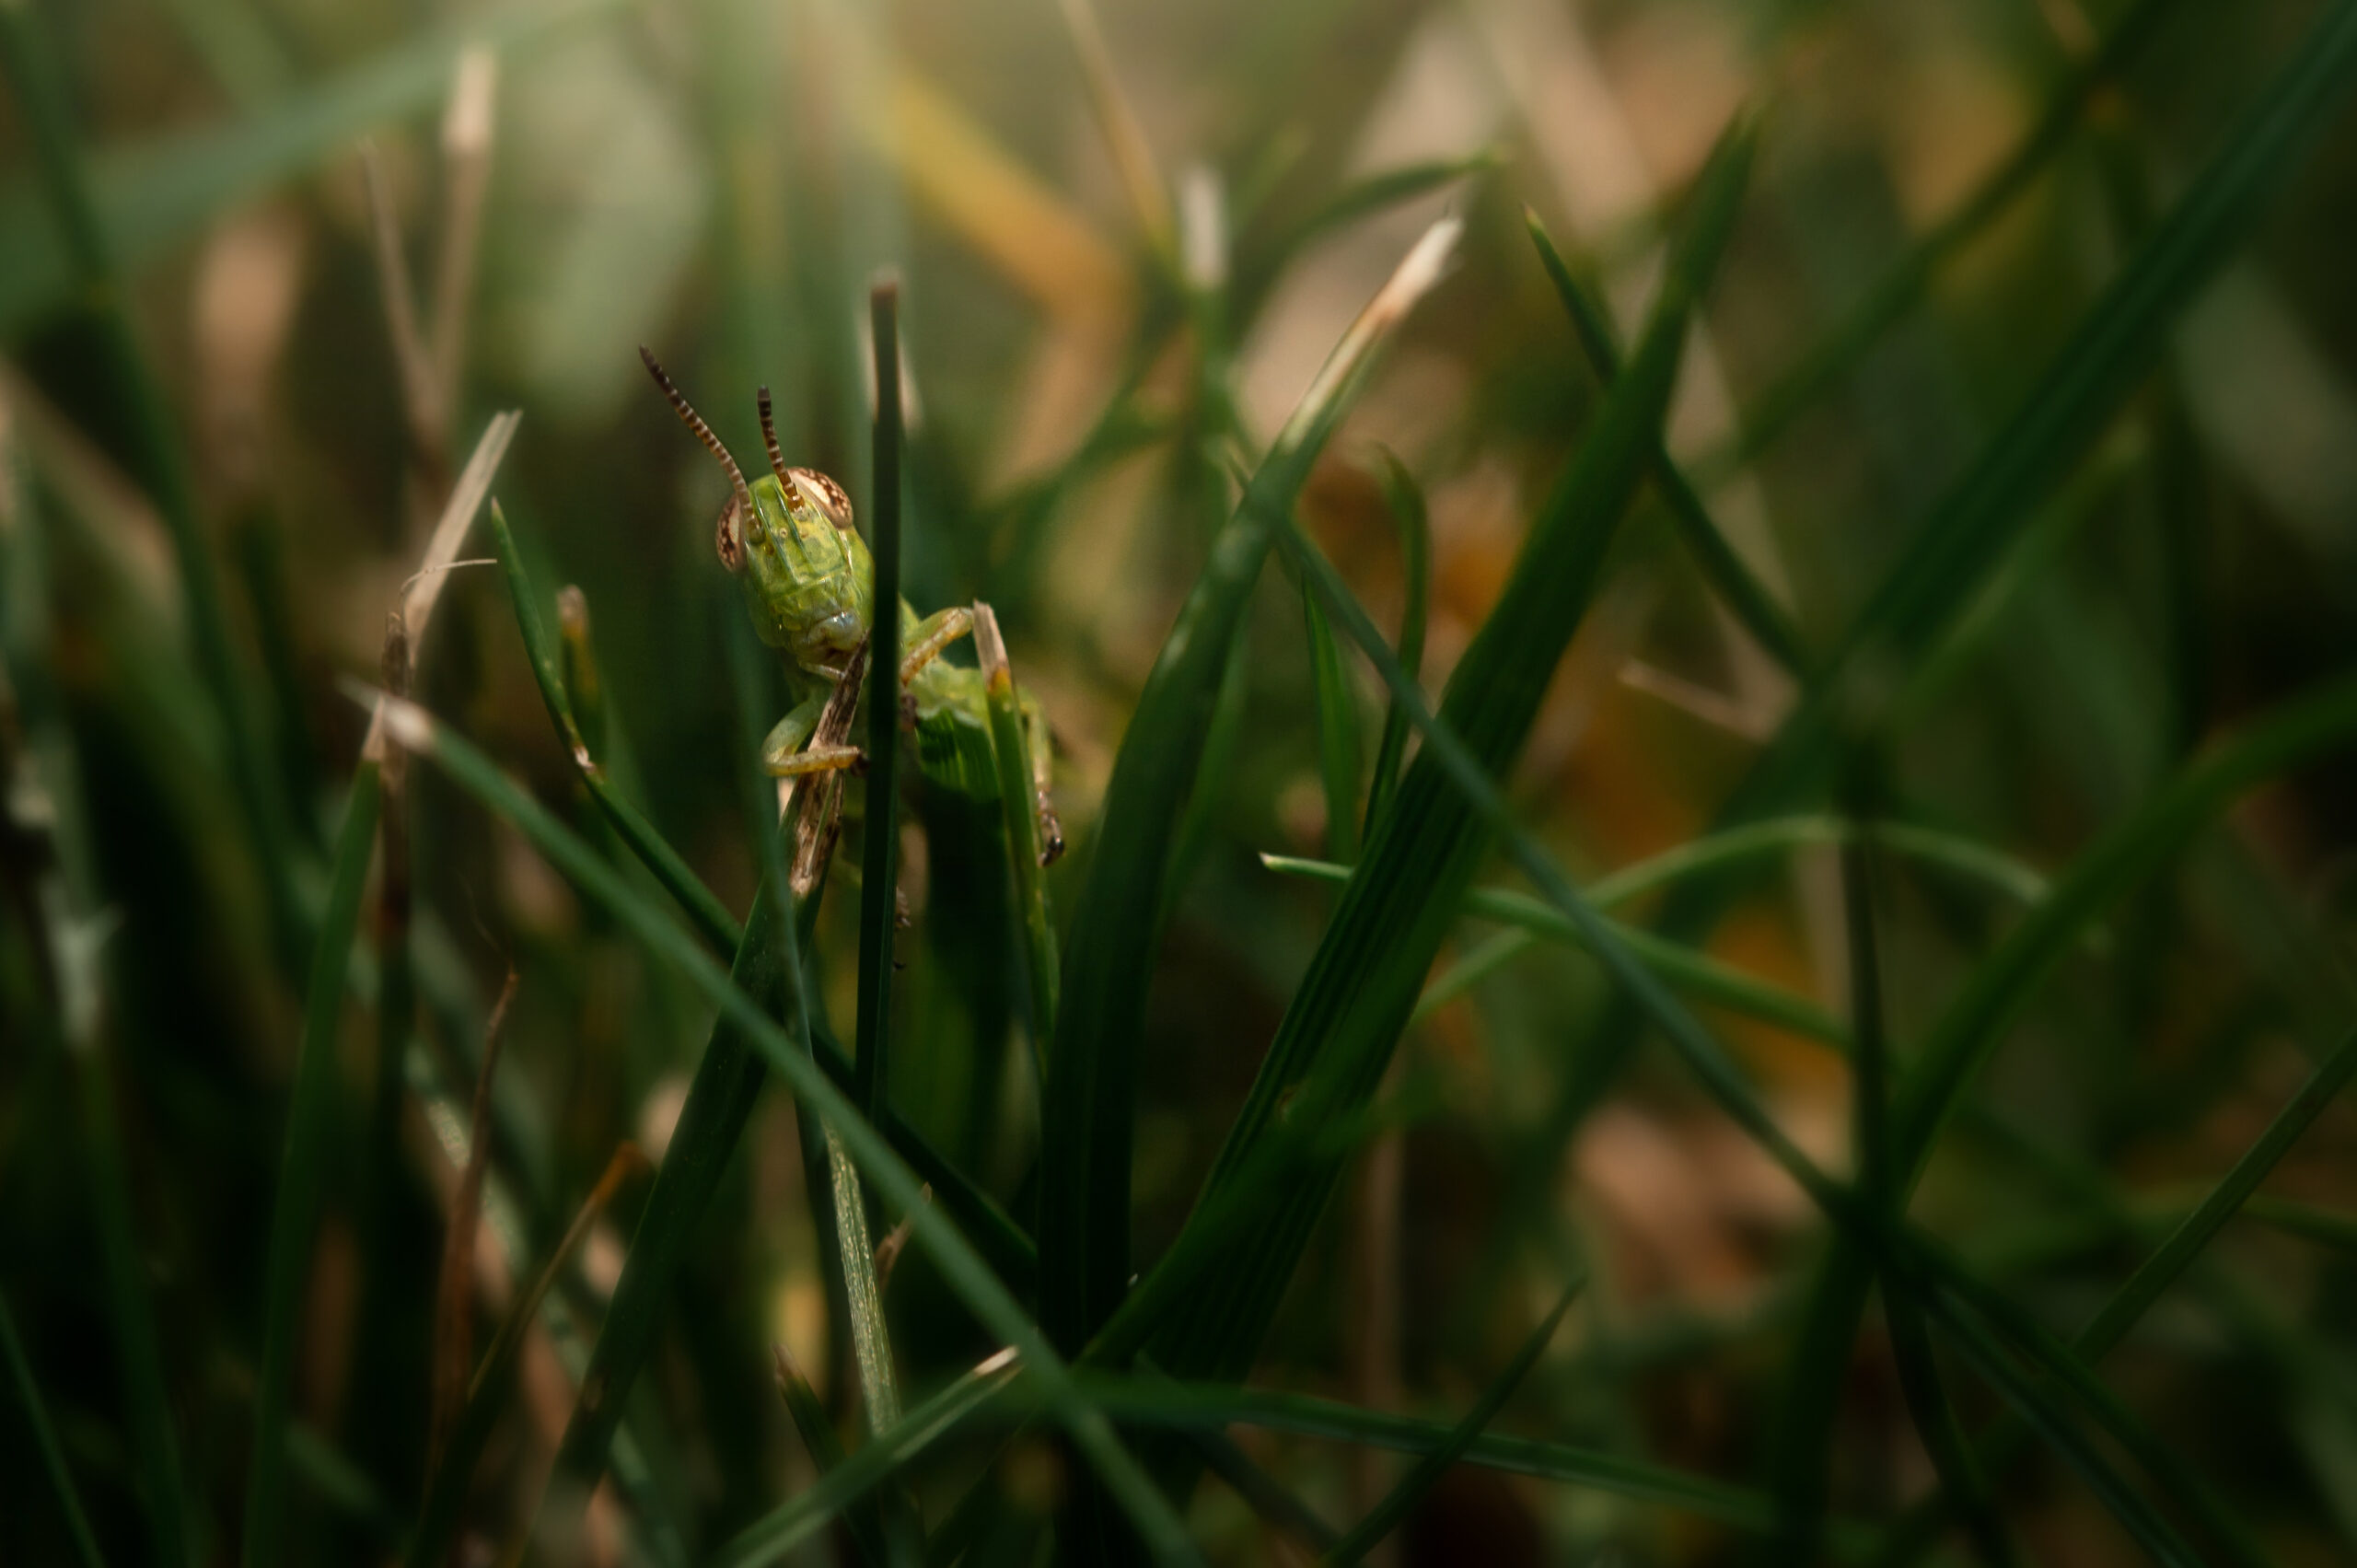
Edited with Petals & Portraits from the Down to Earth Preset Collection
4.Composition
When composing your nature shots, be mindful of the rules of photography composition. Just because you are filling your frame doesn’t mean you can just point and shoot. Creating a nature image with impact requires thoughtful and intentional composition of the elements within your frame.
One thing I like to do when composing my nature shots is to look for something about my subject that makes it unique. For example, water drops on a petal like the image below. Other things to look for are flaws on a flower like missing petals or petals that are curled. Tell stories with your compositions by catching a plant or bloom as its unfurling, or as it withers away. Find the most interesting focal point on your subject and compose that on the rule of thirds, in the center, or in other classical formations like the golden spiral. This will help draw the viewers eye to your subject and the story you are telling.
Learn more about composition with Composition for Storytellers.
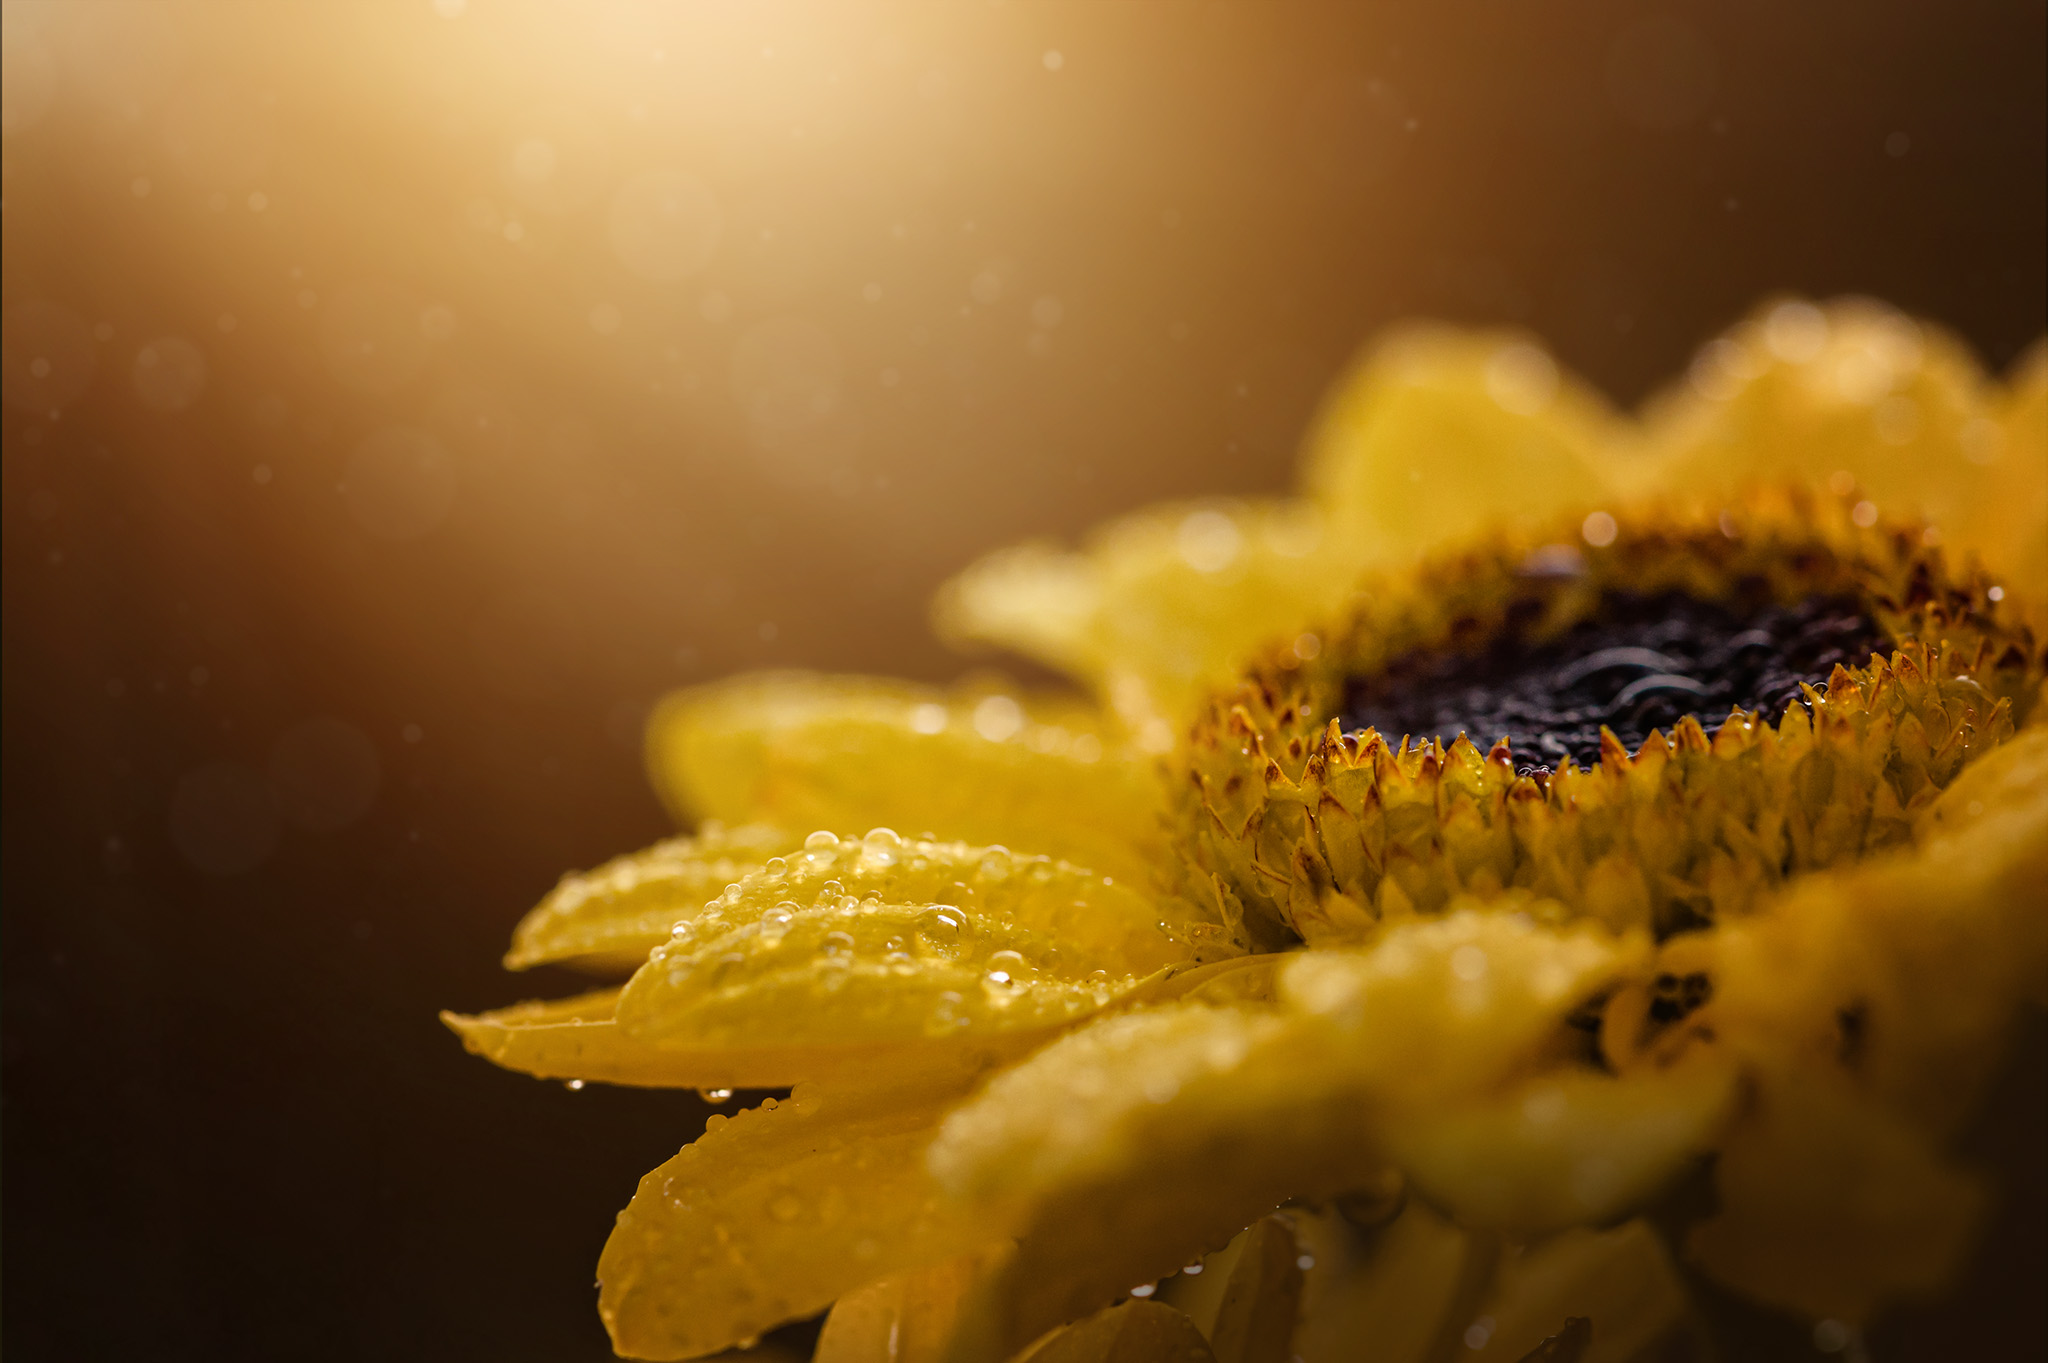
Edited with the Golden Light preset from the Down to Earth Preset Collection
5. Editing
Editing is the final step in creating a beautiful macro or nature image. When developing your editing style, it’s important to consider keeping tones and techniques consistent and cohesive throughout your body of work. Using a good set of Lightroom or ACR presets will help you develop a consistent editing style. It will also streamline your editing process, making your workflow more efficient.
My personal workflow starts with making sure my white balance and crop is how I want in Lightroom. Then, I apply one of my Down to Earth Presets. I developed this collection specifically for my nature and macro work. Once I’ve applied the preset, I see if the exposure or other settings need to be tweaked. The presets were designed to require as few tweaks as possible. However, since every image is exposed differently and every lighting situation is unique, it may be necessary to make a few changes to the preset settings as needed. I do find that quite often the presets work nicely with one click.
Next, I go to my masks/brushes and select the subject. I like to add clarity and texture to my focal point. Since our eyes are always drawn to the brightest spot in the frame, I also like to increase the whites and exposure a tad on my focal point. From there I will take my image to Photoshop and apply one of my Down to Earth tone overlays and possibly a light and bokeh overlay to enhance the light and depth of the image! You can see my entire process from start to finish with the three editing videos that come with the preset collection. Additionally, once you purchase the presets you can join my exclusive Facebook group for ongoing support and additional inspiration!
Learn more about the Down to Earth Preset Collection!
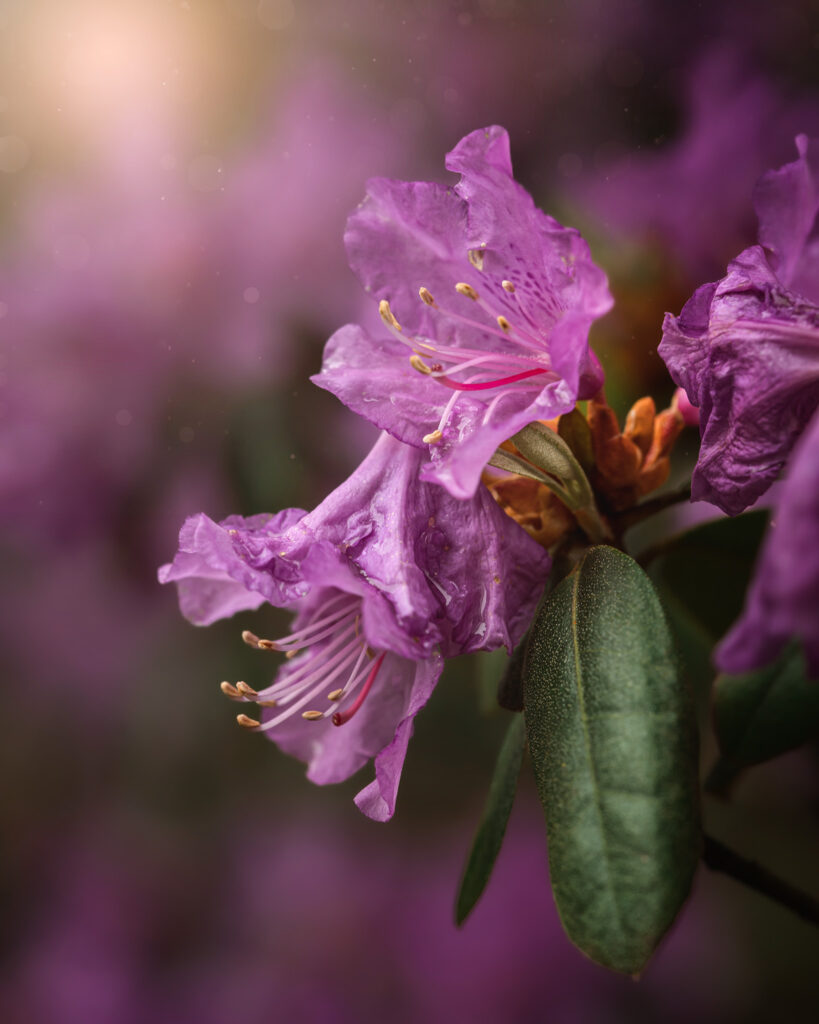
Edited with the Spring preset from the Down to Earth Preset Collection
I hope you enjoyed learning a few of my tips for finding beauty in nature. Stay tuned later this Summer for my brand new Macro Photography course! I can’t wait to teach you all I know about this incredible genre!
For more inspiration, follow Holly on Instagram!